- Author Arianna Cook [email protected].
- Public 2023-12-17 14:23.
- Last modified 2025-01-23 09:40.
The choice of chipboard for the floor, depending on its characteristics, the technology of laying the material on different bases, options for fixing sheets, the advantages and disadvantages of chipboard flooring. Chipboard laying is the formation of a rough flooring for leveling or warming the floor. The property of the material to easily absorb moisture limits the scope of its application and requires precise fulfillment of the requirements of the installation technology. We suggest that you familiarize yourself with the rules for choosing building materials and arranging the floor using chipboard sheets.
Advantages and disadvantages of chipboard floor
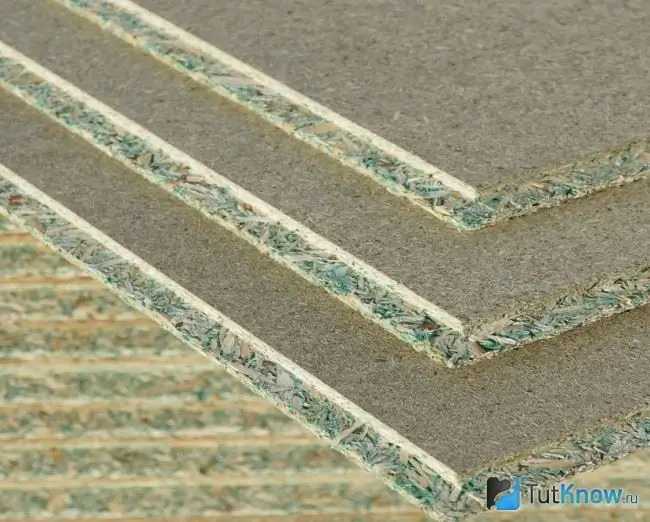
Chipboards have a lot of advantages, thanks to which they are very popular among users:
- The price of chipboard flooring is lower than the cost of flooring from boards.
- The slabs have a flat surface that does not require leveling during installation.
- The material has good rigidity and can withstand vertical drops of up to 5 mm.
- The compressive strength of chipboard is not much less than the strength of wood, which ensures high reliability of the flooring.
- The canvas can be laid on logs.
- Plates are good heat and sound insulators.
- The material has good adhesion to the adhesive.
- Laying chipboard on the floor is considered an easy job, even inexperienced users will be able to carry out the installation on their own.
- The boards are resistant to mold, decay and mildew.
- The material is designed for a long service life.
- There is a special compensation layer in the construction of the slabs, which prevents the destruction of the product at the joints under unfavorable conditions.
- The material is considered a universal base on which you can put any floor covering - parquet, laminate, tiles.
Disadvantages of the material that limit its use:
- The stoves contain a large percentage of formaldehyde, which is harmful to humans.
- Ordinary sheets are afraid of moisture, they cannot be laid in damp rooms. After getting wet, the material quickly collapses. Even moisture-resistant chipboards cannot withstand moisture for a long time and are destroyed after 5 wetting cycles.
- The edges of the product are fragile, quickly break or chip off.
- Chipboards are fire hazardous; in Russia, no fire retardant is added to the material to reduce flammability.
- The material does not hold nails well due to its low density.
- Low abrasion resistance, which does not allow the use of boards without additional coating.
Features of the use of chipboard for the floor
Chipboard on the floor is made by pressing a mixture of wood shavings and resin. The resulting material has good performance, but there are limitations on its use:
- Chipboard flooring is used in dry rooms with low traffic. In rooms with such a floor, 60% humidity is allowed, and the temperature should be more than +8 degrees. It is not recommended to use chipboard flooring in bathrooms, steam rooms, etc.
- Sheets are not installed in places where they can be exposed to a large mechanical load, for example, in shops, warehouses, etc. Under heavy weight, the floor can deform and collapse.
- Chipboard is rarely used as a finishing floor, but very often as a rough floor. It perfectly fits parquet, laminate and other coatings. The floors are also leveled and insulated with sheets.
- If it is planned to insulate the floor in the room, the chipboard is placed on the logs. The presence of high supports allows you to fill the gap between the sheets and the floor with heat-insulating materials.
- Particleboard is sometimes used to restore old wood floors and is laid over existing flooring.
A wider field of application for waterproof tongue-and-groove chipboards, which are superior in some characteristics to ordinary sheets. In the manufacture of waterproof chipboards, instead of formaldehyde, urea-melamide resins are used, which are more resistant to moisture. Such products can be identified visually by the green color of the canvas. The absence of harmful fumes allows them to be used in living rooms.
The differences between grooved sheets and ordinary sheets are as follows:
- Grooves and ridges are made at the ends of grooved chipboards, which ensure a seamless connection.
- Milling reduces the time of installation work.
- Panels connected with a groove and a tenon do not deform.
- Grooves and ridges are made on high-precision machines, so the joints of the sheets are very reliable.
- The tongue-and-groove chipboards reinforce the floors in some structures, such as catwalks.
The choice of chipboard for laying on the floor
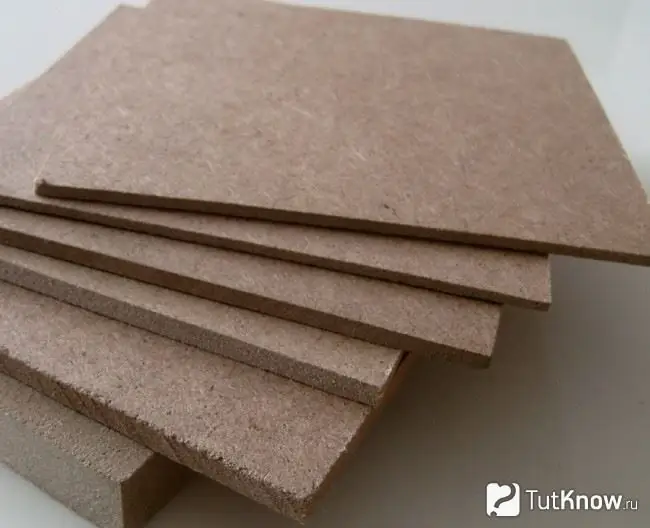
If you want to assemble a chipboard floor with your own hands, carefully study the characteristics of the material and its labeling:
- For convenience, all chipboards are divided into strength classes. For the floor, it is necessary to use chipboard of the PA-A brand (more durable). Sheets can be coated with plastic film or without protection.
- Low-quality sheets are suitable for floor insulation and creating a rough covering - not polished, loose with a density of up to 550 kg / m3.
- The base for the finishing coat can be sheets with a density of 550 to 750 kg / m3.
- In residential premises, it is allowed to use chipboard with safety class E-1 or E-2, which corresponds to formaldehyde emission of no more than 30 mg. Here, it is not recommended to lay sheets with a large amount of formaldehyde as a finishing flooring, only as a rough coating.
- Particleboard absorbs moisture well, so buy sheets with a density of 750 kg / m3characterized by low levels of moisture, swelling and moisture absorption. Manufacturers claim that medium quality chipboard can withstand 3-5 layers of wetting cycles without destroying the layers of material.
- When buying, check the moisture protection class of the chipboard. Plates of class P6 and R3 are recommended to be laid in rooms with low humidity. Plates of the P5 class are able to withstand moisture for a long time and are used in damp rooms. If you wet the chipboard and leave it for a day, the material will swell by less than 10%.
- Choose the thickness of the chipboard depending on the base on which they are laid - from 16 to 24 mm. With a material thickness of 1.6 cm, the beams are spaced between themselves at a distance of 40-60 mm, with a thickness of 2.4 cm - at a distance of 400-600 mm.
- Boards up to 16 mm thick may only be laid on a solid, level base (concrete screed or old floor). They will not withstand a height difference of 5 mm.
- For the floor, the most convenient dimensions are 2500x1850 and 3500x1750 mm (euro format).
There are sometimes fakes on the market. Therefore, to confirm the declared characteristics, require a quality certificate.
Chipboard laying technology on logs
A subfloor made of chipboard on logs is called a dry screed, since it is formed by completely dry materials. The assembled decking serves as the base for the base cover. The work is carried out in several stages.
Preparing the base for laying chipboard logs
The negative reaction of chipboard to moisture forces us to take seriously the waterproofing of the base on which the logs are attached. Most often it is insulated with mastic and roofing felt, which is overlapped at the junction with the wall.
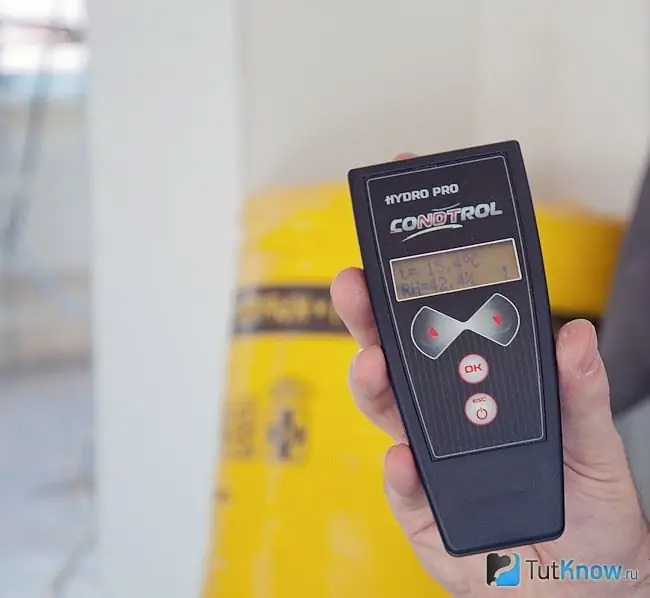
If the base is concrete, then it is allowed to lay the chipboard on the floor only after checking its moisture content. A special moisture meter will be able to determine the true value of moisture and compare it with the permissible value - 3%. If the indicator is greater, the base is left to dry.
In the absence of a moisture meter, humidity can be estimated indirectly. Put the oilcloth on the floor, fix it with tape around the perimeter and leave it for a day. If moisture appears on the inside of the film, it is too early to carry out the installation of the floor.
Lags can be mounted on a base with a slope, but non-horizontalness still has a permissible value - 0.2% over the length of the room. To determine the slope, you can use a hydrostatic level or a long ruler. Place the instrument on the floor and measure the clearances between the instrument and the floor. Allowable gaps - no more than 2 mm over a length of 2 m. Remove unevenness in the floor by removing the protruding parts or pouring the sinking zone with a self-leveling mixture.
Installing lags on the base
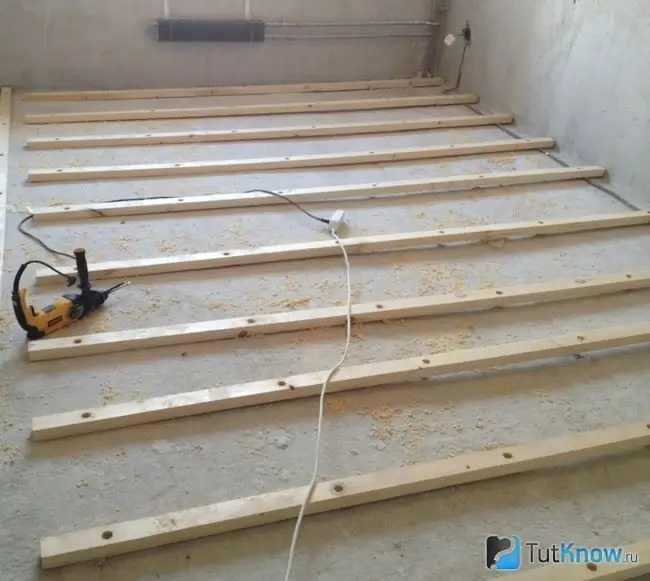
Wooden rectangular beams are used as lags. When laying beams on the base, adhere to the following recommendations:
- Choose the bars with a thickness of at least 40 mm.
- They must be dry and even along their entire length.
- Place the joists under the chipboard on the base in increments of 30-60 cm, depending on the thickness of the sheet. Leave 2-3 cm for thermal expansion between the joists and the wall.
- Make sure that the edges of the chipboard sheets after laying fall into the middle of the beams.
- Be sure to treat the beams with insect repellents and cover with moisture resistant products.
- For ease of installation, all beams must be of the same size.
- The top surfaces of the beams must be horizontal. Checking can be done with a hydrostatic level or a long straight edge. If necessary, ensure that the lags are horizontal by placing spacers under them or cutting off excess parts.
- Attach the lags to the base with dowels and self-tapping screws, screwing them near the places with gaskets.
How to fix chipboard sheets on logs
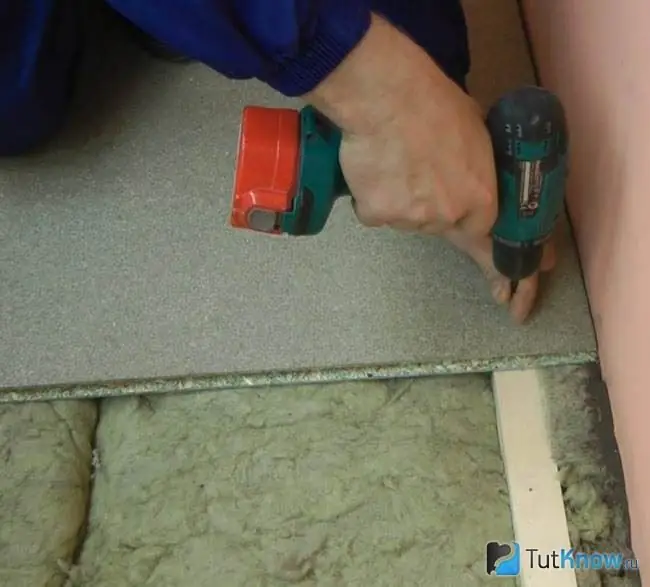
Place the first slab on the joists along the wall opposite the door. Leave gaps of 20 mm between the sheet and the wall, which will be covered by the skirting board after the floor has been installed. Check the location of the surface of the material in the horizontal plane, because the first plate will serve as a base along which the top of the remaining sheets is exposed.
Secure the sheet to the logs using the following guidelines:
- Drill the holes before installing the fasteners in the chipboard.
- To fix the chipboard, use nails with a diameter of 3 mm and a length of 5-6 cm or screws with a diameter of 4 cm and a length of 4 cm.
- Install the fasteners with a pitch of 15-20 mm at the edges of the boards and 25-30 cm in the middle.
- Screw in the hardware until the heads are drowned 1-2 mm into the canvas.
When laying the following sheets of chipboard on the joists, adhere to the following rules:
- The slab should rest on three beams - two at the edges and one in the middle.
- Lay the sheets apart, which ensures an even distribution of the load over their surface.
- Do not leave gaps between the chipboard sheets.
- Cover the traces of the fastener caps with acrylic filler for wooden floors.
- Seal the gaps between the boards with a mixture of sawdust and PVA glue. Cover the mixture with acrylic putty on top.
- Sand the chipboard surface with a sanding paper.
- Remove dust from the surface with a vacuum cleaner and thoroughly wash the floor.
- After drying, cover the chipboard with PF231 varnish in two layers.
- Install the skirting board.
- Finish the chipboard.
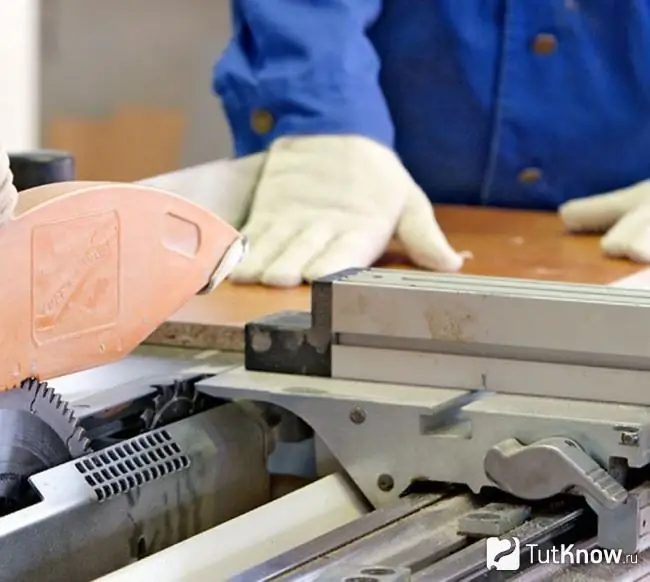
Cutting off excess parts from chipboard is not so easy due to the large size of the sheets. To cut the slab smoothly and without chips, you need to use special tools.
Experienced builders use an electric jigsaw with a bimetallic blade with teeth sharpened inward. The jigsaw is tuned to higher rpm with a low feed. Breaks can be avoided in this way. If you have little experience with a jigsaw, use a metal hacksaw. The tool blade must be hardened, with fine teeth set at half the thickness of the belt.
The procedure for cutting chipboard is as follows:
- Draw a line on the surface of the blade along which you want to cut.
- Glue the duct tape on one side. It protects the edges of the cut from chipping.
- While working, keep the hacksaw at an angle of no more than 30 degrees to the surface, which reduces the impact of the product on the edges of the cut.
- If chips do appear, work the edges of the chipboard first with a file, in the direction from the edges to the center, and then go over the area with a sandpaper.
Floor surface painting
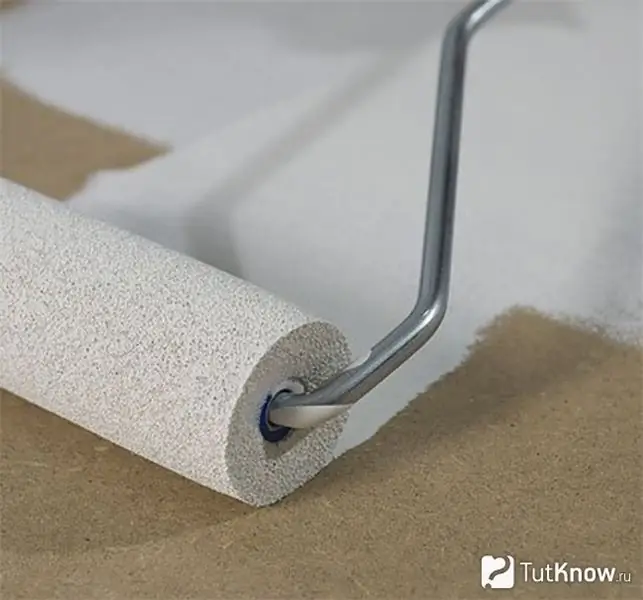
Chipboard painting increases the wear resistance of the material and increases the service life. In this case, the flooring need not be covered with a topcoat.
For work, you need floor paint and a primer. Enamel with improved characteristics, which withstands scratching, fading, and mechanical stress, has proven itself well. Also, the floor is painted with PF-226 oil paints. Do not cover the canvas with an acrylic compound, it wears out quickly.
Before painting, the floor is carefully prepared and defects are eliminated, because defects are difficult to fix:
- There should be no defects on the surface - scratches, dents, cracks. Eliminate all irregularities with putty, seal the gaps. Eliminate the creak of the sheets with additional fasteners.
- Check the condition of the fasteners: fix the loose hardware with glue or sealant, hammer the protruding heads into the canvas.
- Check the surface for grease stains and, if necessary, degrease it with a solvent.
- Sand the surface with fine sandpaper. The operation will take place quickly if the work is done with a grinder.
- Remove dust from the surface with a vacuum cleaner and thoroughly wash the flooring.
- Cover the chipboard with two coats of primer and make sure there are no imperfections on the surface.
They paint the chipboard with paint in two layers. The substance is applied with a roller or sprayed with a spray gun. Treat small areas with a brush. After creating the first coat, let the paint dry and inspect the surface for roughness. Remove imperfections with a zero-abrasive sandpaper.
Installation of chipboard on a concrete base
Chipboard is laid directly on concrete if it is impossible to install logs in the room due to low ceilings or the room does not require insulation. The material can only be laid on a flat horizontal floor, without horizontal drops.
Floating chipboard fastening
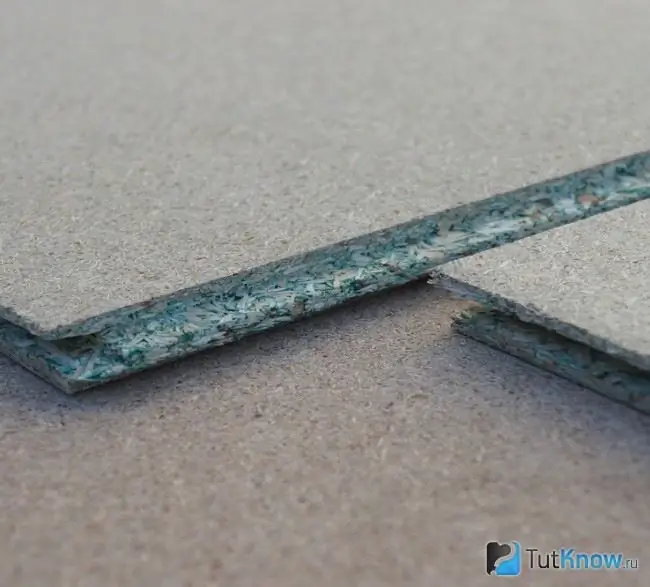
The tongue-and-groove chipboards are often laid on a concrete floating base. It is distinguished by the presence of damping tapes, which are laid between the floor and the wall, as well as the absence of rigid attachment of the sheets to the base. This design allows the flooring to expand when the room temperature changes and to maintain the integrity of the flooring.
Before starting work, check the moisture content of the concrete screed, which should be within 3%.
Further work is performed in the following sequence:
- Lay a vapor barrier film on the concrete base, which can be replaced with ordinary plastic. Thoroughly insulate the joints of the film with the wall and between individual parts of the material.
- Pour a layer of expanded clay with small fragments on the floor, which will provide heat and sound insulation of the flooring. Instead of expanded clay, it is allowed to use basalt wool or expanded polystyrene plates.
- Place a backing of membrane, cork, construction paper or other materials on top of the insulation. The formed intermediate layer will increase the heat and sound insulation of the floor.
- Laying of sheets on insulation is carried out in the same way as the installation of plates on logs. The difference lies in the fact that they are not attached to the base, but only connected to each other with an adhesive solution applied to the spikes and grooves of the sheets. Before the glue dries, the slabs must be pressed together with wedges, which are hammered into the gap between the wall and the canvas.
The floating floor is held stationary by its own weight and skirting boards around the perimeter of the flooring.
Fixing chipboard with fasteners
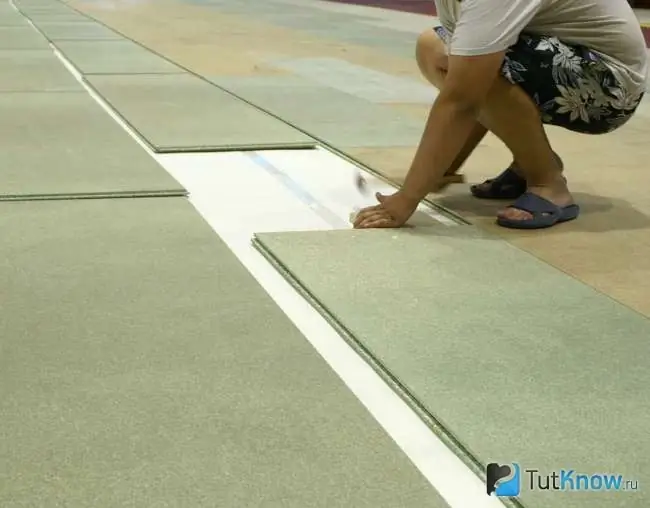
In addition to the floating method, there is another way of installing chipboard sheets on a concrete base, which consists in using fasteners.
The sequence of work is as follows:
- If irregularities are found on the concrete screed, fill the surface with a thin screed and leave for 2-3 weeks to dry. Make sure the new layer is completely dry - the sheets can only be laid on dry substrates. The presence of moisture in the screed of more than 3% will lead to rapid destruction of the material.
- After the concrete has completely hardened, clean the surface of dust and dirt.
- Draw a drawing of the floor to scale. Transfer the drawing to a chipboard sheet and cut it in such a way that the material covers the entire floor area, leaving gaps of 10-15 mm between the boards and the wall.
- Cut out separate parts of the flooring from the sheet according to the markings.
- Cover the chipboard with linseed oil or antiseptic and dry the material.
- Lay the sheets on the screed according to the diagram drawn.
- Check the level of the deck. Leveling the chipboard floor is possible only by finalizing the screed.
- Drill holes in sheets and concrete screed.
- Fix the sheets to the floor with anchors and dowels.
How to fix chipboard to the floor - watch the video:

With the help of chipboard sheets, high-quality flooring is assembled with minimal effort. The main requirements for obtaining a high-quality result are the correct choice of material and knowledge of the technology of installation work.


