- Author Arianna Cook cook@women-community.com.
- Public 2023-12-17 14:23.
- Last modified 2025-01-23 09:40.
What you need to know about the peculiarities of using wood wool, its advantages and disadvantages, how to choose high-quality material, preparation of walls, instructions for insulation, how to finish the wall. Thermal insulation with wood wool is a reliable option for heat and sound insulation, which is suitable for structural elements of walls, roofs and ceilings. Many previously used synthetic heat insulators have recently been replaced by natural heat insulators that are safe for humans and pets. Among such materials, wood wool is confidently gaining more and more distribution every year.
Features of work on insulation with wood wool
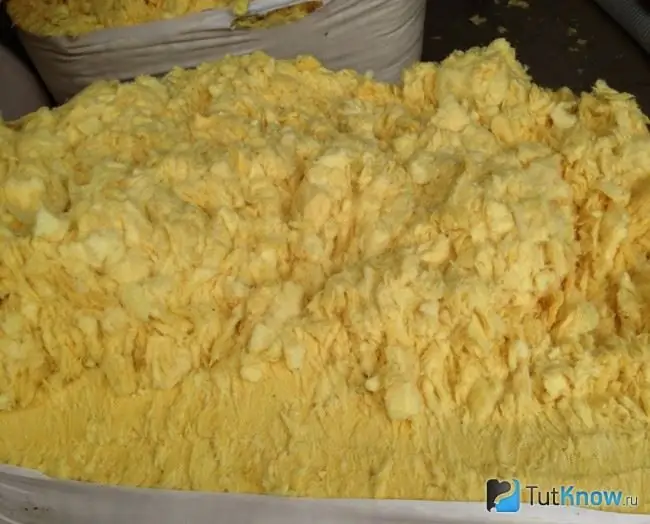
Wood has long been a natural insulation material. All its properties have been preserved in wood wool, thanks to which each fiber of the heat insulator absorbs and accumulates heat, creates a comfortable atmosphere in the building and fights temperature fluctuations, regardless of the weather season.
For the production of wood fiber materials, coniferous wood chips are used, which contain more lignin. With technology based on thermomechanical processes, the chips are ground into many individual fibers. They are used for direct blowing or for making slabs that have equally excellent thermal insulation.
Thermal insulation material has all the unique properties to protect buildings from heat loss in winter and from excessive heating of roofs and walls in the summer months. Despite the fact that there are other popular types of wool, the woody variety has a higher value of the coefficient of specific heat, which can reach 2100 J / kg. According to this indicator, it is more than twice as large as mineral wool.
However, wood wool is favorably distinguished not only by its insulating properties. Its fibers are designed in such a way that they can absorb and quickly evaporate the received moisture in the amount of up to 20% of their own weight. At the same time, thermal insulation is not disturbed at all, but the microclimate in the room becomes more acceptable for the inhabitants. Despite the fact that the fibers absorb moisture, the pores between them remain free. As a result, the customer receives comfort and high thermal insulation for many years of operation.
Due to its wide functionality and excellent thermal insulation properties, this insulation can be used to fill cavities in load-bearing walls, in utilities, internal partitions, as well as in almost any hard-to-reach places. Due to the elasticity of such natural wood wool, obtained as a result of a special production technology, it can be used in places with complex geometry of shapes.
The use of exclusively natural materials guarantees the safety of the insulation in everyday life, without risking the health of others. It is known that it does not cause allergic manifestations, and therefore can be installed even in rooms where children live.
If thermal insulation is carried out in wooden buildings, special attention must be paid to compliance with fire safety requirements. In areas where electrical wiring, chimneys or chimneys pass, additional protective measures will be required. It is best to equip the separation zones by alternating flammable and non-flammable materials, as well as hiding the wires in a special box.
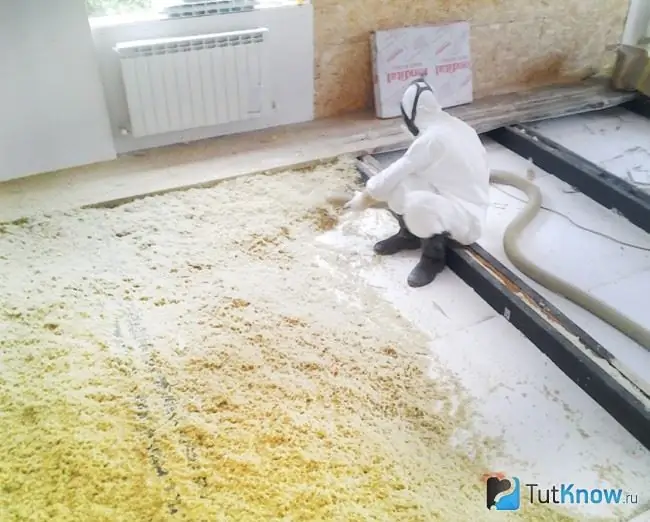
Wood wool can be manually pushed into the insulated building structure. It makes it easier to blow it out, but this will require special equipment. The fibers fill the space perfectly and provide all the qualities that natural wood is famous for, namely strength, stability and high thermal insulation. It can be used not only in vertical wall structures, but also in the form of a freely placed insulation between beams, rafters, in interfloor ceilings.
Note! Despite the fact that cotton wool is considered a low-combustible material, it is advisable not to install it in the immediate vicinity of stoves, fireplaces and heating boilers.
Advantages and disadvantages of wood wool insulation
In addition to the excellent thermal insulation that wood-based wool provides, it has a whole range of positive qualities:
- It practically does not form waste, which in small quantities can be easily disposed of and do not pose a threat to the environment.
- It contains no substances and additives harmful or hazardous to human health.
- Thanks to the special vacuum packaging, it is easy to transport.
- Cotton wool has excellent resistance to compression, which allows you to accurately fill voids in insulated structures.
- No allergenic irritants.
- The material is not subject to rotting or the spread of fungus.
- Over time, the cotton wool does not settle and does not need additional trimming.
- It is characterized by ease of installation.
Among the possible disadvantages of this heat-insulating material, one can single out its delamination. During operation, wood wool insulation partially loses its shape. Over time, this leads to a violation of its thermal insulation characteristics.
Wood wool insulation technology
The many excellent characteristics that this insulator possesses makes it possible to use it not only in external, but also in internal insulation. Newly built buildings already provide space for material placement under the wall cladding. For used buildings, it is necessary to find a place and fill the wall cavity.
Surface preparation for installing wood wool
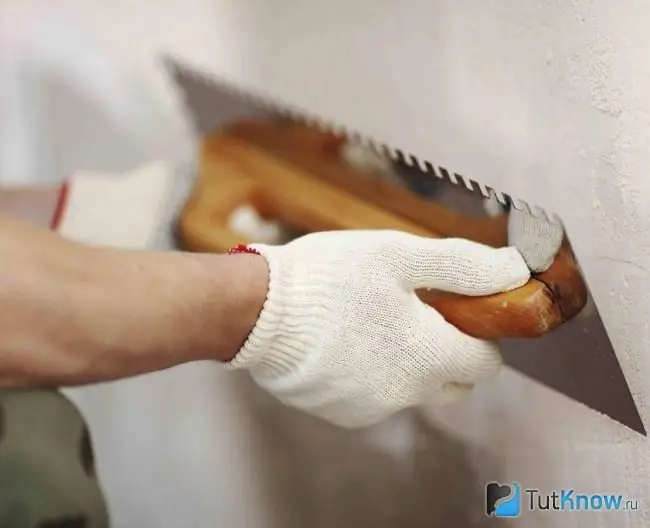
Of the tools and consumables, in addition to the cotton itself, you will need the following: a hammer, a construction stapler, containers for diluting solutions, a sealant or foam, a knife and scissors, a construction level, a plumb line, antiseptics for wood processing, emery paper, an electric drill, self-tapping screws, dowels. It is desirable that all mixtures and substances are compatible with each other and even released by the same manufacturer.
The preparation of the walls before laying the heat insulator includes the obligatory sealing of joints, seams and other existing cracks with polyurethane foam with a sealant. Especially large gaps are sealed with polyurethane foam, while silicone or acrylic sealants are suitable for smaller gaps. It is unsafe to use exclusively foam due to the high flammability of this material.
The protruding parts of the polyurethane foam must necessarily be cut to the level, after which they are grinded with an emery cloth. As a result, the entire surface of the wall should become as flat and clean as possible, not only from old finishes, but also from dirt and dust.
Now it is treated with a primer emulsion - this is done in order to enhance the adhesive properties of the entire future heat-insulating structure. It is not possible to start insulation before the ground paint is completely dry.
Before the installation of the insulation, vapor barrier protection is created. Next, a frame is made from a metal profile. Care must be taken to ensure that its base is strong enough. Before assembly, a line is marked using a level, which will serve as a guide for the guide profile. Attach it to the ceiling and floor along the line with dowels.
A rack is installed in the guide profile. In order to give the structure the necessary rigidity, suspension plates are fixed to the wall. Now the space between the profiles can be filled with a heat insulator.
Tips for choosing quality wood wool
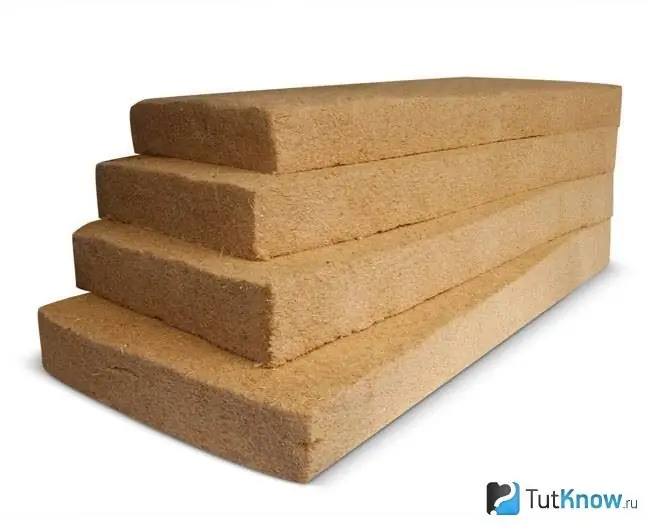
It is very easy to purchase a low-quality material on the modern market that cannot provide effective thermal insulation. Some unscrupulous producers dilute softwood chips with hardwood waste. It is not as elastic as the fibers of the original cotton wool. This leads to the destruction of the structure of the tile insulation, as well as deterioration of the quality of the joints. If we are talking about blown wool, then the quality of the fiber connection is disturbed in it. It is necessary to carefully inspect the packaging, and if there is a significant amount of dust in the material in it, then it is better to refuse to buy it.
To be sure of the quality of the product, it is necessary to carefully study the composition of wood wool. In this case, not only the components of the insulator are analyzed, but also their percentage among themselves. It is better if the wood insulation will include no more than 5-10% additional additives. If there are more of them, then its environmental friendliness may be questionable.
It is useful to inspect the insulating plate for a cut. Its density should be the same not only at the edges, but also in the center. Quality materials are characterized by precise dimensional accuracy, especially with regard to their thickness. You should not buy such plates, as they will cause cold bridges to appear in the future.
Installation instructions for wood wool
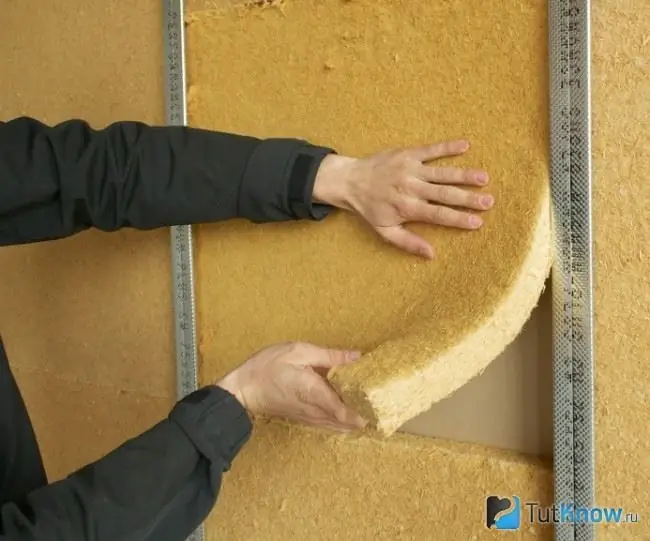
Whichever method, manual or mechanized, is used to perform the work, it is necessary to start with the creation of a supporting frame, which will be the basis of the entire heat-insulating structure.
The main algorithm of work performed by the blowing method is as follows:
- The contents of the cotton bag are discharged into a special inflatable unit. In it, the material is fluffed up so that it better fills the cavity.
- When the unit is turned on, the insulation is supplied under pressure into the insulated cavity. The density of the mounted insulator must be at least 29 kg per 1 m3… Thus, it is possible to insulate walls not only in new facilities, but also when insulating existing buildings.
- The blowing device and the material itself are installed outside the building, which makes it possible to lay it even in small rooms. All resulting waste is disposed of.
To create a more durable structure, you can use mechanical methods of fixing the plates or simply stick them to the surface. For those slabs that are equipped with a tongue and groove connection, the work will be even simpler, and the connection will be reliable. In this case, there is no need to adjust the dimensions of each product to the width of the frame cells, and this minimizes the amount of waste.
An alternative way of performing work can be packing cotton wool under vacuum in special bags, which will be compactly placed inside the frame.
Surface finishing
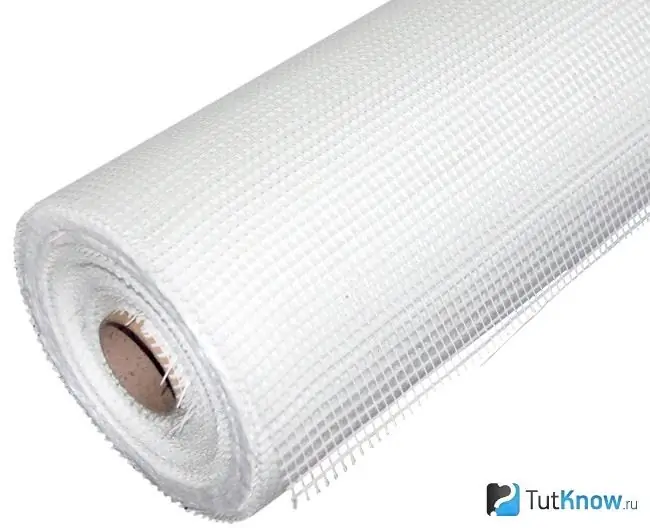
After the insulation with wood wool is completed, the wall must be closed and protected. The reinforcing mesh is just designed to strengthen the finished structure and extend its service life. It will serve as a good basis for subsequent application of the plaster mixture.
For reinforcement, you can use a plastic or fiberglass mesh, since we assume that the walls are already sufficiently aligned. It is cut from the roll in such a piece that its dimensions cover the entire surface. For fastening, we use dowel-nails, which are stuffed from bottom to top. You can also fix it with knitting wire, the ends of which are wound on the protruding dowel caps. After that, he is hammered into the wall "under zero".
When carrying out work, it is necessary to ensure that the mesh is stretched as much as possible and pressed against the surface. Otherwise, it will inevitably cause the plaster to lag.
After that, you can start applying the plaster mortar. You need to sketch it out with enough sharp movements so that it is well fixed between the cells. When the first layer is completely dry, they begin to lay the finishing one, for which a thicker mixture is used.
Now you need to wait until the plastered surface is completely dry in order to proceed to the stage of its cleaning. This is done using sandpaper. As soon as the wall is completely sanded, it is dedusted with a primer paint. It will make the surface with thermal insulation material as smooth as possible and ready for the last decorative layer.
There are a huge number of decorative materials on the market, for example, ordinary wallpaper, paintable, glass wallpaper, paints, plaster and other options. In some rooms, it is reasonable to close the insulated walls with cork, decorative stone or natural wood.
In order to perform high-quality wallpapering of the wall, the height from the ceiling to the floor is measured. This is exactly what the length of each of the panels should be. The glue is diluted according to the instructions: for this, the required amount of water is poured into the working container, and then the powder is poured in a thin stream with constant stirring. To speed up the mixing process, you can use a drill with a special attachment. After 5-10 minutes, the composition will be ready for use.
The mortar is applied with a roller or brush to a predetermined area starting from the doorway. It is necessary to distribute the glue so that it slightly extends beyond the boundaries of the designated area. The cut and prepared sheet of wallpaper is pressed against the upper part of the wall, after which it is smoothed with a plastic spatula along its entire length.
As soon as the first web is fixed, the next one is cut. It is pressed end-to-end with the first one and the joints are carefully ironed. Sheets are added to the remaining surface of the wall, and trims are made where necessary. The remnants of unnecessary glue are removed with a sponge. The wallpaper should dry within 1-2 days, after which you can start painting it. During the work, it is necessary to ensure that there are no drafts or high humidity in the room. The optimum temperature for pasting is the range from +10 to +25 degrees Celsius. If you do not follow any of these rules, then the wallpaper can easily come off in the near future.
How to insulate a house with wood wool - watch the video:

It is possible to perform thermal insulation with wood wool both for residential buildings and for outbuildings. Due to the fact that the material is recognized as economical and environmentally friendly, it can be used in its pure form, as well as in combination with additional components. This is an effective solution for increasing noise and heat insulation, subject to full compliance with the technology of work.


