- Author Arianna Cook [email protected].
- Public 2023-12-17 14:23.
- Last modified 2025-01-23 09:40.
Rules for choosing a floorboard, preparing the bases for laying floorboards, methods for installing flooring on different surfaces, methods of fastening the material. Flooring is a natural wood building material used for the manufacture of floor coverings. The products have special milling on their longitudinal ends, which provide a gapless connection of elements and a high strength of the floor. We suggest that you familiarize yourself with the methods of laying the floorboard and the rules for processing various substrates that ensure high-quality assembly work.
Features of the choice of flooring
When buying material, it is important to consider the factors that affect the durability of the floor. With the right choice of floorboards, you will admire your flooring for years to come.
The choice of floorboards according to the manufacturing method
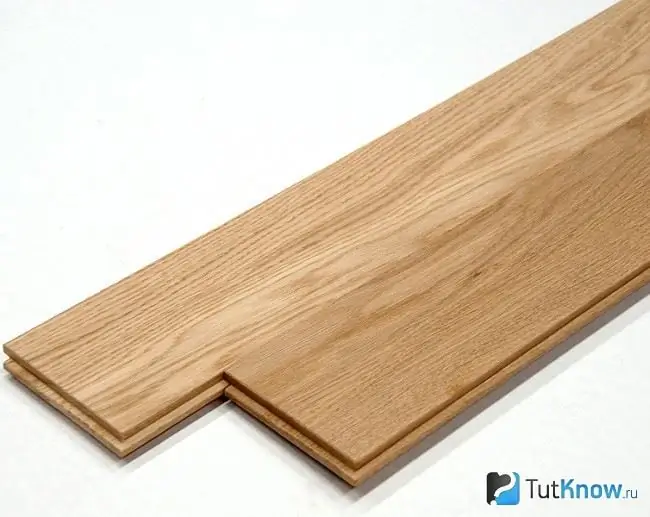
Manufacturers offer users two types of floorboards: solid and spliced. Each type of product has its own characteristics, on which the applicability of the material and the methods of its attachment to the base depend.
A solid board is prepared from a single piece of blank. Depending on the quality of the material, the products are divided into 4 classes, but even the best samples have defects - knots, resin pockets, etc. There are few defects on the boards of the first and second class, they look harmonious. Such samples are used to make the main flooring. After installation, the surface is not painted, but varnished to highlight the natural beauty of the wood.
Boards of the third and fourth classes must be covered with paint if the topcoat is knocked down from them, or used as a rough base of the floor. A perfectly flat solid board surface is difficult to obtain, but its relatively low cost makes it popular with buyers. After mounting the coating, the surface is sanded or subjected to scraping.
Higher quality for massive Euro lining. On the back side of the boards, ventilation grooves are made, which provide air access to the seamy side and prevent the appearance of mildew and mildew. The front side is qualitatively processed and rarely requires revision after the floor is assembled, but the euro lining is more expensive than a regular board.
A spliced board is made by mounting on a mini spike or by gluing several small samples. The spliced board differs from the massive one by its excellent geometry, absence of defects, and high strength. Once the floorboards have been laid, the surface does not need to be reworked. In the finished form, the spliced floor is very similar to parquet.
The choice of floorboards by wood species
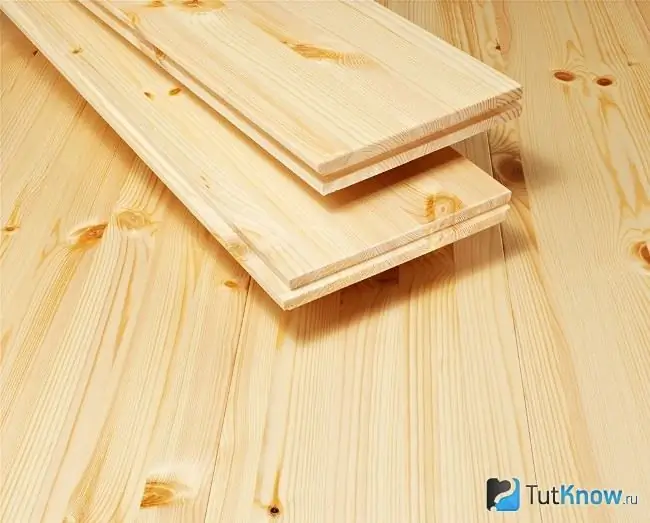
If you are in doubt about which floorboard to lay in the room, buy products from larch or oak. These tree species are the hardest and most suitable for all types of premises. They are laid even in rooms with extreme humidity - baths, saunas.
The lowest hardness is found in planks made of coniferous trees (pine, spruce). Soft floorboards are mainly used for subfloors. For finishing flooring, coniferous lumber can be used if its thickness is more than 35 mm. Smaller boards can be laid on logs in 30-40 cm increments or on a solid base such as a concrete screed.
Walnut, aspen and alder are not hard enough for floors and are used less frequently. Such boards can be laid in rooms with a slight load - a nursery or a living room. It is undesirable to lay boards of poplar and linden on the floor because of their softness.
Choosing floorboards by size
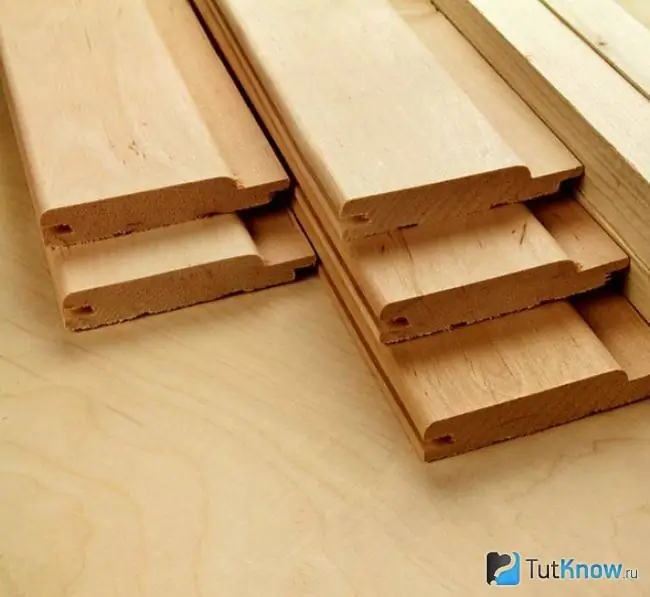
Planks with a thickness of 18 to 40 mm are suitable for floors. The most popular floorboard thickness is 30, 32, 35 mm. For floorboards of this thickness, the logs are placed in increments of 40 to 60 cm.
Bars for boards of maximum thickness are fixed at intervals of 70 cm or more. Products with a thickness of 15-25 mm are used to create double floors, but in this case it is recommended to use hard wood.
The width of the floorboards ranges from 60 to 135 mm. Narrow patterns are used to create original designs. Wide floorboards are laid in large rooms or houses from beams and round timber. In small rooms, elements of small width are used, because the more boards, the wider the room seems. The most optimal floorboard width is 100 mm.
Types of floorboards by joining method
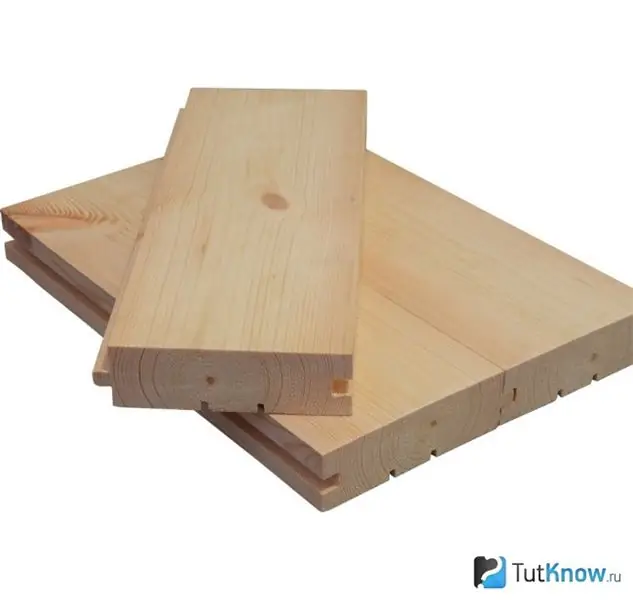
To facilitate the assembly of floors and improve performance, milling of various shapes is performed at the ends of the floorboards:
- Grooved boards have ridges and grooves at the ends, with the help of which a high quality of connection is achieved and the strength of the floor is increased. But the cost of such products is quite high.
- The connection can be done "in a quarter". At the ends of each board there are milling steps in the form of a step. Making samples is cheaper than grooves and tenons. The connection of the elements is less dependent on the degree of deformation of the boards after drying, therefore floorboards with step fixation are quite popular among users.
- Connection using inserts that are installed in the grooves of adjacent boards. They are used when installing short boards.
Preparatory work before laying the boards
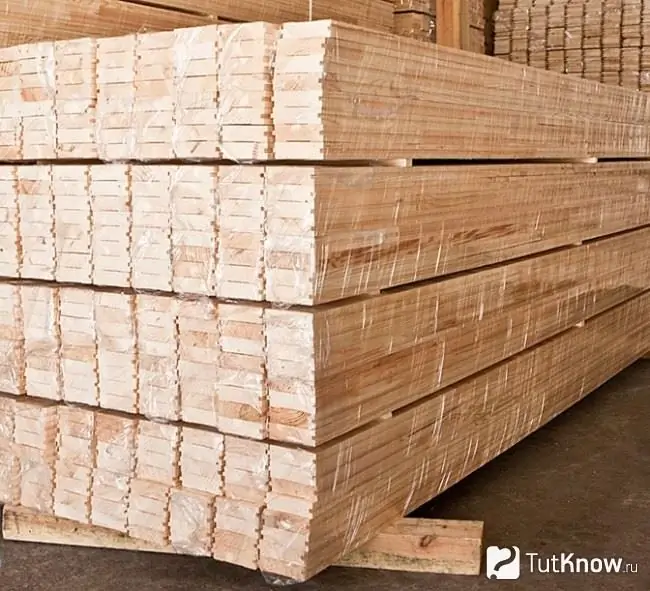
High quality floorboards are sold wrapped in plastic wrap. Inspect the packaging for condensation before purchasing. Do not take goods with water drops on the wrong side of the film, this indicates insufficient dryness of the material.
Check the moisture content of the boards, which should not exceed 12-16%. The exact moisture values are shown by a special moisture meter. Also, the indicator is assessed in an indirect way:
- A very damp board can be identified by placing your palm on the surface.
- Tap the floorboard with your knuckles. A dry board will sound loud, a damp board will sound dull.
- Examine the product carefully. Dry has a barely noticeable shine. The color of the wet board is matte.
Bring the lumber to the room where you plan to lay the floors, remove the film, lay it on the beams (two at the edges, one in the middle) and leave for 2-3 days. During this time, the moisture content of the boards will be equal to the humidity of the surrounding environment and the floorboards will not deform. Some of the workpieces may fall through or warp, they should be cut into pieces and use flat areas.
Sort the remaining material. Swatches with knots, distorted geometry, blue or orange cores are set aside for use in utility rooms. Make sure that the tongue and groove of the grooved boards are easy to connect. The joints should close with a slight click.
To keep the floor in its original condition for a long time, provide the room humidity in the range from 40 to 80%. In dry air, the board will dry out quickly, and in high humidity conditions, the coating will swell. The life of the floor is also influenced by temperature. At temperatures from 17 to 25 degrees, it does not lose its quality for many years.
The technology of laying floorboards on logs
The technique of laying floorboards involves the sequential execution of several stages of work, on which the quality of the floor depends.
Fixing the lags for the board on the base
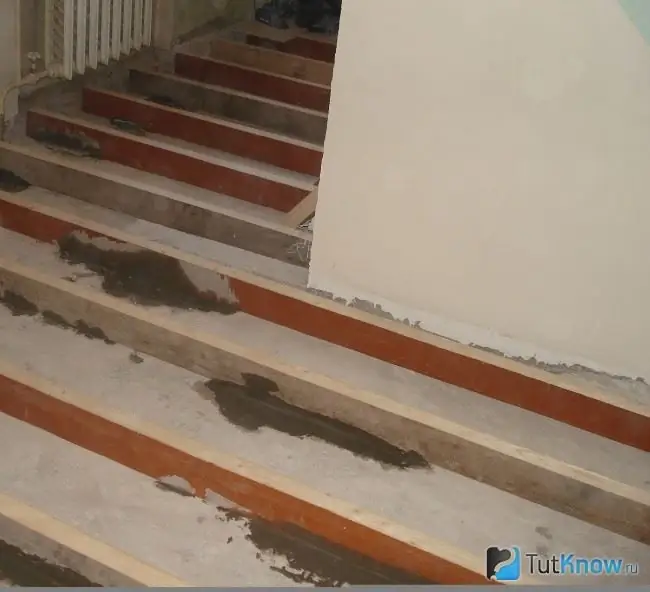
Floor installation work begins with waterproofing the base to protect the lumber from moisture. The easiest way to waterproof is to use mastic and roofing material. Roofing material is laid on the mastic with an overlap and butt to the wall, only visually laying it on the horizon. For the installation of the lag, the flatness of the base is not required, but rigidity is required.
Logs (rectangular beams) are laid on the waterproofing of the screed and fixed to the floor with self-tapping screws with dowels, brackets or in another way.
Floor beams must meet the following requirements:
- The horizontal surfaces of all beams must be in the same plane. If necessary, place underlays of the required thickness under the beams or cut off excess.
- The optimal distance between the logs is 50 cm, but when using thick floorboards, the step can be increased.
- For spliced boards, the distance between the logs should not exceed 40 cm.
- Always install the floorboards perpendicular to the joists.
- In living rooms, the logs should be located in such a way that the light through the window falls on the floor along the boards.
- In the corridors, the boards are laid in the direction of the most intense traffic.
Fastening floorboards to joists
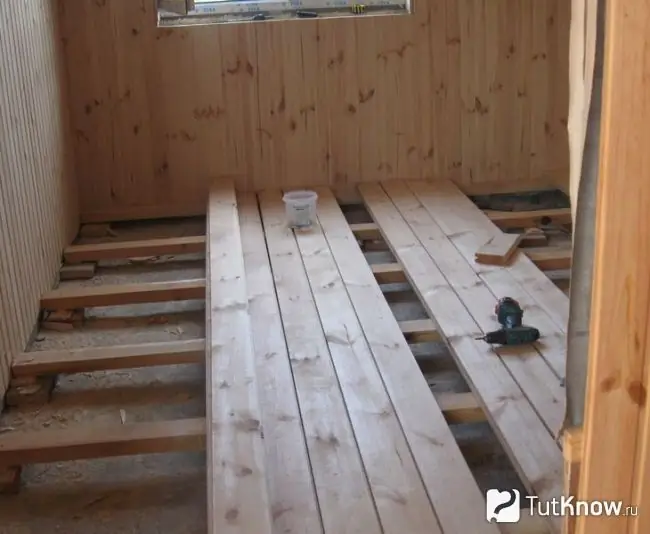
Floorboards are laid in two ways - without displacement of the floorboards and with displacement. To install a floor with an offset of products, you will need to make many cuts at right angles. Not everyone is able to cut boards exactly, so a template is required in the work.
Consider the technology of installing a floorboard with milling in the form of grooves and ridges. The procedure for working with grooved floorboards is no different from assembling other types of boards.
Put the first board on the joists with a spike to the wall and fix it at a distance of 1-2 cm from the ceiling, because the size of the product increases with increasing ambient temperature. The fasteners can be screwed into the floorboard from above, near the wall, where the skirting boards will cover it. On the rest of the boards, the head marks are masked with a sealant or corks, which some manufacturers supply with them.
You can fix the boards in the following ways:
- Using self-tapping screws, the length of which is twice the thickness of the board. To fix floorboards with a thickness of 30 mm, buy black self-tapping screws 60-70 mm long and 4-4.5 mm in diameter. The hardware is screwed in with a step of 25-30 cm along the length of the board.
- If nails are used for fastening, their length should be 3 times the thickness of the floorboard (the old name is troetes).
- Narrow thin products with a width of 90 mm are fixed with one nail or a self-tapping screw in the center of the product.
- Boards up to 135 mm wide - with two fasteners, more than 150 mm wide - with three.
- You can fasten them with self-tapping screws, which are screwed into the tongue at an angle of 45 degrees. To prevent the element from bursting when screwing in the fasteners, holes are drilled in the floorboards. The boards are also fastened with self-tapping screws from the side of the groove.
- On construction markets, you can find special screws for fixing floorboards. They are anti-corrosion coated and have a small cutter at the tip of the fasteners. It allows it to be screwed in without pre-drilling. The geometry of the fasteners prevents the wood from cracking when screwing in. Also, self-tapping screws have an upper part without thread, which allows the boards to be more tightly attracted to the logs.
After attaching the first board next to it, lay the next one and slide it until the tenon is aligned with the groove. If necessary, drive the spike into the groove using a mallet, with which you hit the floorboard through the block. Before fixing the floorboard, fix it with special clamps.
Also, the product is pressed with wedges. To do this, nail a block to the lags, stepping back from the board by 100-150 mm. Place a block of wood and two wedges between the board and the block with the points facing each other. Striking the wedges with a mallet, move the spacer all the way to the board and further until the gaps between the products disappear. The admissible gaps between the floorboards are no more than 1 mm. Then screw in the screws and fix the board. Fasten all floor elements in the same way.
Before laying the last board, measure the distance between the penultimate floorboard and the wall and cut a board of the required thickness from the workpiece, taking into account the guaranteed gap of 10-15 mm near the wall. To close gaps, drive wedges between the wall and the board. With a slight curvature of the floorboards, the spikes and grooves are coated with glue to increase the reliability of the connection, and then pressed with clamps or jacks.
If they are difficult to connect, inspect the cleats and grooves for burrs. Sand problem areas if necessary.
If the boards are not dry enough, fix them temporarily and leave them in this state for 5-6 months. In this case, not all products are attached, but only the fourth or fifth floorboard. After the lumber has dried, dismantle the temporary fasteners, remove the boards and fasten them again, pressing them as tightly as possible to each other.
Then follow these steps:
- Examine the surface for irregularities.
- Remove them by scraping the floorboard.
- Cover the floor with a starter varnish that shows poorly sanded areas. Remove any defects found with a sandpaper.
- Install the skirting board and check that it fits the floor. If necessary, seal the gaps with wood-colored filler.
- To increase the durability of the coating and give it respectability, cover the floor with paint, varnish, oil, wax. The choice of the tool depends on the operating conditions and the wishes of the user.
Floorboard mounting technology on plywood
Installation of floorboards on plywood is carried out if logs cannot be used. For example, if the ceilings in the room are low or it will not be possible to open the door after installing the floor. Most often, plywood is laid on a cement screed or on an old floor covering.
Preparing the concrete floor for laying the floorboard
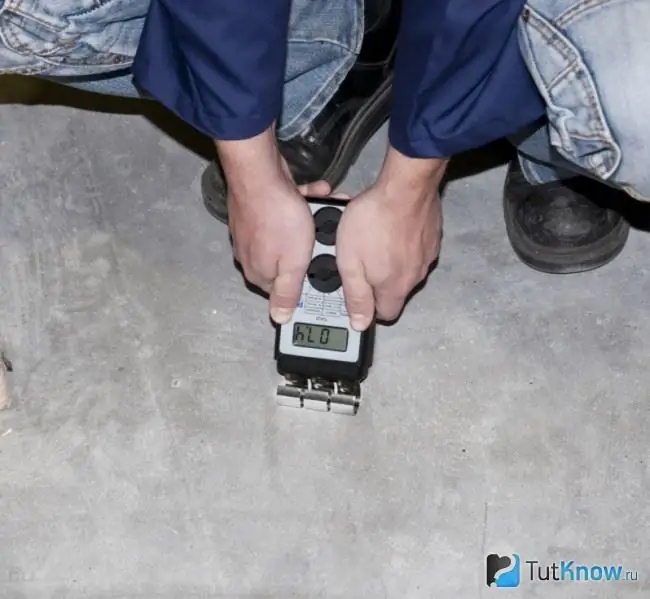
If the base of the floor is concrete, work begins by checking the moisture content of the cement screed, which should not exceed 3%. Concrete with a lot of water increases the humidity in the room, which causes the plywood and finish flooring to rot.
Humidity can be checked with a special moisture meter or folk methods. Place a piece of cellophane on the concrete floor and glue it with tape. If after a day drops of water appear on the wrong side of the material, then the screed is not dry enough for laying sawn timber.
Check the horizontal surface of the concrete screed. A slope of no more than 0.2% of the maximum length of the room is allowed. The value can be measured with a hydrostatic level.
Check the flatness of the screed surface with a long straight edge. To measure, place the instrument on the floor and measure the gap between the ruler and the floor with a feeler gauge. For a length of 2 m, gaps of no more than 2 mm are allowed. Eliminate defects by reworking the screed: sand the high areas, and fill the low ones with a self-leveling mixture.
If the screed is dry, cover it with polyurethane primer in several layers. Place a foam film over the primer to create a moisture barrier between the concrete and the plywood.
Flooring the floorboard on plywood
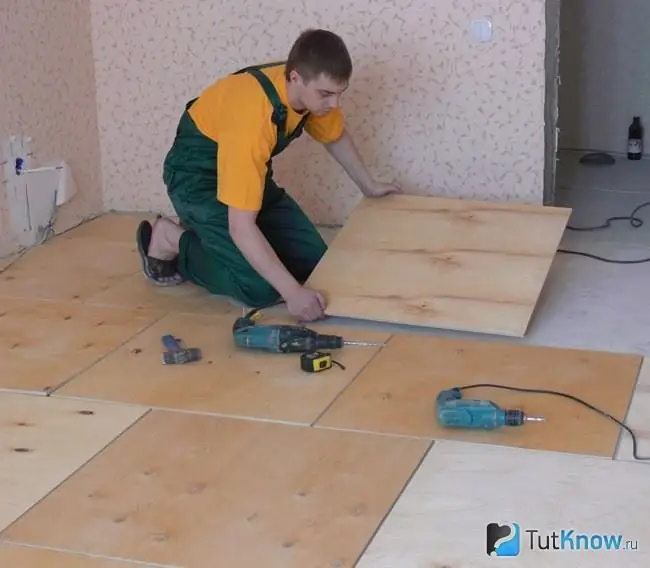
For the backing, use plywood with a thickness of 18 mm or more, preferably moisture resistant. Cut the sheets of material into several pieces 500 mm wide and place them on the floor. When installing, leave gaps of 10 mm between sheets and walls and 3 mm between individual parts.
Fix the sheets to the concrete with screws and dowels. Sink the heads of the fasteners into the material. Check the horizontalness of the top plane of the plywood. Sand the surface with a sander, vacuum and seal. Once dry, the plywood is ready for planking.
Fix the floorboards to the plywood with glue. Short products are glued with epoxy or polyurethane resins. Long samples - with epoxy resin or polyurethane adhesive. Such compositions are plastic after solidification and allow the boards to expand at high temperatures. The choice of glue is also influenced by the type of primer with which the plywood is treated.
For gluing boards from exotic woods or from beech, water-soluble adhesives cannot be used due to the specific properties of the wood.
How to install a plank on an old floor
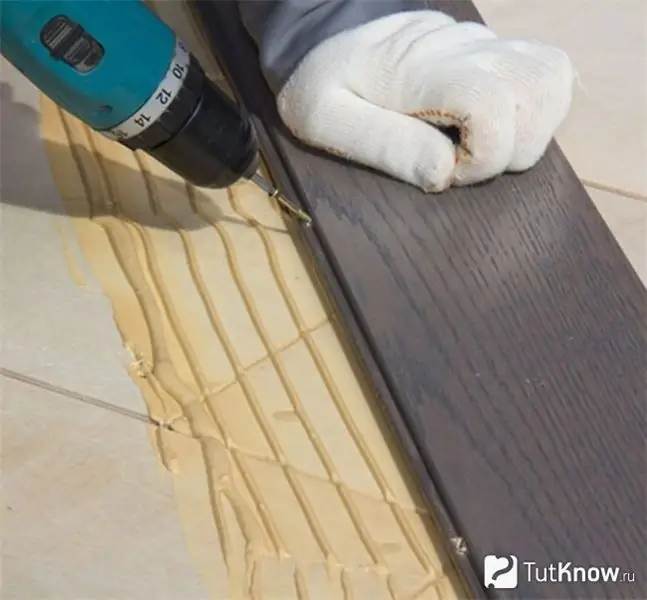
Make sure that the old floor is strong when using it as a subfloor. Reinforce or replace individual boards as necessary. Then follow these steps:
- Remove protruding elements from the surface, sand the boards with a 40 or 60 grit sandpaper. It is advisable to perform the work with a grinder.
- Remove dust from the flooring.
- Check the moisture-proof and thermal insulation properties of the old floor. Cover it with a waterproof polyethylene foam film if necessary.
- Place at least 12 mm plywood on top of the old flooring.
The method of attaching floorboards to old boards is similar to attaching to plywood or joists.
How to lay a floorboard - watch the video:
[media = https://www.youtube.com/watch? v = WmmJcw-PvwY] Floorboards are manufactured using modern technologies with high precision, so that you can install it yourself. To get a good result requires knowledge of floor assembly technology and a serious attitude to business.


