- Author Arianna Cook [email protected].
- Public 2023-12-17 14:23.
- Last modified 2025-01-23 09:40.
The choice of materials and machines for the production of penoizol, the method of preparing the insulator, options for insulating the roof and floor of the attic, the pros and cons of liquid foam. Insulation of an attic with penoizol is a foam insulator covering the floor and roof of the room in the upper part of the house to prevent heat leaks. The liquid material fills the entire space between the beams and slats and, after polymerization, forms a monolithic layer. The substance is not supplied ready-made for sale; in order to prepare a working composition, it is necessary to mix several components in a special device. How to independently produce foam and create a protective shell, we learn from this article.
Features of thermal insulation of the attic with penoizol
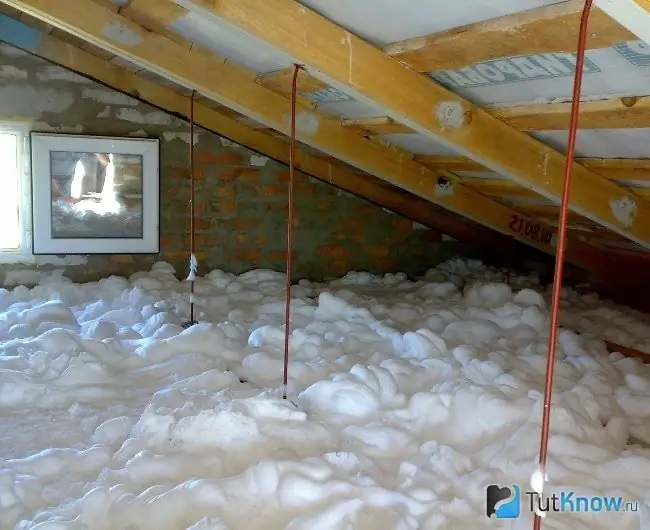
30-45% of the heat escapes through the roof, therefore, for a comfortable stay, they try to isolate the space above the living rooms as much as possible. A feature of attics is the fact that in winter, the ceiling has a temperature close to that of the room below, and the roof is very cold.
Before insulating the attic with penoizol, decide on the purpose of the upper room. On an unexploited one, only the floor is insulated. Another method involves treating the roof with liquid foam, leaving the floor of the attic "bare" so that the warm air from below heats it up. To do this, the heat insulator is placed between the rafters, beams, internal and external lathing. If desired, after polymerization of penoizol, the attic is covered with decorative material from the inside.
For these purposes, Penoizol liquid insulation is well suited, which fills hard-to-reach places and difficult surfaces without problems. This synthetic material is made from urea-foldehyde resin, to which special substances have been added to improve the insulating properties. Apply to the wall as a foam. After hardening, it becomes elastic, to the touch it looks like a marshmallow or marshmallow.
It can also be produced in slabs or in granules, but it is inconvenient to work with such material in the attic.
For the production of insulation, you need to stock up on various components, and also purchase a special apparatus for mixing them. The resulting substance is supplied under pressure to the surface, where, after polymerization, it creates a protective shell.
Advantages and disadvantages of attic insulation with penoizol
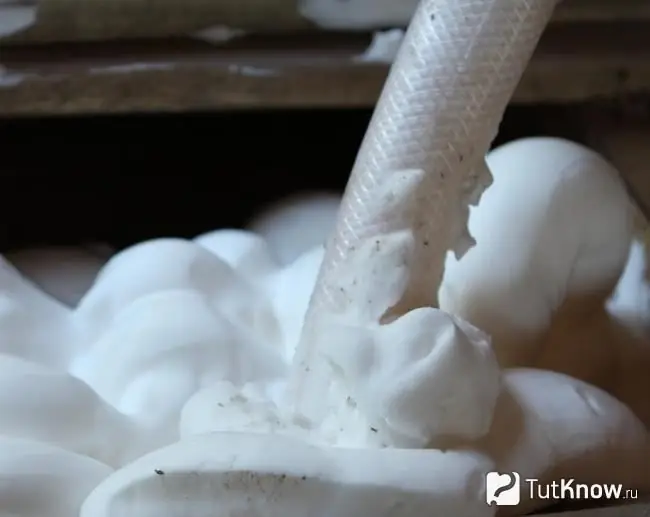
Cured foam under the roof and on the floor of the attic has many advantages over other substances of a similar purpose. The obvious advantages include the following properties:
- To create a heat-insulating layer, 45 mm of foam is enough, which is similar to 75 mm of expanded polystyrene or 125 mm of stone wool.
- The coating has excellent vapor transmission characteristics that prevent condensation from forming. All wooden structures, on which penoizol is applied, retain their qualities for a long time.
- The substance is well resistant to mold and mildew. This property is especially appreciated if the attic is cold and the house is in a damp area.
- Mice do not live in the thickness of the product.
- Liquid foam is able to withstand fire. When heated, it does not melt or smoke. After prolonged exposure to high temperatures, the material evaporates. The use of this substance reduces the risk of fire in summer when the room is very hot.
- The material has sound insulating properties.
- It does not crack after impacts, only bounces and, after removing mechanical loads, restores its shape.
- It tolerates temperature changes well.
- The product efficiently fills surfaces with complex shapes. It is often used to insulate hard-to-reach places.
- The coating retains its heat-insulating qualities for a long time - up to 30 years.
- The material is very lightweight and does not overload the building structure.
- In a solid state, it is easy to handle by hand with the simplest tools.
Penoizol can create some problems during filling and during operation:
- It has a low density, so it breaks easily.
- After a while, the layer dries up and shrinks.
- For polymerization, a temperature of more than +5 degrees is required.
- In the early days, the smell of formalin will be felt in the room, but then it disappears.
- To prepare the substance and apply it to the surface, special devices are needed.
Penoizol attic insulation technology
Liquid foam is produced at a construction site, next to a house, or right in the attic. For work, you need to purchase all the components of the solution and a special machine.
Materials and equipment for the production of penoizol
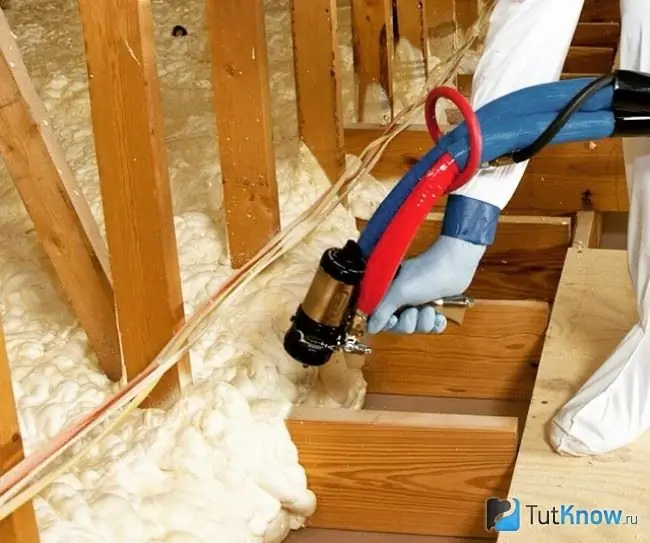
For the manufacture of insulation, you will need the following ingredients:
- Urea-formaldehyde resin … This is the base from which the "skeleton" of the material is created. The most popular brands: VPS-G, KF-HTP, KFMT, KFZh. Their compositions are almost identical, differing only in the percentage of formaldehyde. In practice, this means that the bad smell of foam made from resin with a lot of formaldehyde will last longer in the room. Manufacturing technology of resins VPS and KF-HTF allows tight control of the content of toxic substances, so they are more popular.
- Foaming agent … Responsible for the formation of a large number of air bubbles, which provide low heat-conducting qualities of the material. Manufacturers produce acidic (ABS) and alkaline ingredients. The former contain sulfuric acid, which, if handled carelessly, can cause skin burns.
- Catalyst … Converts the liquid form of a substance into a solid. They are made from orthophosphoric acid НЗР04. After adding to the resin, the chemical reaction of the formation of penoizol begins.
- Water … It is necessary to create a liquid solution from components and to form a foam. It is used only in the initial stage of the process, after being applied to the surface it quickly evaporates. It is not recommended to use hard water in solutions, which does not foam well.
Equipment for the production of penoizol consists of several units, combined into a single system. On sale there are multifunctional devices and budget options from a minimum set of elements. When choosing equipment, pay attention to the weight and dimensions of the unit, because it will have to be lifted to the attic. For the insulation of large areas, it is recommended to use the latest generation devices. Their design allows products to be placed at a great distance from the attic.
The installation for the production of penoizol consists of the following parts:
- Resin and hardener barrels … In the latest generation systems, the containers in which the components were transported can be used. The intake is carried out through hoses that are dipped from the top. In older devices, the tanks must have taps, so the liquid is poured into barrels that are more suitable for the selection of substances. Resin is supplied in 50 liter tanks. One container is enough for making 2-3 m [sup3] [/sup] ena. The acid barrels are much larger. A foaming agent is often added to them.
- Pumps … Pressurize the resin and acid lines. They allow you to adjust the consumption of components by adjusting the speed. The reliability of the product and the quality of the foam depend on the pumps, therefore great requirements are imposed on them. If the pump is a plunger pump, all parts must be plastic or stainless steel.
- Foam generator … Necessary for the formation of air bubbles. There is no single design requirement; it can be of different shapes and sizes. The working composition is formed after the air from the compressor is fed into the chamber. Often a foaming agent is added to it.
- Compressor … It supplies air under pressure to the foam generator. The device is not included in the standard foam kit. The blower power must correspond to the value for which the installation is designed. Instead of one unit, it is possible to operate two lower power units working in parallel. In private construction, it is more profitable to use household compressors.
- Electric water heater … Heats the liquid up to + 50 + 60 degrees at the inlet to the foam generator. This temperature is optimal for the formation of air bubbles. The system is also washed with hot water.
- Gas solution heater … Provides the optimum temperature for foam creation. The device is required for operation in cold weather if a large volume of substance is used.
- Mixer … This is the container in which the foam is mixed and where the polymerization process begins.
- Hose … It is necessary for the supply of liquid mass to the attic.
- Autotransformer … Serves to maintain the voltage in the mains within acceptable limits.
There are two types of devices on the market - gas-liquid and with a portable foam generator. The latter have been developed recently and take into account the experience of previous models.
Foam production
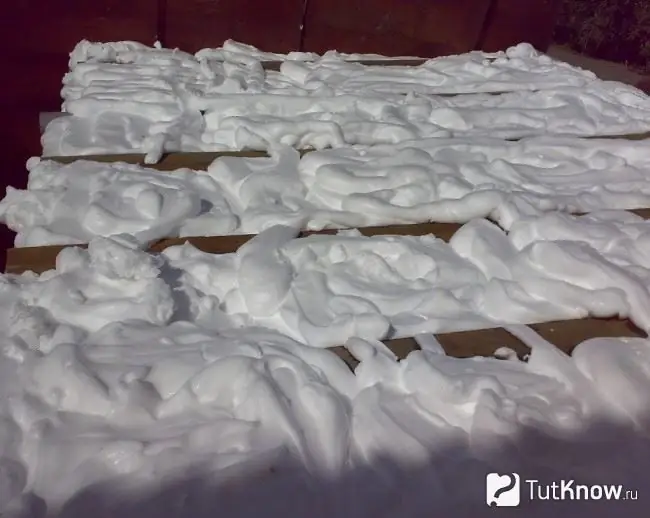
Penoizol is prepared as follows:
- Assemble the device according to the instructions of the machine manufacturer. Place containers for resin and hardener nearby. In gas-liquid systems, the components enter the system independently, through the taps, so place the barrels above the rest of the units. Connect the hoses to the fittings.
- Fill the barrels with components for making penoizol. The acid can be purchased from a factory or made by yourself. To do this, pour water, phosphoric acid, foaming agent into the tank in the required proportions and sequence and mix everything thoroughly.
- Connect the equipment to the mains.
- Open the taps and fill the system with the contents of the containers.
- Switch on pumps and compressor. Adjust the consumption of components.
- A huge amount of air bubbles forms in the foam generator. Under the influence of air, they enter the mixer, where they are mixed with resin, and then through a hose to the attic. Already when moving, the polymerization process begins, which ends 15 minutes after application to the surface.
Apply a little of the substance to the surface and check its quality:
- The resulting mass should have good fluidity and cover the entire plane itself.
- The temperature of the mixture is + 25 + 30 degrees. Only with such characteristics will the structure of the material be optimal.
- Make sure that the substance is finely porous and dense, no air bubbles are visible. It looks like a solid mass of white.
- Poor foaming can be caused by low mix temperature or hard water.
- After polymerization, check the density of the substance. If the material is loose, there is not enough resin, if it crumbles, there is a lot of acid.
- Experiment with the correct proportion of the components, if necessary.
Insulation of an exploited attic
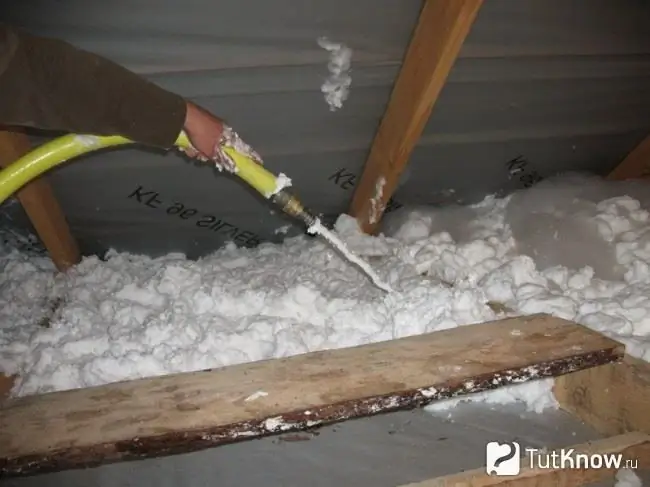
To create an insulating layer under the roof, follow these steps:
- Attach the vapor barrier membrane to the rafters and lathing with a stapler. Place 10 mm moisture-resistant plywood on top of the film and secure with self-tapping screws.
- Make holes with a diameter of 25 mm in the canvas between the power beams. The first should be located under the ridge, the last near the floor, the rest evenly along the rafters in increments of 1.5 m.
- Place the hose in the lower hole and fill the cavity with substance up to its level. Pull out the hose and close the hole with a wooden or rubber plug. Move the hose to the top hole and repeat the operation.
- In this way, fill in all the voids enclosed by plywood and roofing material.
An economical option for insulation does not involve the use of plywood. The order of work is as follows:
- Attach a vapor barrier film to the rafters, which will create cavities-pockets. Lay the canvas with an overlap on the walls, floor and adjacent pieces with an overlap of 15-20 cm.
- Close the joints with reinforced tape and fix with a construction stapler.
- For the reliability of the attachment point to the beams, cover with a double-folded strip of canvas and nail with the same stapler. You can also use counter rails.
- From the top into the cavity, lower the hose to the floor and fill the space with foam, gradually lifting the hose. If the film sags, reinforce it with slats.
- After polymerization, the beams can be removed.
- Fill the horizontal sections last.
Non-residential attic protection works
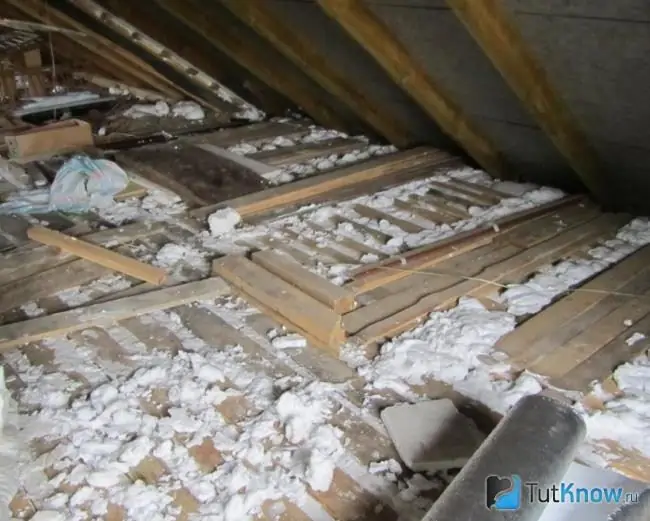
Insulation is performed to prevent thermal energy leakage from the house. In this case, the attic itself remains cold. Penoizol is very lightweight, so even the most dilapidated buildings can be thermally insulated with it.
The work is performed in the following sequence:
- Pull a roll-up membrane (hydro-barrier) over the logs, which increases the service life of the coating and ensures the proper functioning of the vapor-permeable insulation. Secure it to the logs with a stapler.
- Make cuts in the hose foil.
- Fill the span of the floor with liquid foam, then move on to the next section.
- After the substance has solidified, seal the holes with adhesive tape.
- If necessary, to move on the floor, install plank decks.
It is easier to insulate the attic with penoizol if the floor structure consists of two decks, between which there is a gap of 50-150 mm. To prevent the floor surface from deforming after injection of liquid foam under pressure, the floor boards must be 50 mm thick.
Make a hole with a diameter of 30 mm in the coating. Insert the hose of the foaming unit into it, slide it as far as it will go, and then pull it out 50 cm.
Fill the space with foam up to the wall and move the hose the same distance again. Repeat the operation until the opening is completely filled. Close the holes with wooden plugs.
How to insulate an attic with penoizol - watch the video:

The complexity of the thermal insulation of the attic with a liquid material is associated with the formation of cavities into which penoizol is poured. However, the increase in labor intensity is leveled by the creation of a monolithic coating that reliably blocks heat leakage.


