- Author Arianna Cook cook@women-community.com.
- Public 2023-12-17 14:23.
- Last modified 2025-01-23 09:40.
The main nuances of floor insulation with foam, preparatory work and the necessary tools, how to make a concrete screed, how to cover the insulated surface with linoleum. Thermal insulation of a floor with foam is a set of measures aimed at effectively protecting a room from heat loss. In some cases, it is sufficient to carry out such thermal insulation so that there is no need to protect walls and ceilings. Since foam is one of the most inexpensive materials, it can be recommended not only for domestic but also for commercial premises.
Features of work on thermal insulation of the floor with foam
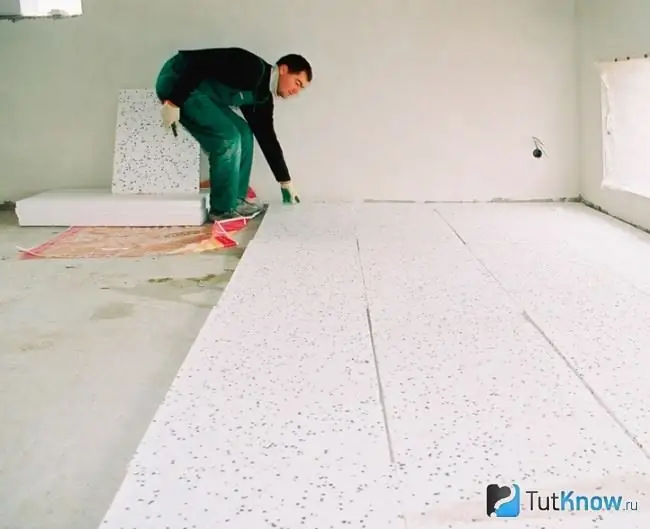
At its core, polystyrene foam is nothing more than a compressed block based on expanded polystyrene granules, which are treated with saturated steam. First, they are dried to the desired state, and then glued into plates of the required size. This material owes its qualities to air, because there is more than 97% of it in the structure of foam sheets, and, as you know, it is a natural heat insulator.
Due to the heating of the material during the manufacturing process, it acquires a high degree of moisture resistance. For this reason, foam insulation of house floors can be carried out even in cases where groundwater is located high. Due to the low thermal conductivity inherent in it, it is possible to significantly reduce energy losses in such natural regions.
In addition to the fact that polystyrene is very democratic in its cost, it can significantly reduce the cost of heating a home or office space. If the thermal insulation was carried out correctly, then it will lead to a number of obvious effects, including an improvement in sound insulation, a decrease in heat loss, and a comfortable living environment.
The thermal insulation system can become more effective if it is treated with antiseptic and moisture protection compounds. In the case when dry mixtures designed for the preparation of solutions and ground paints are used, they must belong to the same production line. Failure to comply with this requirement may not ensure proper adhesion of the composition to the treated surface. There are a large number of varieties of this material, most of which can be used in the insulation of buildings and structures for various purposes. They can vary in thickness, density and size.
Despite the fact that you can use almost any material for work, it should be understood that the smaller the thickness of the foam for floor insulation, the more fragile it will be, and, accordingly, fragile. It is better not to use such a heat insulator when it comes to the first floors of buildings on the ground.
It is more correct to use special online programs that are freely available on the Internet to calculate the required foam thickness. Everyone, even an unskilled specialist, can deal with it. Thus, it is possible to calculate the amount of material required for insulation without overpaying.
The best solution would be to use foam as a heat insulator in such cases:
- Insulation of concrete floors on the loggia;
- Insulation of an unglazed balcony;
- Arrangement of all types of floors in a private house;
- Laying floors on the ground in the process of building a bath.
Note! It is necessary to check the installation of foam plates. There should not be any voids under them, since in the future the floor will begin to "walk" in the area of the formation of expansion joints.
Advantages and disadvantages of floor insulation with foam
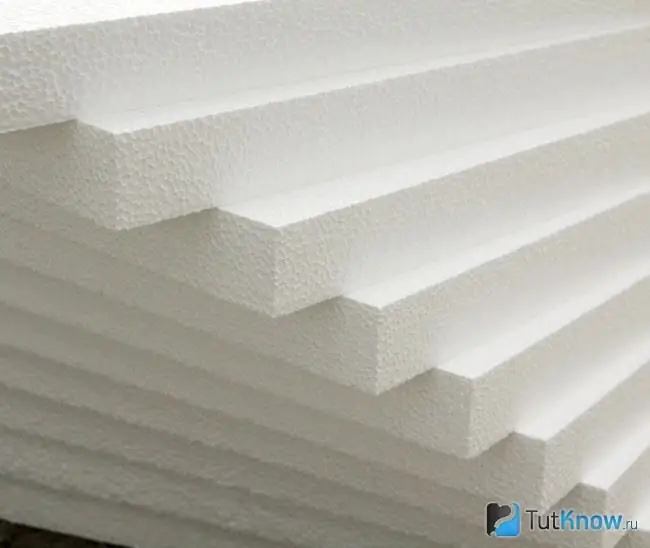
The material is characterized by so many positive properties that it is widely used as a heat insulator. Among them I would like to highlight the following:
- Resistant to chemically aggressive substances.
- Able to withstand strong pressure without changing the structure and shape.
- Differs in relatively low weight and ease of installation.
- The stiffness and special strength of the foam allows you to easily lay it on any base.
- It has high biological resistance, and therefore can be used for the first floors of buildings.
- Evenly distributes the load on the floor, extending the service life of various floor coverings.
- It is one of the most convenient and flexible materials to work with, in which it is easy to make indentations or cut into pieces of certain sizes.
- The resistance of the foam to the appearance and spread of mold and fungi makes it safe for humans from this point of view.
- Manufacturers guarantee a long service life: according to some sources, its service life can be up to 100 years.
There are also certain negative aspects associated with the use of this heat insulator. The most important thing is that it burns and melts in the process of direct contact with an open fire. Considering that the consequences of this can be dire, attention must be paid to good protection of the foam from sources of flame.
As this insulator naturally ages, it can give off unpleasant odors. This means that the room insulated with it should not be too humid, but should be well ventilated. In addition, when heated to a temperature of 90 degrees and above, there is a high probability of the release of volatile substances that are unsafe for human health.
Ordinary foam is not very good for insulating damp and cold basements due to the fact that it easily pulls moisture into itself. It is better to purchase extruded polystyrene foam for such purposes. It does not absorb water, but remains dry and lightweight.
Styrofoam traditionally attracts rodents who like to equip their homes in it. To avoid this, it is necessary to limit contact with areas of their possible hit. You can use metal inserts or pieces of mineral wool for this.
Floor insulation technology with foam
Despite the fact that it is very easy to work with foam plastic even without proper qualifications, it is important to comply with the installation requirements and properly prepare the surface on which it will be mounted. This heat insulator can be used on various types of bases: on the ground, on concrete, on wooden logs.
Preparation of the floor surface for the installation of foam
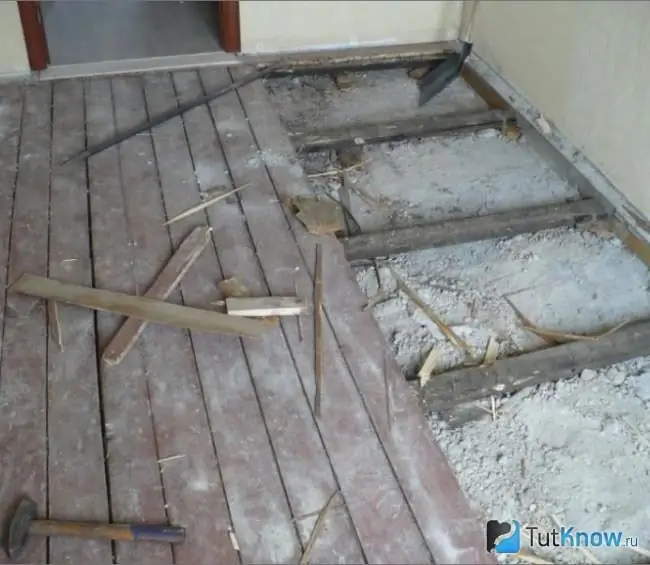
In all cases, do-it-yourself floor insulation with foam plastic begins with the preparation of the base. First, the old coating is removed - it can be parquet, boards, linoleum, PVC tiles. The floor is carefully examined for a variety of defects. These include cracks, protrusions, mechanical irregularities, mold and rot. To seal cracks, polyurethane foam and various filler mixtures are used. The concrete surface can be leveled with your own hands, but it is advisable to use self-leveling construction mortars for this. They reliably close all missed cracks, especially at the points of abutment to walls or pipelines.
After the repair and restoration work has been completed, the surface must be covered with a vapor barrier film. This is done in order to avoid decay of the floor, so you should not save on vapor barrier.
From consumables you will need: glue, tape, cement, dry mortar, screws, nails, polystyrene. As for the tools, you will need to prepare: scissors, a flooring knife, a spatula, a scribe, a tape measure, a ruler, a plumb line, a hammer, a pencil, working containers for mixtures and solutions.
Pouring concrete screed
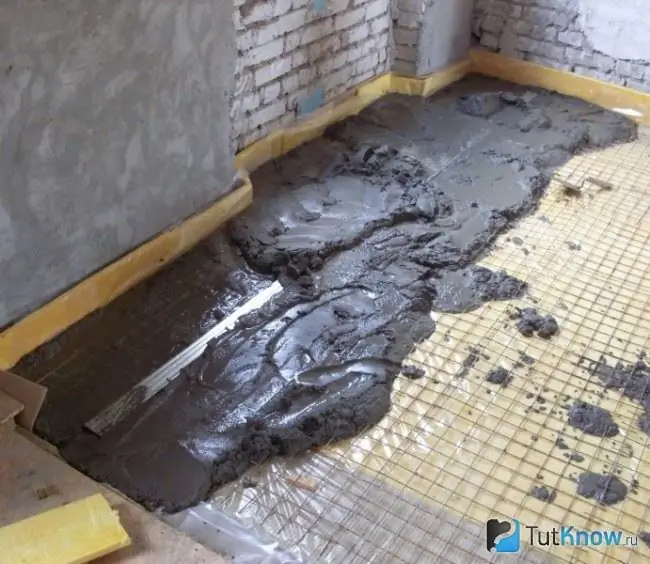
In some cases, it may be necessary to build an additional concrete screed on the floor. It may be needed when its condition does not make it possible to immediately lay wooden logs on top. This is especially noticeable in a situation where there are large differences in height or large gaps on the surface. The screed is also necessary when they want to make an electric heated floor.
It is necessary to build on the condition in which the old coating was. If it is strong and even enough, the new screed can be poured directly from above over it. In the case when the old base crumbles, it is better to completely break and dismantle it. Large holes or gaps in the balcony slabs must be sealed.
In order to prepare a solution, you should choose the right mixture from a wide variety of them. There are ready-made kits designed specifically for creating a screed, and they can be self-leveling, so there is no need to level the floors in the room. Another option would be to use a cement-sand mixture, in which 3 or 4 parts of the sand account for one part of the cement.
If the solution is made with your own hands, then first all the components are mixed together in a dry form, and only then water is added. It is poured in in small portions until the consistency of the desired state is obtained. The mixture should not be made liquid, but rather fluid.
It is easier to use ready-made compositions for pouring, but a thorough study of the instructions for carrying out the work will be required. Despite the apparent convenience and simplicity, without experience and qualifications, it is easy to spoil the quality of the future screed. A particular danger is the rapid solidification of such ready-made solutions.
Now you can proceed to pouring the mixture. It is good if a reinforcing wire mesh is previously laid on the floor. The thickness of the filling layer should be about 3-5 cm.
After pouring, it must be carefully leveled and corrected with a plaster float. To make the surface perfectly flat, a building level is used. The freshly laid solution is powdered with dry cement - this is the so-called "iron". Now you can proceed directly to the floor insulation.
Instructions for thermal insulation of the floor with foam
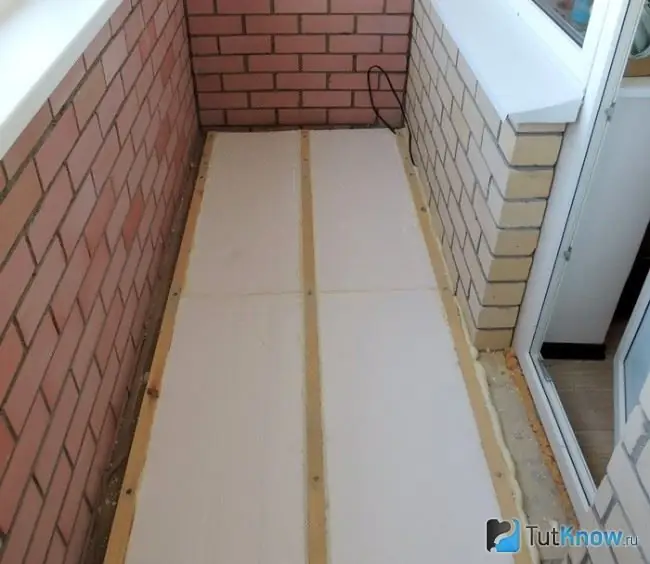
The complete technology of floor insulation with foam can be reduced to the following processes:
- If thermal insulation is done on the ground, then the ground must be carefully leveled. In this form, she is given time to shrink about 1-1, 5 weeks.
- A 1-centimeter layer of gravel is poured over the ground, which must be carefully tamped with a special tool.
- A ball of sand of the same thickness is laid on the gravel and tamped again.
- Now we need to create waterproofing. For this purpose, a special plastic film is purchased.
- A crate made of metal or wood is laid on the waterproofing.
- Foam blocks are laid in its holes. In this case, the width of the products must be adjusted to the size of the frame holes.
- After the insulation is carefully mounted, the crate is closed with chipboard panels. Any floor covering can be placed on top.
Finishing the floor
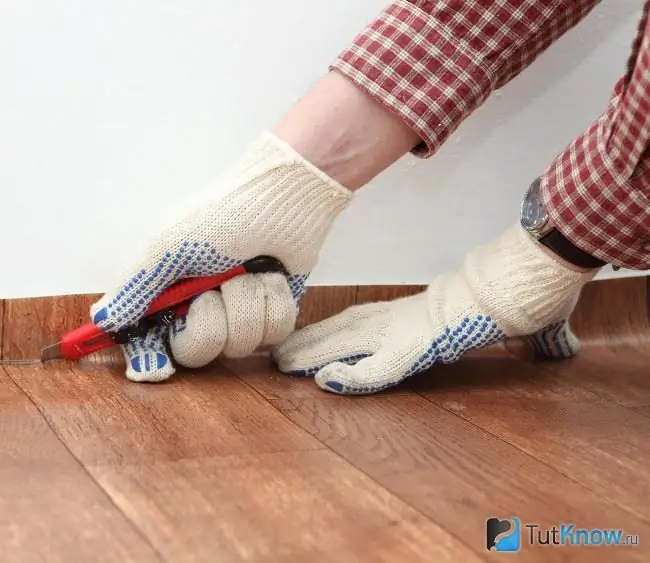
What the finish of the insulated floors will be depends largely on the wishes of the owner himself. There are different options, each of which is able to radically transform the appearance of the room.
For several decades now, one of the most popular ways has been to lay linoleum. It is one of the most functional and easy to maintain coatings. Its decorative qualities, abundance of colors and textures make it possible to decorate the interior in virtually any design style.
After the heat insulator has been laid and covered, and, perhaps, even a screed has already been made on top of it, you can begin the installation of the floor covering. It is clear that this is done on an absolutely flat surface. Otherwise, in the future, during the operation of the floor, irregularities, bumps, pits will appear, which will gradually lead to deformation of the coating. And its appearance will not be so aesthetic.
All sides of the room are measured in order to understand the maximum value of the length and width of the room. Correctly calculated linoleum width will minimize the number of seams. Additionally, you will need to take into account the margin for the coincidence of the pattern, as well as for the possible curvature of the walls. Then you can start cutting the material, taking into account the direction of the pattern, as well as its coincidence on adjacent strips.
Fully prepared panels are straightened, and now they must be left indoors for a couple of days in order to achieve their complete leveling. At the same time, it is desirable to provide a temperature of + 18 ° C in the room. During installation, it is also imperative to observe the humidity and temperature conditions, because otherwise the base of the coating will peel off and be destroyed. Some experts recommend applying a soil solution to the floor surface before laying the linoleum. The material itself can be glued, or complete leveling can be dispensed with. The thickness of the adhesive layer will depend on its constituents. In this case, it is necessary to adhere to the manufacturer's recommendations. In any case, be sure to expel air from under the coating with a spatula in order to achieve a perfect fit.
To get a perfectly even joint, you can lay 2 overlap strips, after which, with a special knife, cut both canvases at once along a ruler. Now you can start fixing the linoleum with a special plinth, which is purchased according to the size of the room.
How to insulate the floor with foam - watch the video:

It is quite possible to do floor insulation with foam plastic with your own hands. Using the algorithm of work presented in the article, as well as the necessary improvised means, even those who do not have special qualifications can create a thermal insulation coating.


