- Author Arianna Cook cook@women-community.com.
- Public 2024-01-12 17:55.
- Last modified 2025-01-23 09:40.
Learn how to draw a mermaid, fairy, flowers. In the article you will find a detailed description of how to make frames with your own hands to frame your drawings. Drawing helps the self-expression of children, the development of their creative abilities. It is especially interesting to create images of your favorite cartoon characters. If you do it with a pencil in stages, and then paint the hero of the picture, then it will turn out to be realistic.
How to draw a fairy?
Children love the animated series Fairy School, so why not show them how to draw a fairy. She may look like one of the heroines of this cartoon, or it will turn out to be a little different, thanks to the artist's imagination.
This flying sorceress is depicted against the background of a fabulous nature, which makes the picture even more mysterious and interesting.
It is better to start drawing such a fairy tale from the main geranium. When the children learn to paint it separately, then they can easily transfer it to the canvas, where the background will also be depicted.
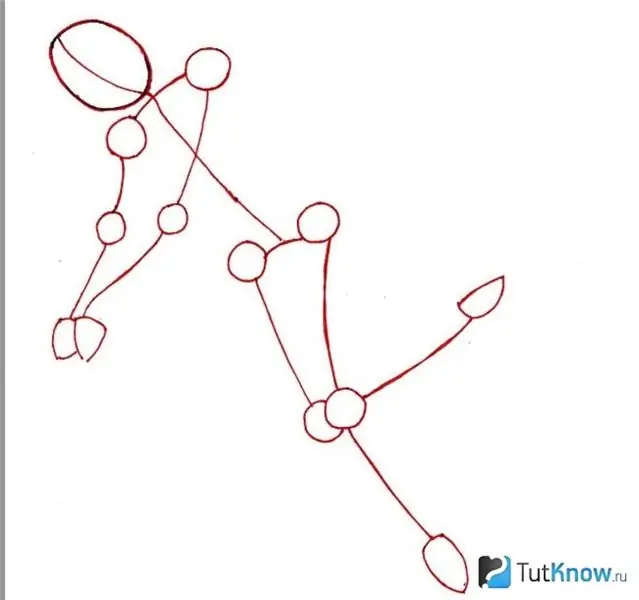
We begin to draw a fairy with a pencil by drawing a diagram. On the left, draw an oval, which will soon turn into the head of the heroine of the canvas. As you can see, the segments at shoulder level and the pelvic line are almost the same size and parallel to each other. Draw small circles on either side of these lines. Draw the same in the area of the elbow and knee folds, in the place of the palms and feet. Draw the outline of the torso, arms and legs in straight lines.
Further, the magic girl is drawn in pencil in stages as follows. Draw rectangles around the body and pelvis. Leave the waist thin. Mark the hairline on the head. Next, below, draw 3 more slightly rounded lines. They will help depict facial features. 4 sections behind the back will tell you how to draw the wings.
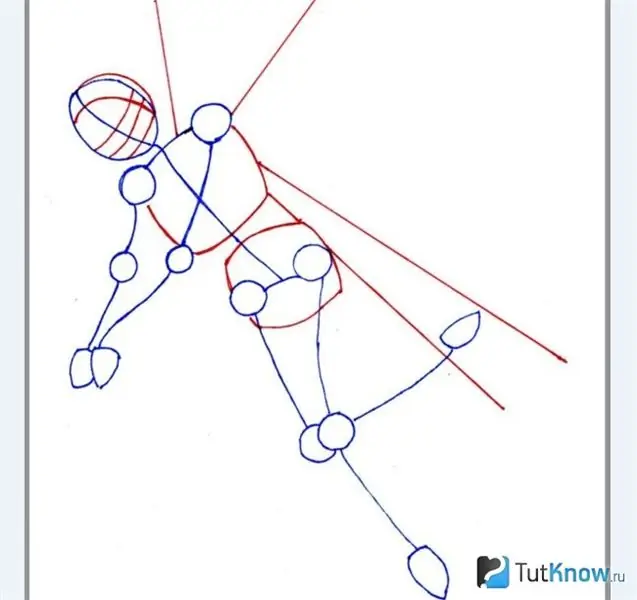
Indeed, in the next step, you will depict 2 upper and 2 lower wings, outlining these 4 segments behind the back of the sorceress. Draw the arms and legs as well, based on the previously created outline of these limbs.
Draw the palms and the flower she is holding with them.
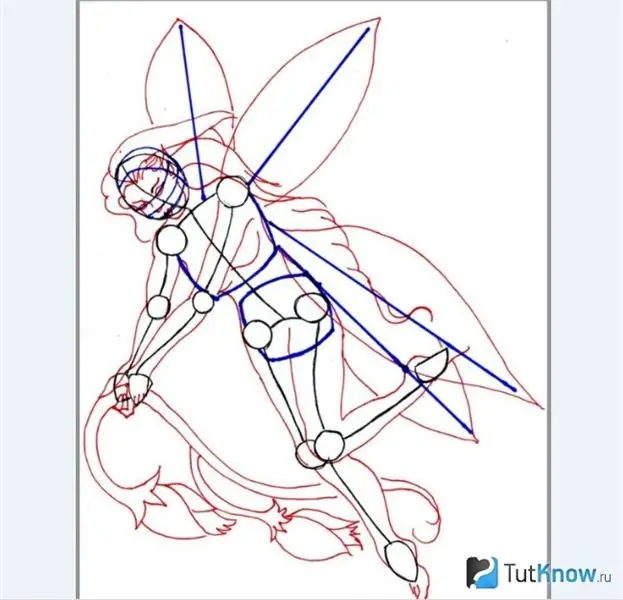
In the next step, draw her tight-fitting clothes, hair, facial features and see how to draw the wings further. The veins will help make them more realistic.
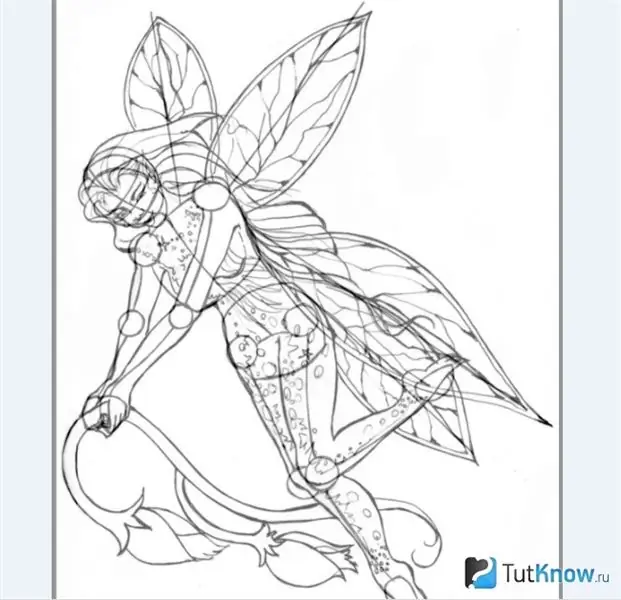
In the next step, erase the auxiliary lines and paint on the main ones if you accidentally erased them.
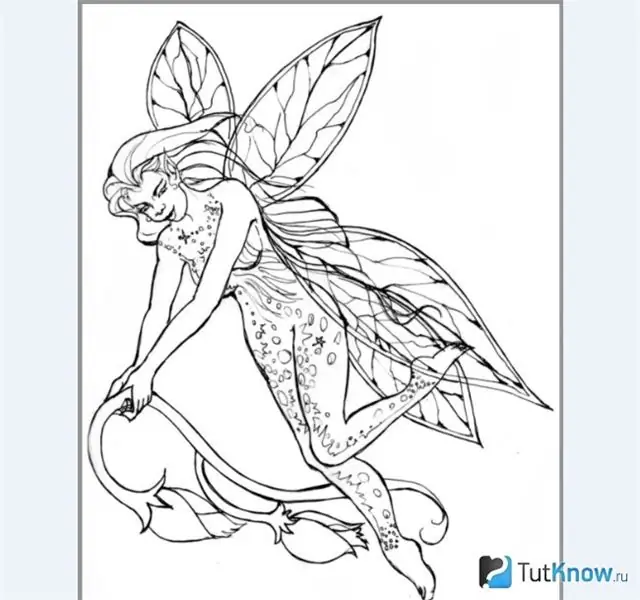
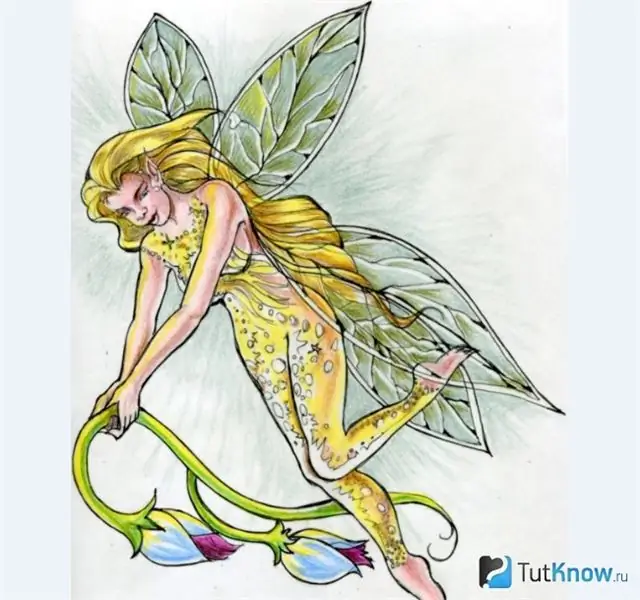
The final step of drawing a fairy is coloring. Children like this stage very much. If it is difficult for them to draw a fairy with a pencil, then they will color it with pleasure.
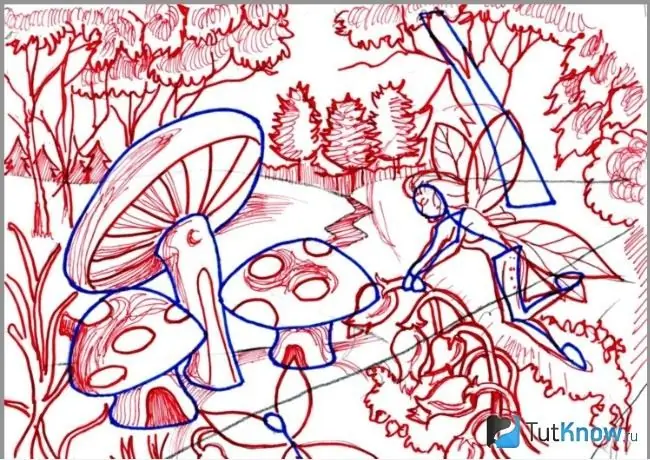
Looking at the next photo, draw intricate lines. They will help us put objects in the foreground and background correctly.
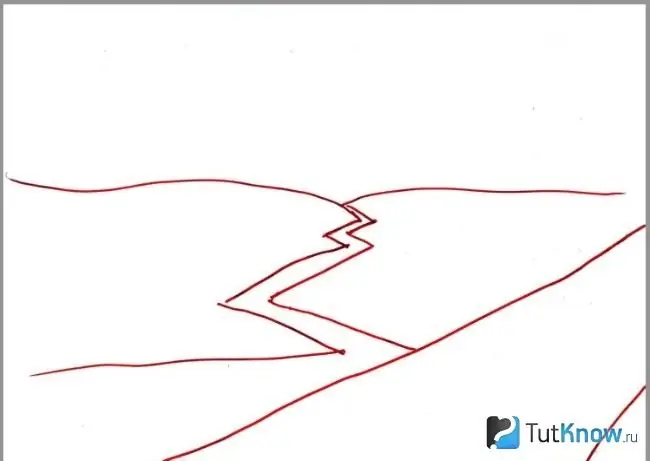
We draw large mushrooms on the left, a large tree on the right. Here we will leave the place where our main character will be located. Before that, you have practiced in her image, so this should not cause difficulties.
Drawings of fairies from the Winx School cartoon series familiar to children may be the same. Draw the proportions of their bodies in the same way. Fabulous girls differ from each other only in hair color, clothes, facial features.
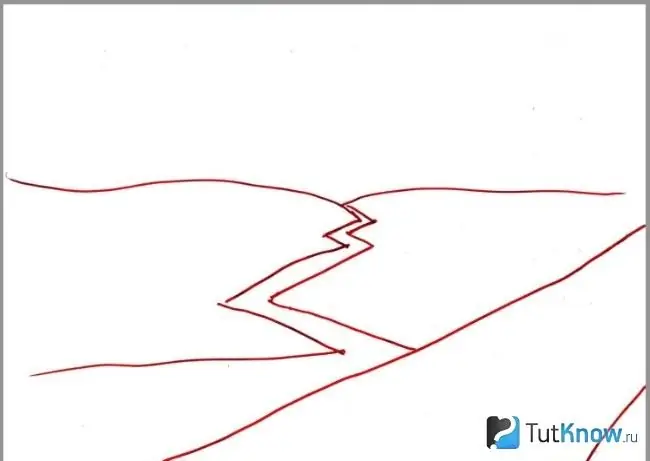
In the next step, depict mushrooms, trees in the background and on the sides. So that you can clearly see how to do this, the following tooltip drawing was created using a red and blue felt-tip pen.
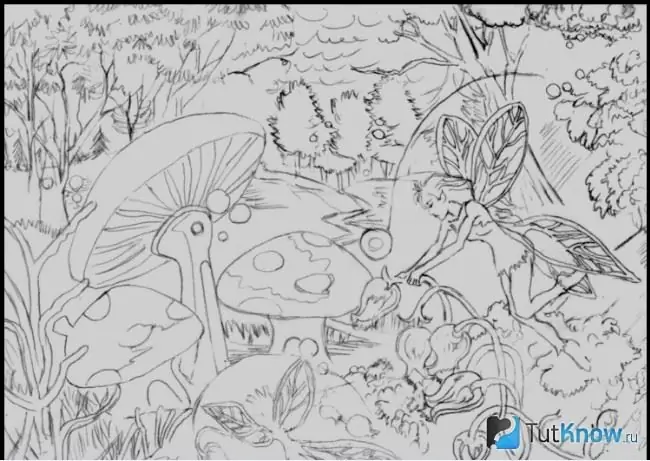
You will have it in pencil. Erasing the auxiliary details, you will get this or a similar result.
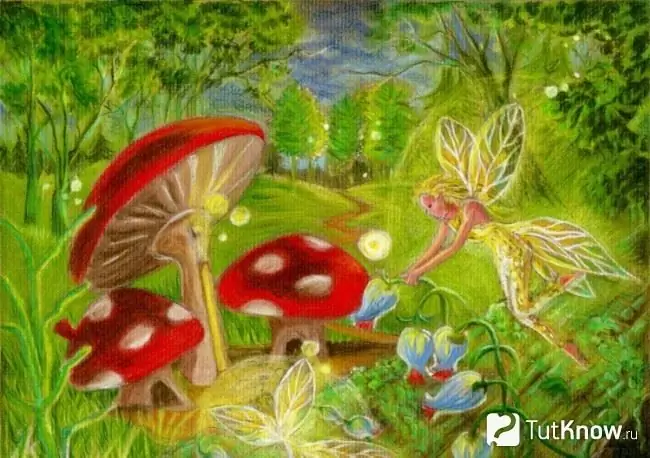
It remains to paint the canvas and admire the final result. Here's how to draw Winx and other fairies from the famous cartoon.
A phased drawing of a mermaid in pencil
The end result might be like this if you color in your sketch.

And the work begins with a simple drawing, with which we will create the basis of the body parts. Since Ariel is sitting on a rock, we need to create a line of curves to show this. Draw it as shown in the photo, marking the lower part of the tail with two lines.

Create the shoulders using a straight line. Draw similar lines on the face of the water beauty to then draw the facial features here. Draw a vertical line to keep them symmetrical.
Here's how to draw a mermaid next, in the next step. In the upper part of the face, depict perky bangs, and in the back - hair that falls to the waist.

The next photo shows how to draw Ariel's eyes, nose, lips and outer garment. Make her hair flow with a few strokes of the pencil.

At the next stage, the extraordinary girl has a tail, body, arms. We outline the stone so that you can see what she is sitting on. It remains to erase already unnecessary lines of the diagram and leave the drawing in this form or decorate it.

Now the fruits of creativity can be put into a handmade frame, put on the table or hung on the wall.
How to make a cardboard picture frame?
You will make such one from scrap materials, taking an ordinary cardboard box of the required size. You can make a photo frame in the same way.
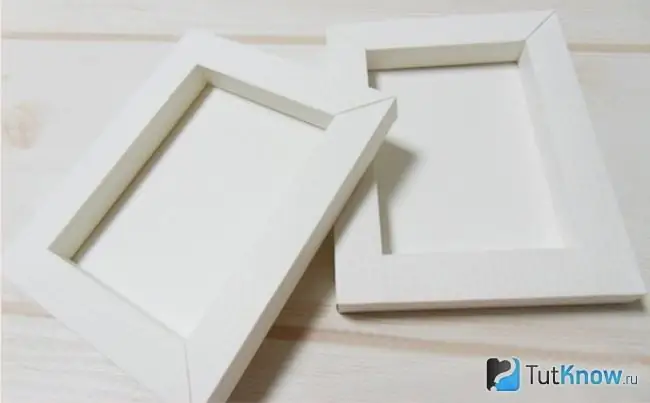
Below is a list of the necessary for this needlework. It:
- cardboard box;
- stationery knife;
- glue.
Here, in fact, is all that is needed.
If you want to decorate your creation, use colored paper for this. It is glued to the finished product, on top of which you can glue buttons, coffee beans, shells and even pasta. Take a box, lay it out, cut the corners as shown in the photo.
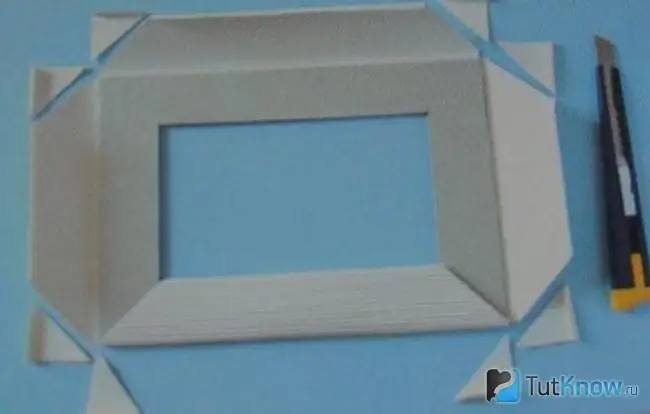
Now fold its four edges, also relying on the visual clues. Glue a strip of cardboard from two long sides.
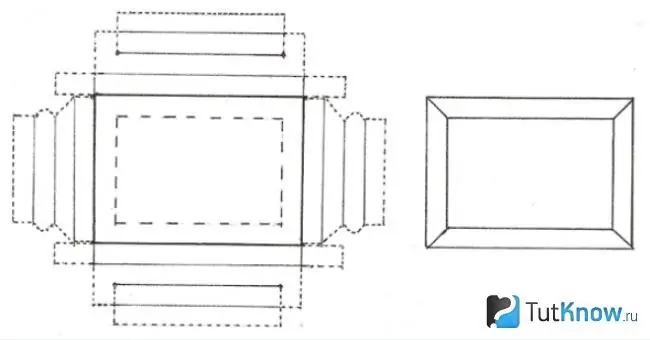
Fold the edges down so that they become voluminous, glue them.
In the center of the cardboard box, you need to cut a rectangular hole in order to then insert the picture there. But it should be slightly smaller than necessary, as you will wrap the border of the cutout inward.
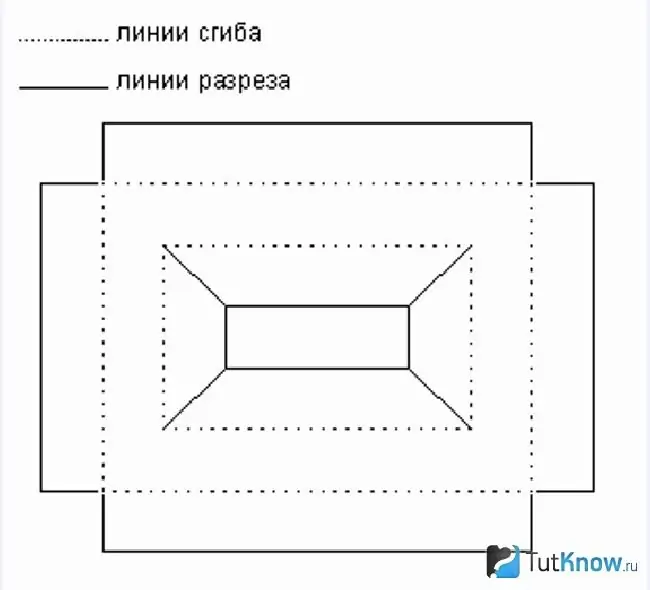
Now glue the frame to the cardboard box, and the DIY picture frame is ready.
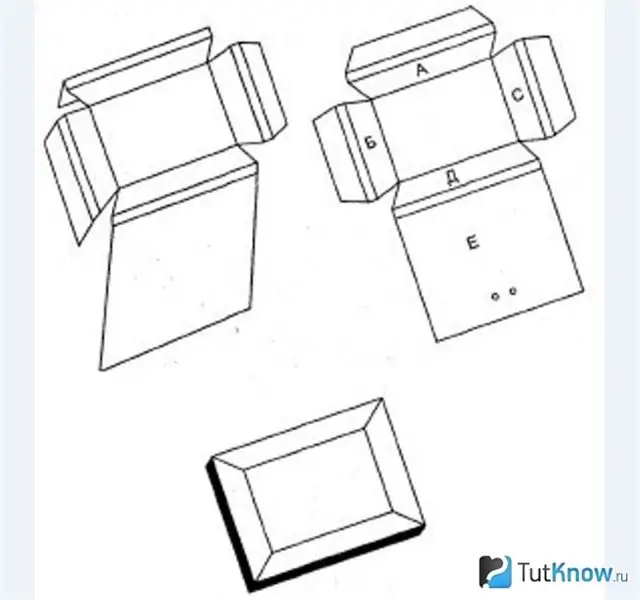
You can do otherwise - create a border for the picture from a solid box. Then unfold it, cut three sides shorter, and the fourth (E) - just a little, you will put the drawing on it.
Bend the sides, as shown in the photo, glue the details, and another DIY frame for a picture is ready.
DIY baguette frame
A frame for a picture from a ceiling plinth is an excellent option for those who have this material after the renovation. 4 strips need to be cut out of the remnants - 2 of the same size in the mirror image.
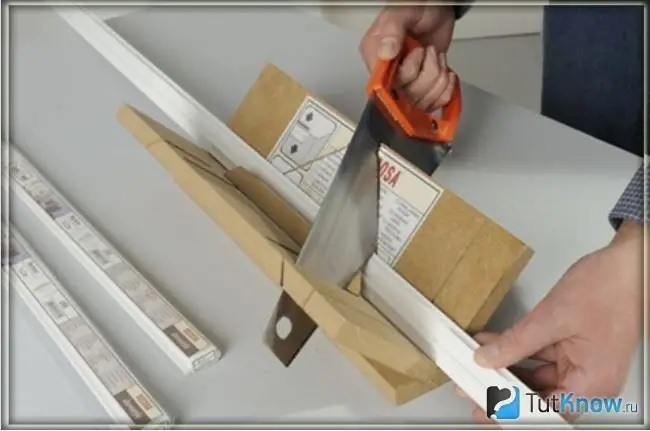
Note that the joints are cut at a 45 ° angle so that when glued together they form a 90 ° angle.
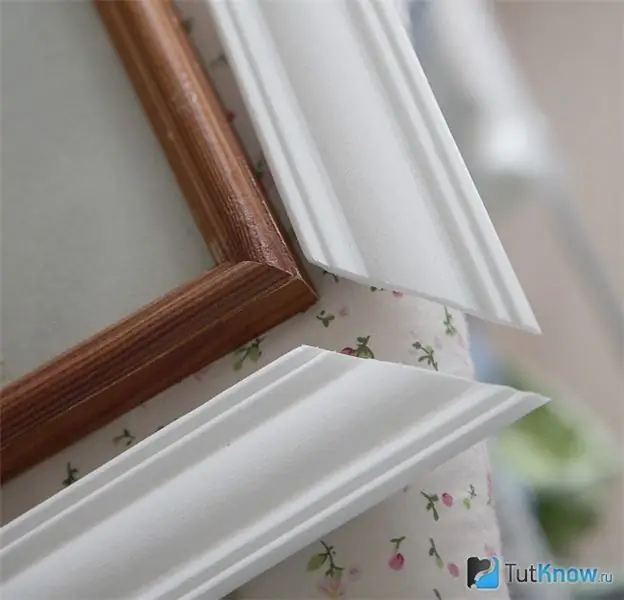
Assemble the frame for the picture from the plinth, put the drawing into it, glue the cardboard base.
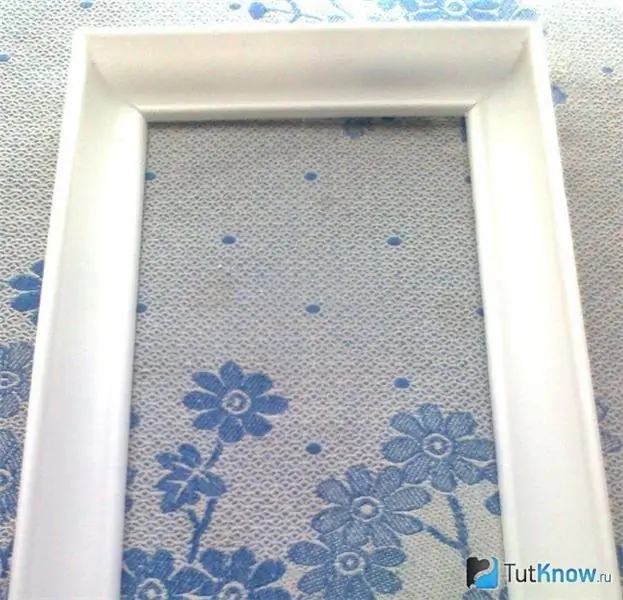
You can leave the frame in this form or decorate, for example, by covering it with spray paint.
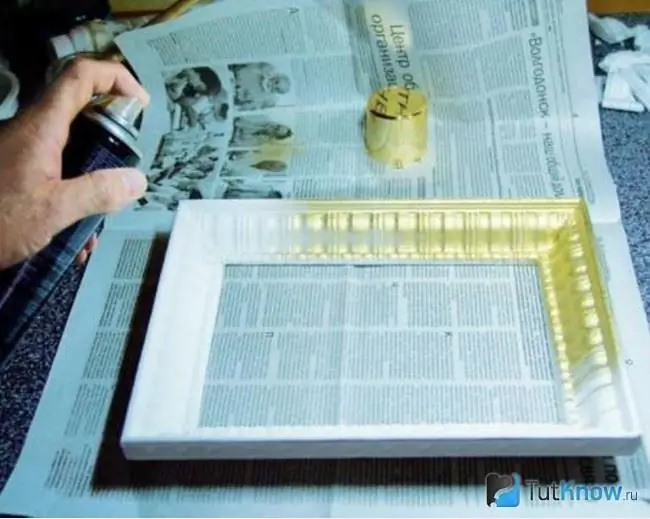
But unprocessed ones look great too. Allocate a wall space for children's drawings and hang their pictures, framing them in frames.
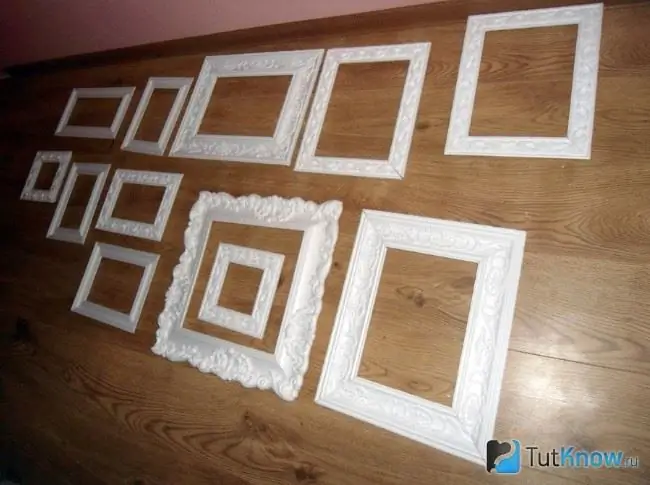
Not only images of cartoon heroines can hang on the wall, but also flowers that will decorate the space and look good in light frames.
How to depict flowers in stages?
It will be easy for kids to draw a sunflower if adults show them how to do it.
Have them draw a circle. It is easier to do this by outlining an object of this shape, for example, a coin.

Further, the circle is framed by petals with a sharp outer edge.
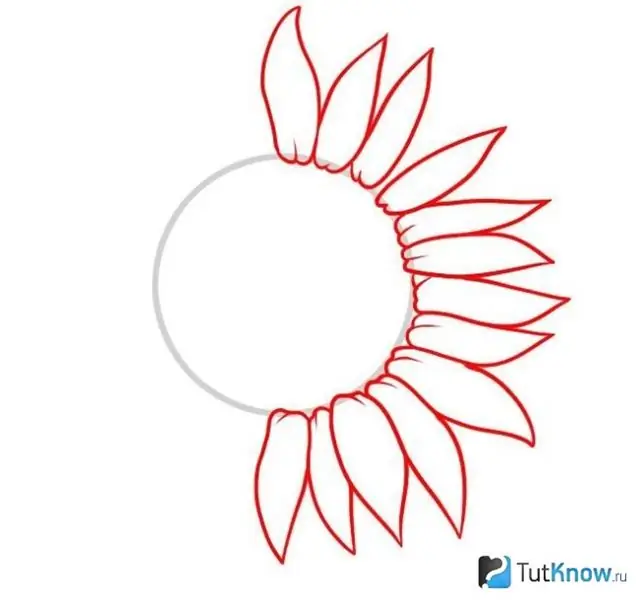
First on one side and then on the other side.
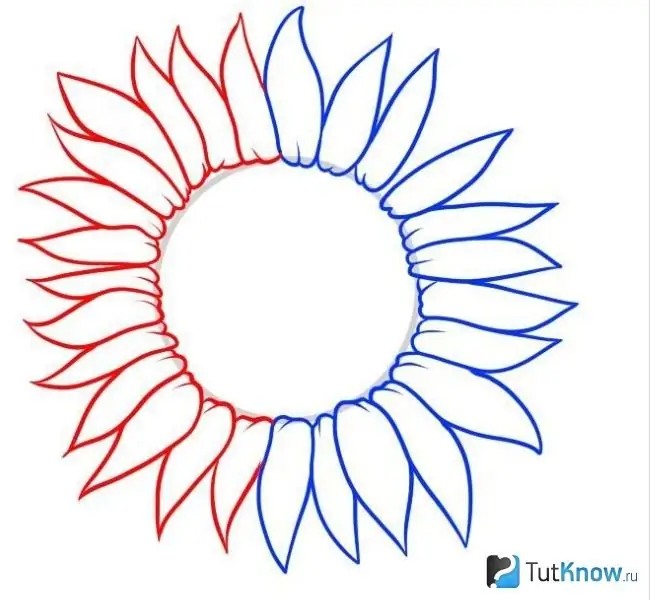
This was the first top row of petals. Under it, in a checkerboard pattern, depict the second tier.
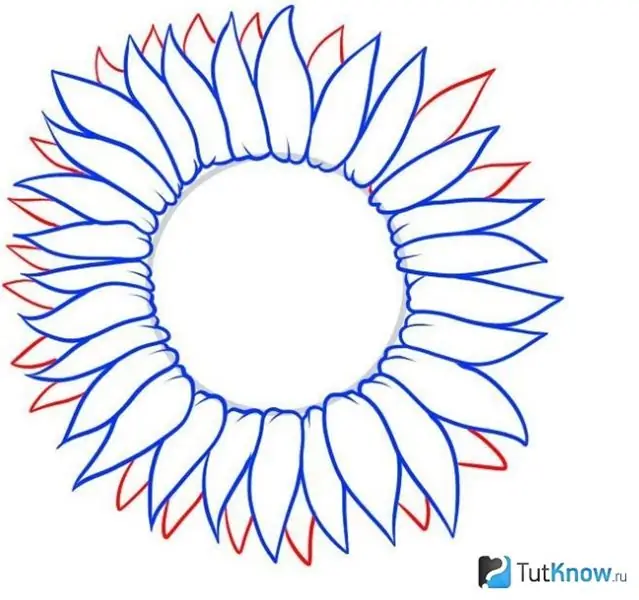
It remains to mark with a pencil the stem, leaves and color the sunflower.

And here is how a rose is drawn with a pencil, and then painted in a bright color.

We will depict 2 blossoming buds, for this you need to take:
- paper;
- pencil;
- eraser;
- compass;
- paints.
Using a compass, stencil or ruler with holes, 2 circles are drawn. In this case, one is slightly superimposed on the second. Then the junction must be erased with an eraser.

Let the child not press hard on the pencil so that you can easily erase unnecessary details or incorrectly executed outlines of the flower. Now we will mark with a pencil the core of the bud and the first petals in the center of the flowers.
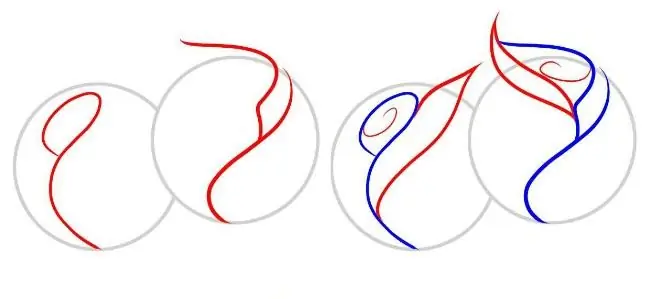
Here's how to draw a rose step by step further. It is necessary to draw its outer petals and a couple of leaves located under the blossoming buds.

After the auxiliary lines are erased, you get the following result.

Now you know how to draw a rose with a pencil and you can teach this to your children. Let dad play the role of teacher, then the son or daughter will create such a drawing and present this gift for mom's birthday or on March 8.
They can also give their other creations, for example, to grandparents, and parents will pre-frame the drawings by enclosing them in frames that are quickly made from scrap material.
From the videos presented, you will learn how to draw the heroes of the Smeshariki cartoon hedgehog and Nyusha, quickly make a beautiful cardboard frame for framing children's paintings:


