- Author Arianna Cook [email protected].
- Public 2023-12-17 14:23.
- Last modified 2025-01-23 09:40.
The technology of laying foam on floors of various designs, the advantages and disadvantages of using insulation, the choice of consumables for the insulating layer. Penoplex floor insulation is an effective option for thermal insulation of a room without reducing the distance between the base and the ceiling. Thanks to its unique characteristics, it can be laid on any surface. In our article we will talk about the field of application of this material and consider the technology of installation work.
Features of work on floor insulation with penoplex
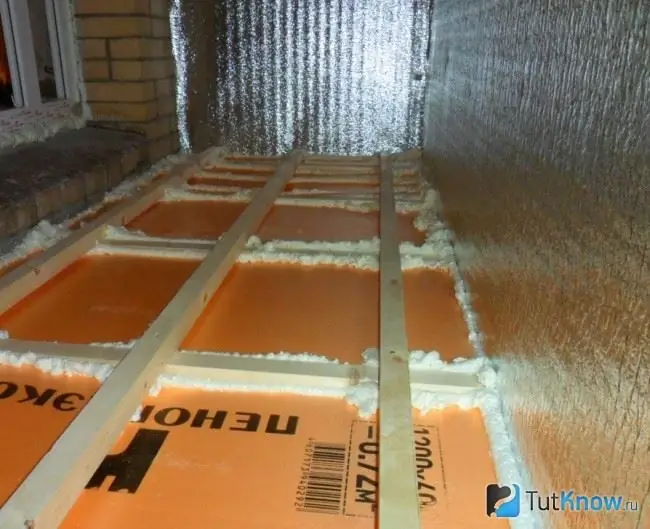
Penoplex is a unique building material with the properties of foam and plastic. It is a product with a closed cell structure, which retains heat well.
The product differs from other heat insulators for the floor by its high density and rigidity. It is convenient to lay it to create a frameless floor covering. Often used in the following cases:
- For laying on the ground, if there is no basement under it;
- In high-rise buildings on interfloor ceilings or above basements on concrete;
- When creating self-leveling and warm floors of small thickness (film or in the form of mats);
- On balconies and loggias;
- For the formation of a floor on the ground during the construction of a bath.
It is not necessary to put penoplex on the logs, because in this case its advantages in the form of density and moisture resistance do not play a role, and it is better to use cheaper products for thermal insulation.
The insulator goes on sale in the form of plates of 0, 6x1, 2 m. The thickness of the foam for floor insulation in the house is 3-10 cm, depending on the climatic zones. If thermal insulation is carried out at the stage of building a house, the thickness of the samples is 3-5 cm, if not - 5-10 cm. The goods are sold packed in a film of 10 pcs. included.
For insulation of floors, it is recommended to use the following types of material:
- Penoplex "Foundation" (or Penoplex 35) … It is not impregnated with antipyrine, so it should be used where fire protection is not needed. Plates are quite rigid, but not designed for heavy loads.
- Penoplex "Comfort" (or Penoplex 31C) … Insulation is considered universal and is designed for any type of room. It resists mechanical stress well.
- Penoplex 45 … Blocks made of it are the strongest and can withstand significant weight.
The technology of laying the panels depends on the type of base and the characteristics of the operation of the flooring. The construction of the floor and the need for waterproofing are determined on a case-by-case basis.
Advantages and disadvantages of floor insulation with penoplex
The insulation has no competitors among the sheet materials used for thermal insulation of floors, as it has the following advantages:
- The liquid absorption rate is close to zero, which allows it to be used for its intended purpose in wet rooms. After being in water for a long time, the insulator absorbs only 0.5% moisture by weight.
- Floor insulation with penoplex can be done at the stage of building a house and during its operation.
- The material consists of chemically inert components that resist decay well. Due to these properties, its service life exceeds 50 years.
- The insulation cells are very small (0.05-0.12 mm) and provide high mechanical strength of the product.
- Despite the high density, the boards are easy to handle.
- Extruded polystyrene foam can be laid on any substrate, even on the ground.
- Sheets of a convenient shape, dimensions are maintained with great accuracy, which facilitates installation work.
- This is an environmentally friendly material that does not have a negative impact on humans.
Of the negative properties, the following can be distinguished:
- The product is afraid of sunlight, so it is stored in a dark place.
- Compared to other insulators, it is expensive.
- The material does not burn, but it actively melts, therefore it is not recommended to use it in fire-hazardous premises.
Penoplex floor insulation technology
Thermal insulation can be done in two ways - on wooden logs or on a concrete (soil) base with subsequent screed. For installation, you will also need glue to fix the insulation and a special cutting tool.
Tools and materials for floor insulation
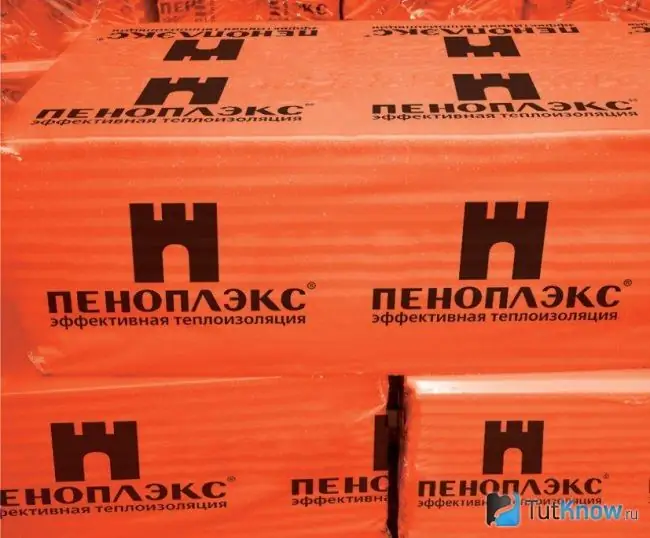
For floor insulation, choose only high-quality products. The actual characteristics of the heat insulator must correspond to the declared ones. It is quite difficult to determine a fake and it is possible only by indirect indications.
Purchase products only in branded packaging that guarantees the preservation of the penoplex for a long time. Make sure the protective film is intact. The label must have a barcode and a hologram of the manufacturer.
In order to avoid buying a low-quality product, contact the branded stores of trusted manufacturers.
Use slabs with correct geometric shapes, without any type of deformation. Squeeze the sheet with your fingers and release. There should be no dents on the surface.
Polyurethane adhesives are used to fix the product to the floor. They are usually sold dry in bags and diluted with water. Polyurethane moisture-rejecting compounds Kliberit, Knauf, Ceresit have proven themselves well. When buying, pay attention to the solidification time of the solution. Fast curing adhesives are inconvenient for beginners
You can use universal products if they do not contain gasoline, kerosene, formalin, acetone or toluene. All these substances destroy the product.
The material consumption is indicated in the attached instructions, but it should be bought with a margin. There may not be enough glue if the substrate is uneven or lack of experience.
Modern means include Penosil iFix Go Montage foam. It is sold in cylinders ready for use. For work, you need an assembly gun. However, the setting time of the solution is only 12 minutes.
Penoplex can be cut in different ways:
- Using a clerical or wallpaper knife … The quality of the cut will depend on how sharp the tools are. The advantage of this method is its availability and speed of execution.
- Electric jigsaw … The method is distinguished by a high speed of cutting sheets of any thickness, but the edges are uneven.
- Cutting with a kitchen knife … Sharpen the tool well and warm it up before work. The cut edges will be perfectly straight.
- Cutting with heated nichrome wire … The method is suitable for the formation of curved surfaces. Connect the wire to a 24V voltage source and heat until it turns red.
Laying foam on logs
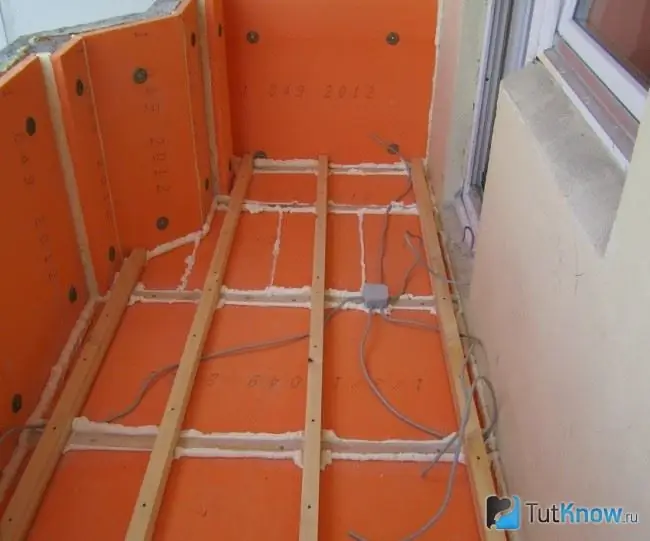
This option is used to insulate floors in wooden buildings erected on a columnar foundation. The insulator is placed between the lags on a rough base.
The work is performed in the following sequence:
- If you plan to insulate the surface in a residential building, remove the old floor boards and check their condition. Replace rotten or damaged specimens.
- Cover new building materials with special products to protect against mold, mildew and rot.
- If possible, install the sub-floor. Instead, you can cover the logs with a thick plastic wrap so that it sags and reaches the middle of the beams. Attach the membrane to the lumber.
- If the work is carried out at the stage of building a house, then first install the logs and waterproof them, and then nail the boards of the subfloor. Cover boards and beams with waterproofing foil.
- Lay the panels on the subfloor in a checkerboard pattern, pressing firmly against each other. If any gaps remain, fill them with polyurethane foam. The product should not contain toluene, which can destroy the insulation.
- Fasten the insulator with wide-head self-tapping screws.
- Nail the boards of the finished floor to the logs.
How to lay penoplex on the ground
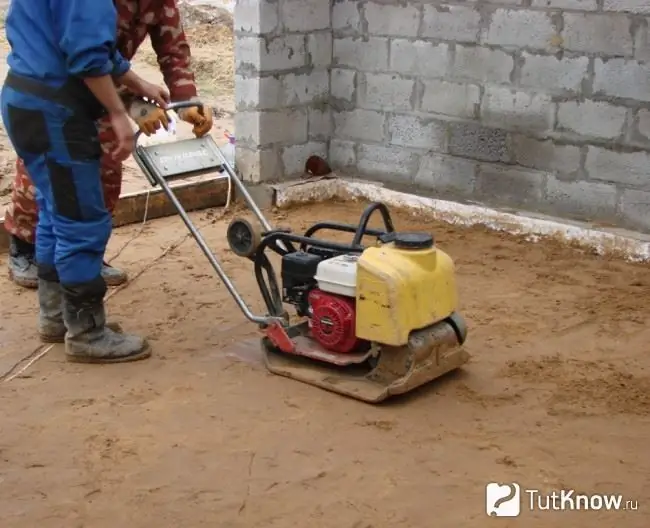
To create a high-quality insulation layer, carefully prepare the base. It must be strong and not shrink. Make sure the soil is dry. When planning work, keep in mind that the thickness of the "cake" reaches 50-60 cm. Pour dry gravel or crushed stone on a level ground with a layer of 30-40 cm. Tamp it thoroughly, add medium-grained sand or granite screenings with a layer of 10 cm and also compact.
If a large mechanical load does not act on the floor, the formation of an insulating layer is performed in the following sequence:
- Place the penoplex directly on the sand. For this case, it is better to use slabs with docking mills along the edges. When laying on the ground, it is recommended to use thick products or lay them in two layers, displacing the vertical joints. In double-layer constructions, the top sheets can be glued together.
- After mounting the connection point, glue it with a special metallized tape. If the joint seams are not sealed, water will seep through them.
- Cover the slabs with a waterproofing sheeting overlapping the wall. Cover the membrane joints with tape.
- Cover the insulation with fiberglass mesh to increase the durability of the coating.
- Fill the penoplex with a concrete screed with a layer of at least 5 cm and level it horizontally using a laser or hydrostatic level. A level surface is especially important if the floor is planned to be covered with laminate or parquet. Start applying the solution from the wall. For reliability, also cover the partition with the mixture to the top level of the insulating cake. After it has hardened, you can start laying the flooring.
- To make the glue dry faster, provide a constant supply of fresh air to the room, therefore, it is better to carry out insulation in the summer.
The composition of the screed depends on the type of floor covering. If the base is planned to be tiled, the mixture should be cement-sand, while there should be a gap between it and the wall. Insulation is covered with the same solution if a warm floor is created. The screed can accommodate pipes or cables, so the thickness of the outer layer depends on the dimensions of the heating system components.
If the floor is being laid in a room where heavy items will be stored, the procedure is as follows:
- Cover the sand pad with waterproofing sheeting.
- Pour the base with concrete 5-10 cm thick. The greater the load on the floor, the thicker the layer should be.
- After the cement has set, install the insulation.
- Cover the sheets with another layer of waterproofing.
- Make a reinforcing belt, lay it on the base and fill it with 5-10 cm thick concrete.
Another option for laying the product on the ground involves creating a thick layer (50-60 cm) of gravel or crushed stone instead of the lower concrete cushion. In this case, only one screed is performed, above the insulation, it must be reinforced.
The technology of floor insulation with penoplex in a bath implies thermal insulation of a section of the wall to the level of a wooden covering. The cement screed over the slabs must be made with a slope for water drainage.
Installation of penoplex on a concrete base
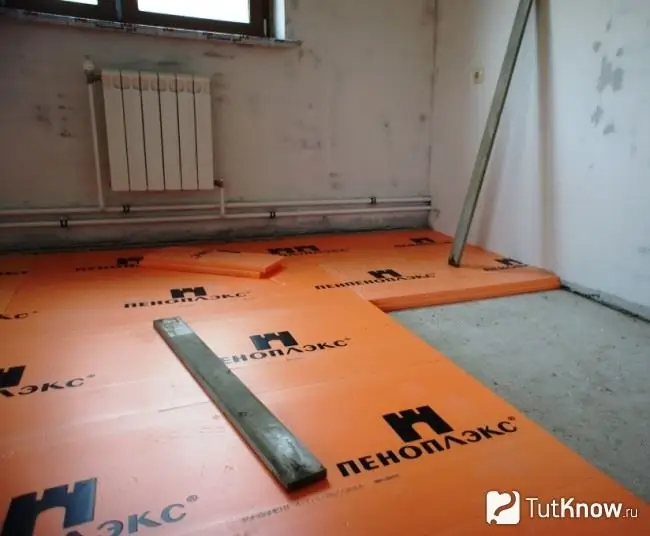
This type of insulation is used in multi-storey buildings or when protecting the basement ceiling on the first floor.
The work is carried out in the following sequence:
- Scrape the floor down to the concrete slab.
- Examine the surface for defects - grooves, crevices, etc.
- If the subfloor is of good quality, remove debris from the floor and vacuum it.
- If there are any defects, eliminate them: knock down the protrusions, seal the cracks and grooves with a cement screed.
- Lay the panels after the mortar is completely dry. In multi-storey buildings, sheets of insulation are allowed to be laid directly on the base.
- Apply a layer of glue to the board and then fix the insulation to it.
- After the composition has hardened, cover the insulation with a waterproofing film and apply a cement-sand or self-leveling screed.
The overlap above the basement should be waterproofed with foil. Penoplex is not afraid of moisture, but water can enter the room through the joints.
If the floors of the loggia are insulated, carry out the work at a temperature of +5 degrees or more, which will ensure the required strength of the screed and its quick drying. When insulating the bases of closed balconies, the solution can be poured at low temperatures, but to dry it, warm up the room.
How to insulate the floor with penoplex - watch the video:

The procedure for warming floors with penoplex with your own hands is simple, the work can be done without the invitation of professional builders. However, for high-quality thermal insulation, it is necessary to adhere to the installation technology and take the problem seriously.


