- Author Arianna Cook [email protected].
- Public 2023-12-17 14:23.
- Last modified 2025-01-23 09:40.
Laying laminate on the floor, types of material and its choice, preparation of the base, layouts, methods of connecting products and rules for their installation. Laminate is a facing material, the front of which is covered with a durable protective film. Low cost, ease of maintenance and attractive appearance have made laminated flooring quite popular in recent years. Today you will learn how to lay laminate flooring on the floor of your apartment or house from our material.
The main types of laminate
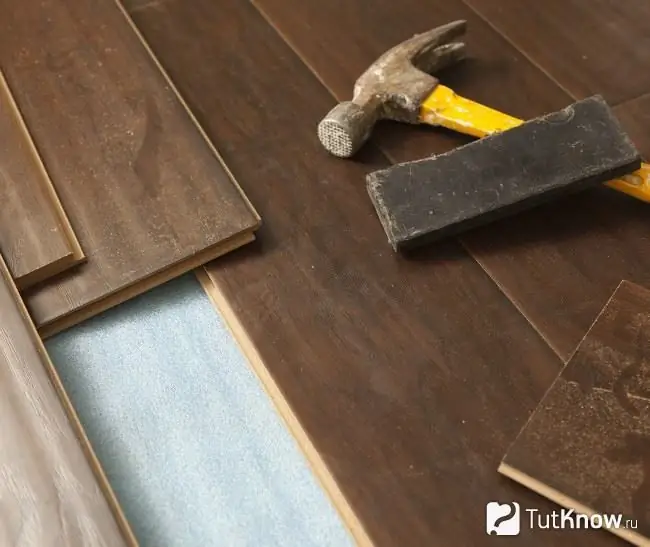
The material for the manufacture of laminate is fibreboard (Fibreboard). They are cut into strips, which, after processing, acquire key joints for joining together. This allows you not only to assemble the floor covering, but also to disassemble it if necessary.
The thickness of the strips is 6-11 mm, their width is about 200 mm, and their length is 1000-1500 mm. They have a multilayer structure, which, in addition to the core layer made of fiberboard and laminated film, includes a paper covering with a pattern and a moisture-resistant base.
All products are of two types: household and commercial. Each of them, depending on the resistance of the material to abrasion, is divided into classes that have been approved by the European Standards for standardization based on the results of testing laminate floors:
- Class 21 … The floors are used in low traffic household areas such as bedrooms.
- Class 22 … Home floors for medium loads (children's rooms).
- 23rd grade … Household floors for high walking intensity (hallway, kitchen).
- Class 31 … These floors are used for light duty commercial premises (meeting rooms). Their service life is 2-3 years; when installing the floor in household premises, it is extended to 10-12 years.
- Class 32 … Such floors are used in commercial buildings for medium-duty use. Their service life in the office can be up to 5 years, and at home - up to 15. This class of resistance to wear is the most optimal. It is chosen by the overwhelming majority of customers both for cafes, shops and offices, and for their own apartments.
- Class 33 … These floors are suitable for heavy traffic in commercial environments. Here, their service life is up to 7 years, and at home - up to 20 years. Many people like the long service life of floors of this class in everyday life without losing the attractiveness of their appearance.
- Class 34 … The floors are made from the highest quality lamellas and are used for maximum loads in commercial spaces. Although nowadays, coverings of this class can also be seen in houses and apartments of many families.
- 43 grade … This is a premium laminate flooring, custom made and therefore not a very common option.
In fact, the class of the laminate determines the lifespan of the floor in terms of wear, taking into account human factors. From this, for example, we can conclude that the covering of class 21 for a bedroom in an office will not last long. Or vice versa: class 33 office laminate for use in the bedroom will be unreasonably expensive. With an increase in the class of coating, in addition to wear resistance, its price also increases.
With all its advantages, some types of material, even of the highest classes, are characterized by weak moisture resistance. The practice of their use shows that floors of 33, 32, 31 and even 23 classes can withstand contact with water without noticeable consequences for only a few hours.
In addition to wear resistance, laminate flooring differs in the type of surface. It can have a glossy sheen or imitate rough wood. The glossy laminate features a smooth, lacquered exterior. Textured, embossed or aged face material has deeper pores.
Features of choosing a laminate for the floor
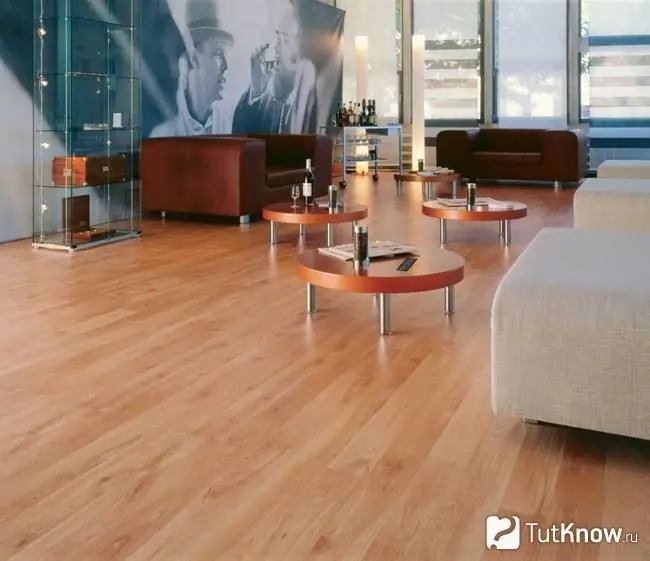
Laminate flooring comes in a wide variety of colors and patterns. This enables a wide selection of products that meet any design solution. When choosing a laminate for the floor according to the surface structure, you need to take into account the general style of the interior. In addition, when buying, you should pay attention to the appearance and physical properties of the material.
In general, the procedure for selecting it based on these parameters should look like this:
- It is necessary to inspect the lamellas for deviations in their shape in length and thickness. If no one can see, you can try lightly scratching or rubbing the surface of the board. A quality laminate is resistant to this kind of damage.
- After that, you need to check the board locks for strength. To do this, you can test the joining edge of the lamella for a break, but this should be done in the middle of the board, and not at its edge. The lock should not break with a weak attempt to do so.
- At the place of purchase, a trial assembly of 2-3 boards should be performed, which can reveal existing flaws in the mating products in the form of differences in length or slots at the joints.
- The base of the lamellas should be brown, which is typical for all models produced by manufacturers around the world. Sometimes sellers offer a laminate with a green base, claiming that it is moisture resistant and of high quality. Such boards also exist, but the green color of their back surface does not mean any outstanding characteristics of the material.
- Also, do not pay attention to assurances that this product is made in Germany or Belgium, this may not correspond to reality. You just need to grab a tape measure from home and take one measurement. If the lamella length is 1210-1218 mm, then most likely it is made in China. But to say that the products of this country are so bad would be a gross exaggeration. Much here depends on the notorious ratio of quality and price. Sometimes it is on the side of the Chinese laminated board.
- If you want to choose a really moisture-resistant coating, you should pay attention to the lamella key strip. This part of the floor structure made of laminate in this design is impregnated with a special water-repellent compound that prevents water from penetrating into the lock joint, and therefore under the coating, preventing it from swelling.
The best reviews have been held by manufacturers of laminated coatings. Of these, the following brands are in the lead: QUICK STEP, CLASSEN, KRONOTEX, EGGER and TARKETT. The best quality is German laminate.
Preparation of the floor surface for laminate
Laying laminate flooring requires a perfectly flat base surface. If properly prepared, concrete, tile or wood floors can be used as a base for such a coating. Also, the laminate can be laid on linoleum. Consider the preparation of bases made of various materials.
Concrete base
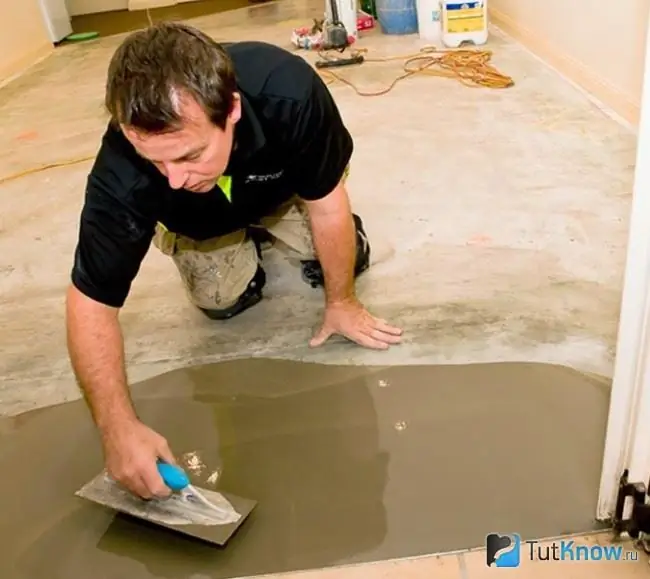
If there is an old coating on the concrete floor, it must be removed before installing the laminate. After that, the resulting base must be cleaned of construction debris and carefully examined. If cracks, chips and minor irregularities are detected on the concrete surface, it is necessary to seal up with mortar, and then fill the floor with a self-leveling screed. If the old screed has peeled off, it should be completely removed before re-pouring.
With significant differences in the concrete floor in height, not a self-leveling, but a traditional cement-based screed is used, which can be performed along the beacons, placing them at the desired height from the surface.
After the screed of any kind has dried and a flat surface is obtained, a layer of vapor barrier material should be laid on it, which can be a polyethylene film of 200 microns. Its canvases should cover the floor with an overlap equal to 20-25 cm, all joints of the film must be glued with tape. In addition, it is necessary to fill the insulation on the walls. It should be 10-15 cm. On this, the preparation of the floor for the laminate can be considered complete.
Wooden floor
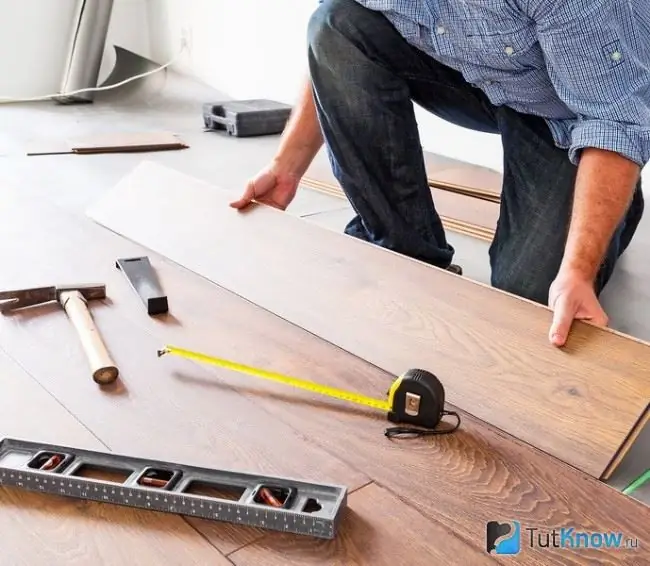
Laminate boards can only be laid on a wooden floor if it is free of rotten areas and infection by fungi, mold or insects. Otherwise, the damaged floorboards should be replaced with new ones and treated with an antiseptic.
In addition, it is necessary to check the fastening of the floorboards to the floor joists. It must be tough and reliable. If you find loose boards, they should be fixed with wood screws.
Slight differences in height between the elements of the wooden flooring can be eliminated by scraping the floor. To make a wooden base ideal for laying laminate flooring, you can use chipboard or thick plywood, which are attached to the flooring with self-tapping screws. Sheets should be placed on the surface of the wooden floor in a checkerboard pattern, avoiding coincidence of the seams between the rows of the laid material.
The wooden base does not require the installation of a vapor barrier, but the sound insulation must be installed.
Tiles and linoleum
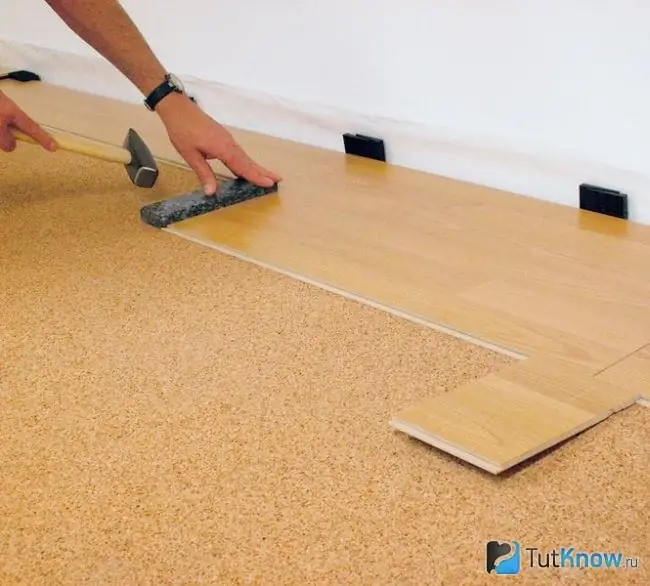
Considering that any flat and rigid surface can serve as a base for laying a laminate on the floor, tiles and linoleum, fixed on a fixed floor, are quite suitable for this purpose.
If these materials were laid in accordance with all the rules of technology, they can not be removed before installing the laminate. Such a base does not need a vapor barrier layer. Therefore, after laying the soft substrate, you can safely mount laminated boards on it.
All of the above grounds are subject to general requirements. Firstly, their surface must be absolutely clean, if any grains of sand or other material get under the laminated coating, walking on the finished floor will be accompanied by an unpleasant crunch.
Secondly, the differences in the surface of the base for laying the laminate are considered safe for it if their values do not exceed 2 mm for every 2 m of length. And thirdly, the slope of the base should be uniform and not more than 4 mm for every 2 m of the width or length of the room.
The location of the laminate on the floor
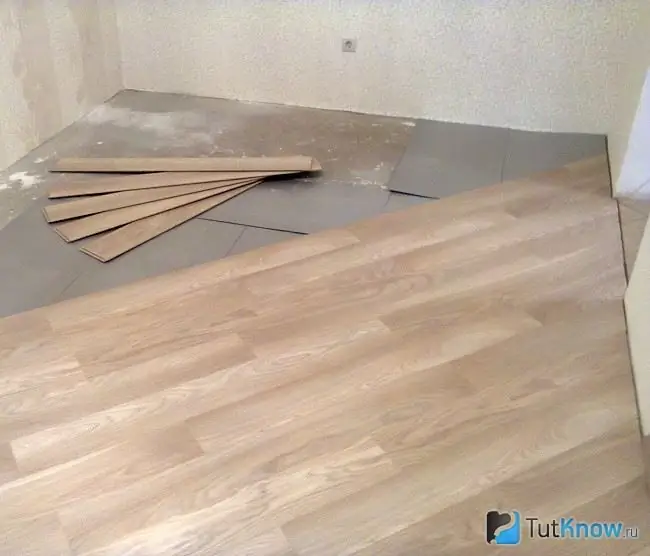
In order for the joints of laminated boards to be unobtrusive, the material is usually laid along the length parallel to the streams of light from the windows. However, depending on the characteristics of the room and the adopted design solution, the installation of panels can also be carried out in perpendicular and diagonal directions with respect to the light source.
In addition, if you need to visually change the space of the room or want to emphasize the design of the flooring, you can choose one of three layouts of laminated boards:
- Classic scheme … It is the most economical of all and therefore is most often used for installing laminate on the floors of office and residential premises. When using it, the waste of boards when trimming them to adjust the coating on the abutments does not exceed 5%. Stacking of piece products according to this scheme is carried out along the stream of light and starts from the corner closest to it. In this case, each cut off part of the board of the previous row of the covering becomes the first in the next row. The trims of the panels are laid during the installation of the last row, near doorways and in niches for heating radiators. Laminate boards shorter than 30 cm are recommended to be used only in places where large furniture is installed on the floor: cabinets, sofas, etc.
- Masonry scheme … Such a laminate installation is very similar to a brickwork pattern, to which each next row is located with an offset of exactly half the element relative to the previous one. The durability of the laminate flooring made according to this scheme is the highest, but the overrun of the material in this case reaches 15%.
- Diagonal diagram … It can be called a kind of classic, but at an angle of 45 degrees in relation to the wall with the door. The diagonal arrangement of piece products is readily used by designers to visually transform the space of small rooms, create a sense of spaciousness in them, and is especially impressive when used in a room with a corner door at the entrance. The overconsumption of material here is 10-15%, moreover, in long and narrow rooms it is maximum, and in square rooms it is minimal.
For all of the above schemes for laying laminated boards on the floor, there is one general condition regarding the strength of the coating: all its elements must be installed in a spaced manner. This means that each board of the next row is displaced relative to an adjacent board of an adjacent row at a distance of at least 15-20 cm.
With a harmonious combination of the pattern of laying laminated panels with natural light, you can visually change the size of the room or simply make an effective floor covering.
Laminate connection options
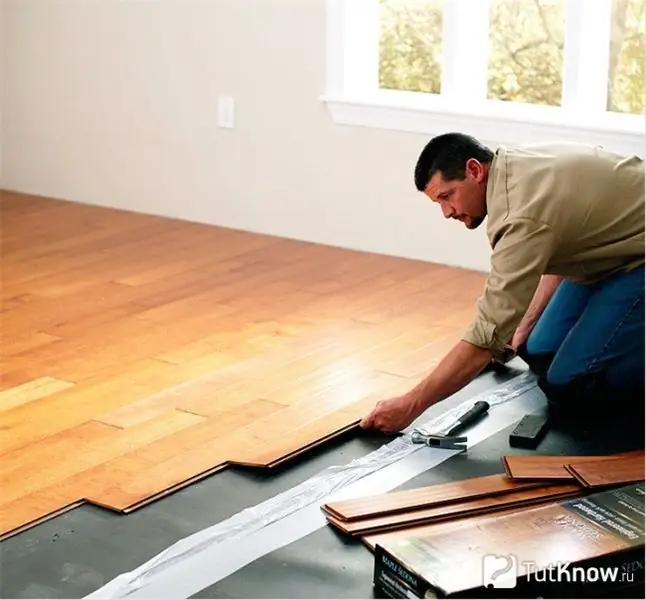
The laminated flooring works according to the "floating floor" model. Therefore, it is not attached to the base. According to the method of connecting the panels to each other, the material was named - adhesive laminate and lock.
The main advantage of the adhesive laminate is the tightness of the panel joint. It protects the base material from moisture penetration, the appearance of which under the coating can cause its deformation and destruction. The disadvantage of such a laminate is the time-consuming installation, as well as the cost of glue. It will be possible to walk on the floor only 10 hours after the end of its installation.
The glued fastening of the boards to each other is quite rigid, so such a laminate cannot be reused after disassembly. In addition, it is not used as a topcoat for underfloor heating systems.
Glued laminate panels are joined according to the tenon-groove principle. Previously, water-repellent glue is applied along the length of the groove on the long and short sides of the board. Its quantity is selected according to the manufacturer's instructions. After connecting the panels, the excess glue should be removed from their surface.
The lock laminate is presented in two connection systems - collapsible “Click” locks and “Lock” latches. The difference lies in their design. The main advantages of "Click" locks are considered to be the low probability of damage to the boards during installation and the high reliability of their connection. Laminate with "Lock" locks is a little cheaper, but the quality of panel joining in this case is also lower.
When installing panels with "Lock" locks, the material is laid on the floor surface strictly horizontally, then the spike of the taken lamella is aligned with the groove of the laid one, and then the product is driven through the enclosed block until the latch is triggered. When laying the coating, the panels of adjacent rows are first connected, and only after that the panel is achieved before the locks snap into place on the end parts of its row.
The "Click" connection system has become the most popular due to its simplicity of execution. Its essence lies in the fact that the spike of each board of the next row is installed in the groove of the board of the previous one at an inclination of about 30 °, and then gradually pressed against the floor surface until the lock is triggered. After that, the panel is driven in its row into the previous element until the end lock clicks into place.
Laminate laying technology
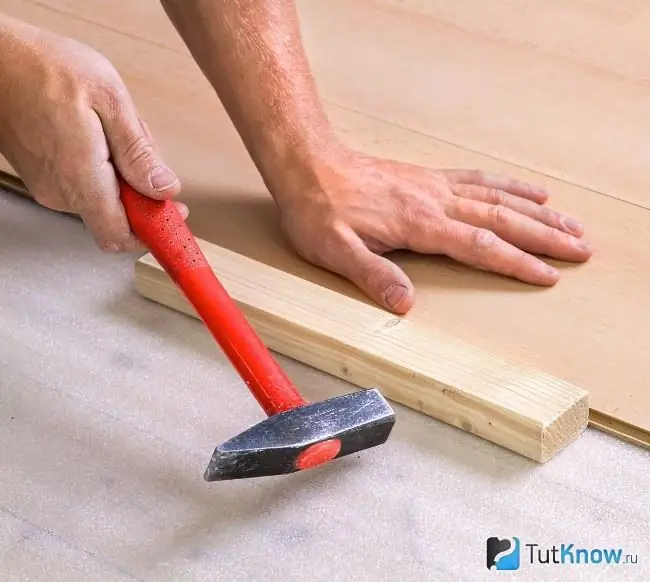
Regardless of the type of laminated panels, layout and connection method, there are general rules for their installation:
- It is recommended to work on covering the floor with laminate at a temperature of 15-30 ° C and a humidity of 40-70%. The panels must be brought into the acclimatization room 48 hours before the start.
- Before starting the installation, the prepared base should be covered with a vapor barrier film and a special propylene substrate 2-5mm, which plays the role of heat and sound insulation. You do not need to glue it to the base.
- Laying the coating should start from the corner in which the heating pipes are located. Otherwise, problems may arise during the installation of the last boards, if this point of the room turns out to be the final one.
- Before laying the boards around the pipes, holes of the appropriate diameter should be cut in the material, taking into account the expansion gap of 10 mm between the pipe and the panel. Subsequently, it can be masked with a special plug.
- The laminate floor is "floating". With seasonal changes in weather, the linear dimensions of the coverage may change. Therefore, for its free movement between the walls and the laminate, a gap of 10-15 mm should be left. To ensure it, spacer wedges or board trimming are used, which are removed after the installation is completed.
- In order to increase the strength of the laminated coating, the boards of each next row must be mounted with a shift of the previous one. Its value should be 15-20 cm or more, but up to half the length of the product.
- For the last row of the covering, the boards should be cut to the required width, focusing on the geometric shape of the room. Rarely is it perfect.
- The installation of laminate flooring should be completed by installing skirting boards and door sills. The skirting boards are attached using special clamps, which make it possible to press the laminate evenly and around the entire perimeter of the room.
How to lay laminate flooring - watch the video:

That's all, we hope the material was useful to you. Good luck!


