- Author Arianna Cook [email protected].
- Public 2023-12-17 14:23.
- Last modified 2025-01-23 09:40.
Internal insulation of walls with warm plaster, its features, advantages and disadvantages, preparatory stage of work, application technology and surface finishing. Insulating walls from the inside with warm plaster is one of the many ways to reduce heat loss at home. In addition to its main purpose, warm plaster for walls can sometimes be their final finish. You will learn how to properly perform such isolation by reading this article.
Features of internal insulation of walls with warm plaster
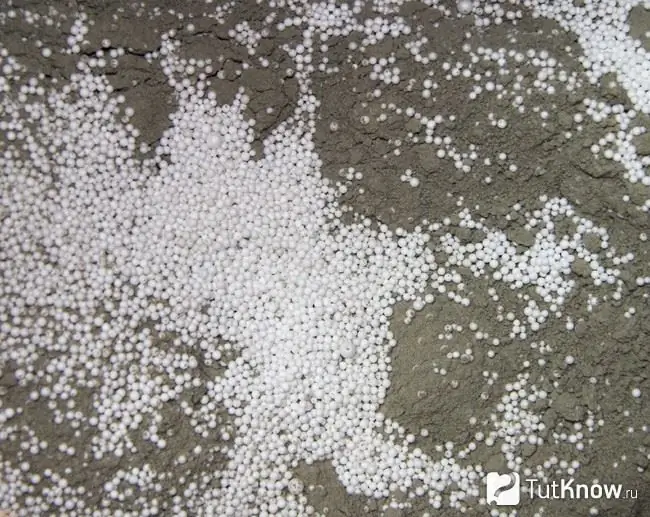
A distinctive feature of such plaster is its low thermal conductivity. This property is due to the presence of special fillers in the material instead of ordinary sand. They can be sawdust, foam granules, expanded clay or pumice chips, perlite or expanded vermiculite. Any of these fillers give the plaster its insulating qualities and an affordable price.
Plaster with a base of foam granules has universal properties. It can be used both inside and outside the building. In addition to the filler, it contains lime, cement, plasticizers and other additives that give the building mixture special properties. The specific gravity of such plaster is 200-300 kg / m3, thermal conductivity index - 0, 065 W / m * С and hydrophobicity - 70% of the material mass.
Warm plaster containing sawdust as a filler is used exclusively for interior work. This is due to its sensitivity to moisture. The plaster layer dries for a long time, and the room during this procedure requires good ventilation in order to avoid the appearance of fungus on damp walls. But in terms of environmental safety, this material is impeccable.
Warm plasters are considered universal, which include particles of rocks - perlite, vermiculite, pumice, as well as expanded clay crumbs. They can also be used to insulate walls from the inside and outside.
If we compare the thermal insulation parameters of foam and warm plaster, it turns out that the first material is 2 times warmer than the second. And for a full-fledged insulation of cold walls in our climatic zone, a layer of foam plastic with a thickness of about 10 cm is required.
The following becomes clear: in order to achieve such a threshold of thermal insulation, it will be necessary to apply a layer of warm plaster coating on the walls, the thickness of which should be more than 20 cm. However, it is not recommended to carry out such a coating more than 5 cm thick, as it can collapse under its own weight. Therefore, the walls are insulated with warm plaster from the inside, most often in conjunction with the external thermal insulation of the building.
Advantages and disadvantages of insulation with plaster from the inside
Warm plaster has unique properties. Using only it, it is possible to solve the issue of waterproofing, insulation and final finishing of the walls in one technological procedure. The advantages of plasters are especially pronounced, having particles of rocks as fillers - perlite, expanded vermiculite, that is, mixtures of the most "advanced" type.
Thanks to the polymer additives included in the mixture, such plaster has excellent adhesion to any wall materials: aerated concrete, metal, ceramics and others.
Warm plaster easily allows air to pass through, while retaining water without getting wet. Therefore, the walls covered with this material are protected from mold. In addition, warm plaster is biologically resistant, so the formation of microflora in it is excluded. By treating the walls of the room from the inside with this material, you can not only insulate it, but also make it more environmentally friendly.
The efficiency of insulation with the help of such plaster is high not only due to the low thermal conductivity of the material, but also due to its tight contact with the surface of the walls throughout their entire area without the formation of any cold bridges.
Another remarkable property of warm plaster is its fire resistance. Unlike expanded polystyrene and other similar heaters, insulating plaster coatings perfectly protect walls, without collapsing, from intense heat and open fire. Moreover, the layer of plaster does not have to be thick.
According to manufacturers promoting warm plaster mixes on the market, this material, applied to the walls with a layer of 2 cm, in its thermal insulation qualities is equivalent to a masonry of 2 bricks or a wall of concrete with a thickness of about 1 m. Taking this fact into account, it is easy to calculate how much the weight of the building and how much materials can be saved with warm plaster. However, other experts consider this opinion rather controversial in terms of the approved ratios. Simply applying this material is much easier than traditional insulation materials with their fastening, primer and finishing layer. By the way, during a work shift, a team of plasterers of three people can process more than 80 m with a warm mixture2 walls.
In addition to the above advantages, warm plaster has other unique properties: complete absence of toxic inclusions, the material is made from natural components that have undergone heat treatment; at any temperature, the plaster is environmentally friendly, it does not decompose, does not burn or freeze.
The disadvantages of the material include the following:
- Warm plaster based on polystyrene granules needs a topcoat. Mixtures containing rock fillers are not affected.
- High price of plasters based on perlite, pumice and vermiculite.
- The need for layer-by-layer application of the material to the walls. A thick coating applied in one layer is more likely to slide off the wall due to its own weight.
Preparatory work
Preparation of walls for insulation with plaster for wall insulation from the inside is carried out in the same way as before applying a conventional cement-sand mixture to their surfaces. If old plaster peels off, it should be removed. If not, then warm plaster can be applied over the existing layer.
The purpose of the preparatory work is to improve the adhesion of the insulation coating to the base surface of the walls. To do this, each of them needs to be stuffed with shingles or narrow slats of 5 mm, thus obtaining a space on which the plaster mixture will hold well. After that, on the fabricated frame, it is necessary to pull the mesh and fix it with nails, hammering them into the slats.
The fastener step is taken 10 cm, it must be carried out in a checkerboard pattern. The mesh can be woven or metal with cells of 50x50 mm. It is recommended to use a metal mesh, as the woven mesh is less strong and adheres too tightly to the wall surface.
To implement the possibility of leveling the plaster layer on the walls, it is necessary to install lighthouse profiles. They need to be pressed into a mortar mixture such as Ceresit or Rotband, molded onto the base every 0.3 m, and then leveled in a plane. Lighthouses should be installed vertically with a step of 0.2 m less than the length of the plastering rule.
Before plastering, the walls must be moistened with plenty of water. This is an additional measure to ensure high-quality adhesion of materials.
Technology of wall insulation from the inside with warm plaster
Warm plaster is applied to the walls by hand and machine. In the first case, a spatula, trowel, grater and other painting tools are used for work, in the second - a special mixing pump and a mortar gun.
Manual way of plastering walls
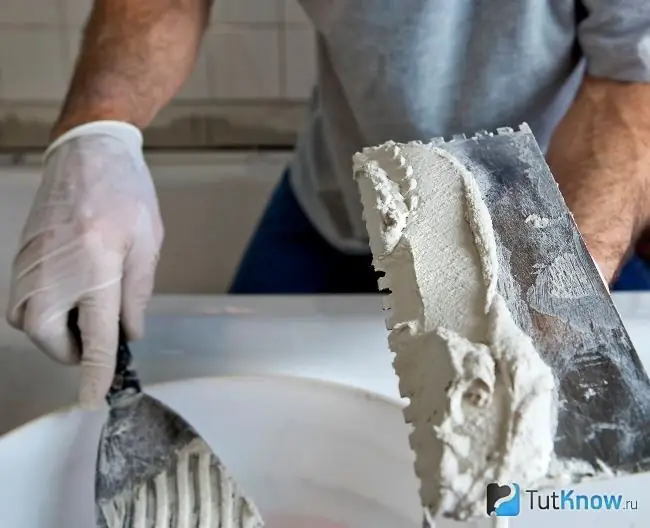
Before starting work, the contents of the entire package of warm plaster must be poured into a suitable container with a volume of 50-100 liters, add water in the amount specified by the manufacturer of the material, and then mix everything using a construction mixer. In this case, you need to know that the working capacity of the finished mixture in time is 2 hours.
It is not difficult to check the required consistency of the mixture. To do this, you need to scoop up a little mortar with a trowel and tilt the tool strongly. If the plaster does not fall off from its surface, it means that it has acquired plasticity and is ready for use. Its consumption with a layer of 25 mm will be 10-14 kg / m2 dry mix, with a thickness of 50 mm - 18-25 kg / m2 respectively.
The insulating mixture should be manually applied to the walls in layers, the thickness of each layer should not exceed 20 mm in order to avoid the mortar from sliding off the surface under the influence of its own weight.
Each next layer of plaster should be applied no earlier than 4 hours after laying the previous one. Drying time of the coating may increase at high humidity and low air temperatures, for example, in autumn.
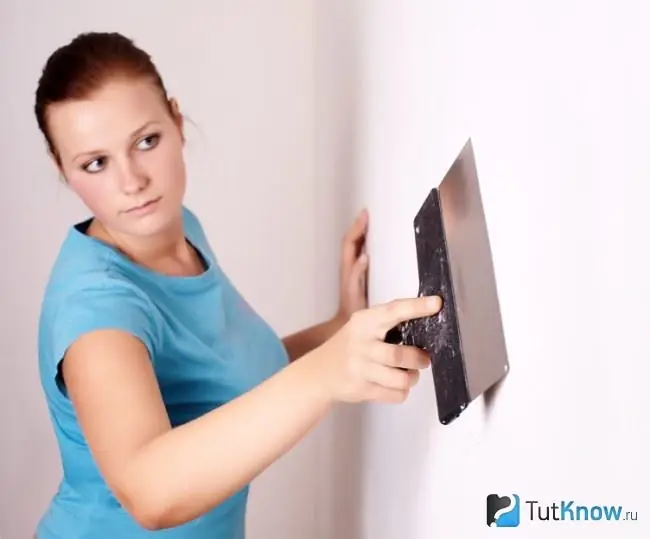
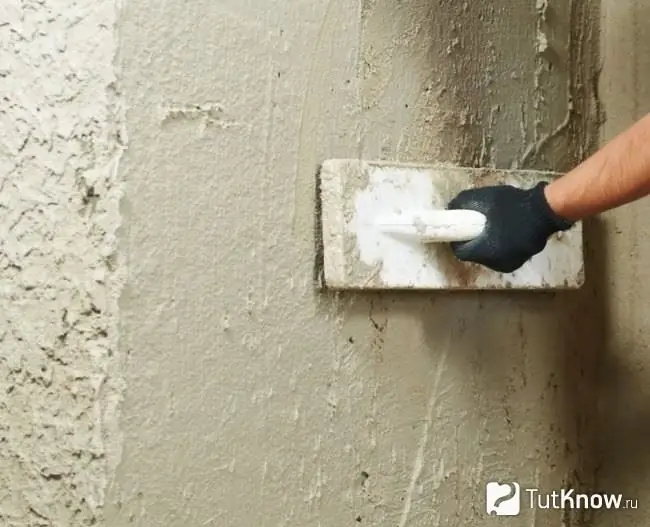
The working mixture should be applied to the primed wall surface from bottom to top using a wide spatula, beacon profiles and a rule. The process of applying warm plaster without beacons and the quality of the resulting coating must be controlled using a 2 m long strip, a plumb line and a hydraulic level. The flat plane of the plaster coating can be checked by attaching a two-meter rail to it with an edge, as a rule, there should be no gaps between the tool and the wall. Small deviations of the finished coating from the horizontal or vertical, no more than 3 mm per 1 running meter, are allowed.
The removal of the lighthouse profiles from the coating should be done 4-6 hours after the completion of the main work. The vacated cavities must be repaired with a plaster mixture and leveled with a trowel.
It is recommended to check and accept works for delamination, curvature and cracking of the coating no earlier than 3-4 weeks after the completion of the plastering of the walls.
Mechanized method of plastering walls
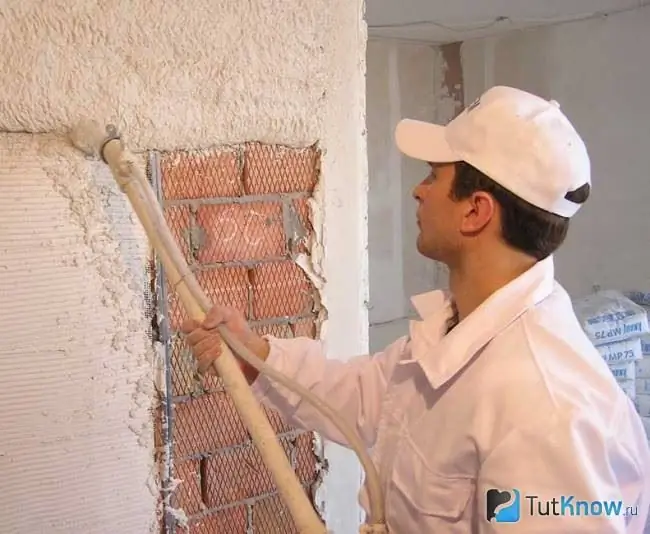
To apply a warm plaster coating by a mechanized method, it is necessary to first prepare the mixing pump for operation, and then pour the dry mixture into the machine's hopper. After that, in accordance with the desired consistency of the mixture, you should adjust the dosage of water by the pump. It should be about 500 l / h. Its exact value depends on the temperature in the house and the material of its walls.
After preparing and turning on the pump, the mortar gun, when distributing the mixture over the wall surface, must be held at a distance of 30 cm and perpendicular to it. The thickness of the plaster layer during application can be easily adjusted by the speed of movement of the mortar gun. The smaller it is, the more powerful the layer and vice versa.
Surface treatment should be carried out from the top corner downward and then from left to right, while forming grips 0.7 m wide. The reciprocating motion of the gun should be such that the center of the spray mixture is located on the lower edge of the already applied plaster. The previous and subsequent grips should be overlapped on the left side by 10 cm.
As in the previous case, the plastered surface must be leveled according to the rule, and after the mixture has dried, remove the lighthouse profiles and fill the empty channels with mortar.
After the end of the plaster spraying, the solution supply should be stopped by closing the air valve on the gun. Flush the pump, hoses, gun and tools immediately with water.
Important! The plaster mixture should not remain static for more than 15 minutes while in the pump or hose.
Finishing layer device
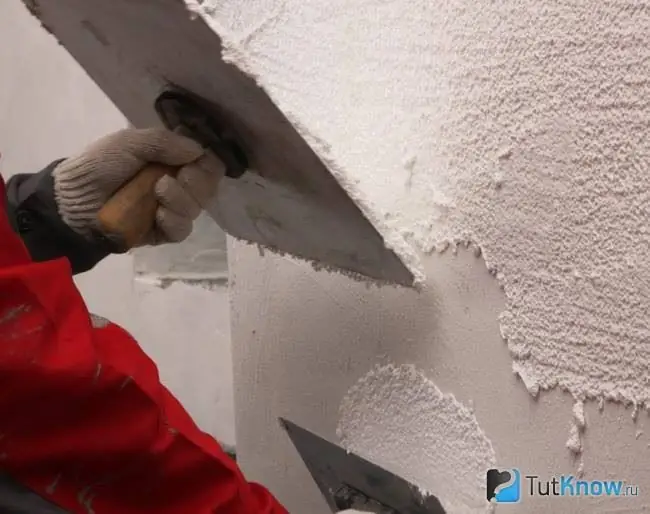
As already mentioned above, the walls need to be insulated with warm plaster made on the basis of polystyrene granules. Before applying the finishing coating, the trowel and the container intended for preparing the working mixture in it must be cleaned of all foreign particles that can disturb the appearance of the coating during its processing.
The top coat should be applied to obtain a uniform and presentable wall surface. Its thickness usually does not exceed 5 mm. After the finishing coat has been applied, it should be trowelled using a 300 mm metal or plastic trowel.
How to insulate walls with warm plaster - watch the video:

Summing up, we can conclude: warm plaster is a good alternative to other thermal insulation materials. It is especially effective for double-sided wall insulation. At the same time, the outside of the building additionally receives a beautiful finish, and from the inside, environmentally friendly and reliable insulation.


