- Author Arianna Cook cook@women-community.com.
- Public 2024-01-12 17:55.
- Last modified 2025-01-23 09:40.
A winter landscape can be created from fabric, from cotton wool, from salt, and even from egg trays. In the latter case, you will end up with a voluminous work.
A winter landscape can be drawn, made using salt, thread, sticks, wool and other improvised material.
How to draw a winter landscape?
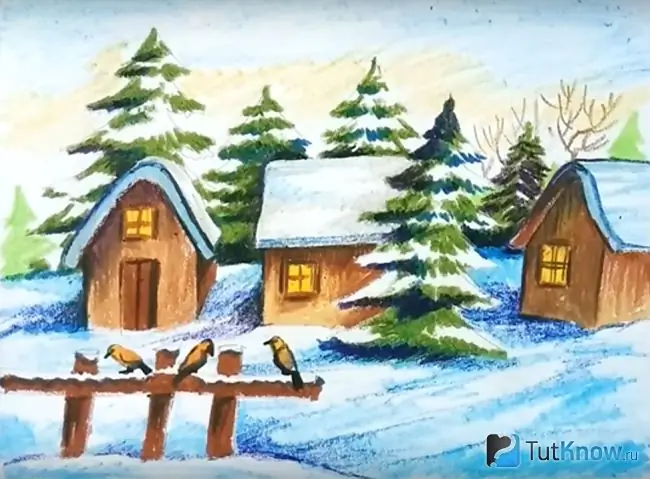
To get this rural picture, take:
- a sheet of thick paper;
- simple pencil;
- eraser;
- colored pencils or paints.
Place a sheet of paper horizontally in front of you and start marking large objects here. These are Christmas trees and houses. To draw a Christmas tree, you need to designate triangular shapes, but do not draw the tip of them. It sinks smoothly into the tree trunk. The bottom of the triangles should be jagged. After all, these are coniferous needles.
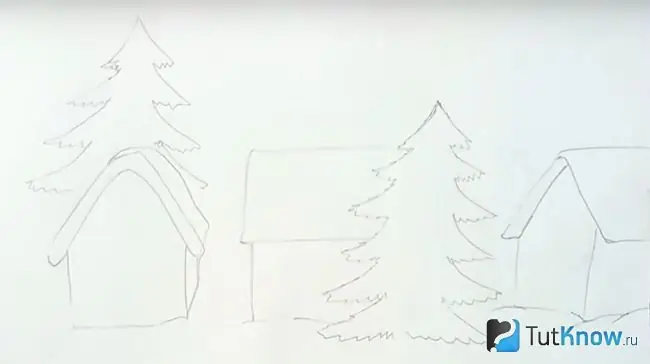
Draw some houses with the front door to the viewer, others are sideways, and still others are oblique. But do not draw the features of the buildings yet, but do it in the next step.
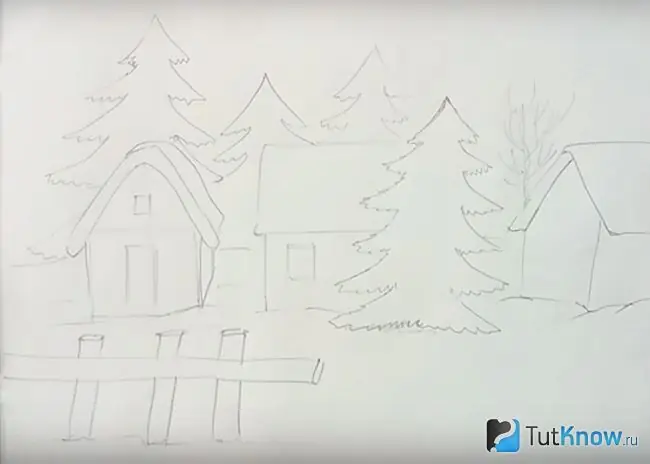
As you can see, in order to draw the winter landscape further, you will need to depict where the doors, main windows and attic are located here. Draw a palisade in the foreground. Add some spruce and place it in the background.
To paint the landscape step by step further, look, maybe you need to erase some features. After that, move on to coloring. Make some light blue strokes to indicate the snow. You can also depict it on trees if you leave some of the pieces unpainted. Or cover them with white paint.
Paint the trees green. Let there be a couple of trees without leaves in the background, because it is winter.
Add colors to the walls of the houses, draw yellow windows so that you can see the light coming through them. On the palisade you can depict such a trio of birds.
If you want to paint a winter landscape so that it happens late in the evening, then you can portray this one.
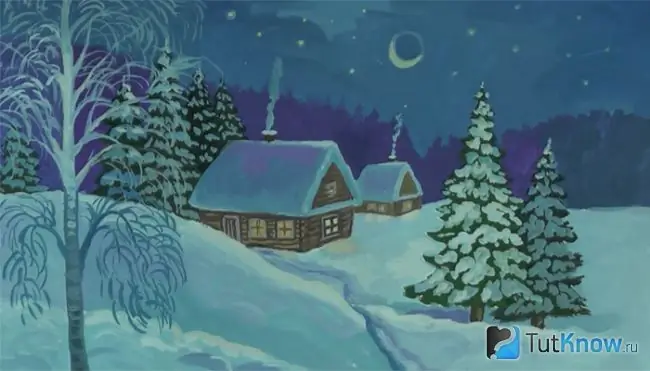
It can be seen that smoke is pouring from the chimneys of the houses, the moon and stars are in the sky, so this is the evening time of the day.
First, take a simple pencil and draw a semicircular line in the foreground. Thus, you will mark the snowdrift and the plain. Draw almost the same line in the background to further separate the forest from the sky. Make a line just below to indicate where the snow ends and the forest begins.
Draw the main building and the sharp-angled triangles in the back, which will soon turn into Christmas trees.
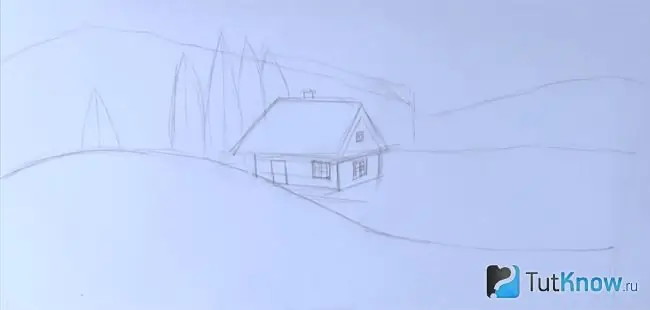
How else you need to portray a winter landscape, the photo demonstrates. Continue to draw the following lines with a pencil. These are branches of Christmas trees. Also draw a couple of fir trees in the foreground, on the left depict the trunk and branches of a birch. Draw the road, outline the background trees.
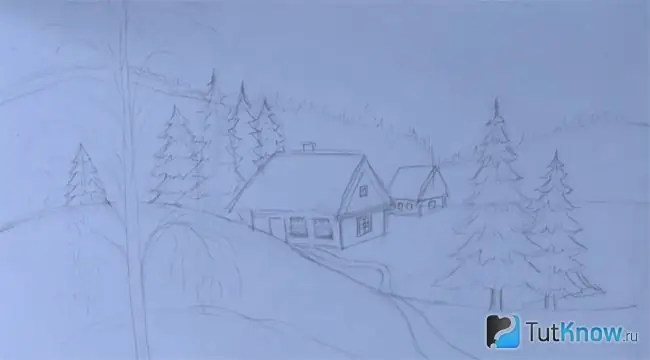
In the next step, you will cover them with dark lilac paint. It will be seen that it is evening. Cover the trees with dark green. Now mark the sky with blue paint, and the gap about a month with blue.
Finish the drawing. To do this, using white paint, you need to make birches more fluffy, paint snow on green trees, on the roofs of houses. Draw the smoke coming out of the chimney, the stars and the moon. Draw the log walls of the houses. To do this, first you need to paint them with light brown paint, and then draw horizontal lines with a pencil or brush. And limit these logs to circles, drawing them on one and the other side of each log.
You can start painting a winter landscape by drawing lines of hills and snow surfaces. These features will be such that it is clear that there is a fluffy snowdrift on the left, then there is a smoother surface of snow. You can designate several of these lines. Then draw a base for the trees on the mountainous terrain, and on the right, on a hillock in the distance, draw a house and a sketch for a snowman.
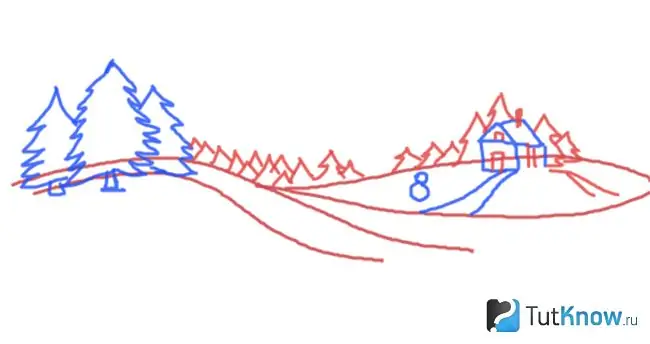
The tops of the fir trees are visible from behind. In the next picture, start adding features to the trees, then draw the smoke coming from the chimney of the house. Add a hat to the snowman, draw stars, clouds, the moon. Start decorating your creation.
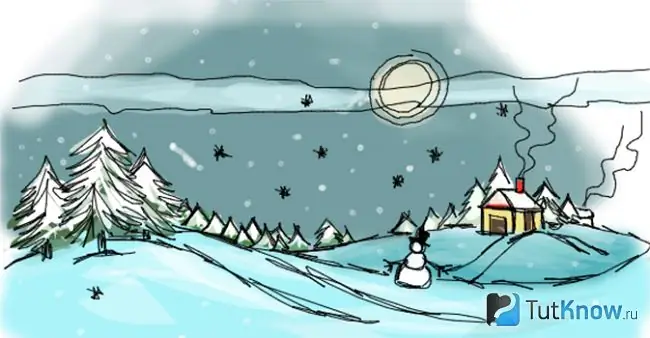
If you like bodies of water, then you can depict a stream when painting a winter landscape. Photo of the final work in the next figure.
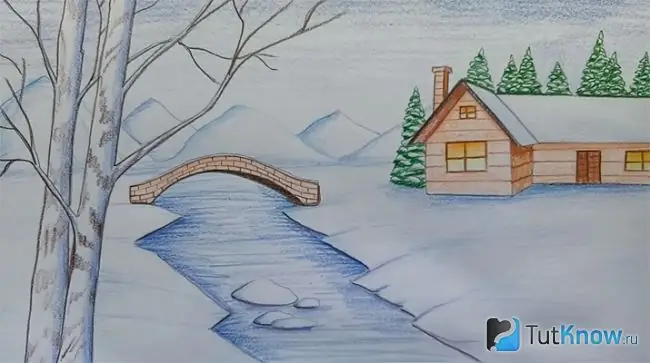
But start with the foreground. Draw two straight birch trunks here. Mark their branches. Then draw a winding stream, a bridge. There is a house to the right of it, spruces are located in the back. Add guidelines for the tops of these trees.
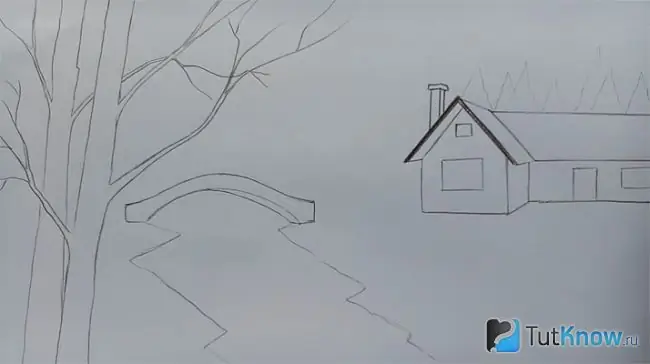
If everything suits you, you can start painting the image. To do this, take a simple pencil and draw the outlines of the mountains in the background on the left. Use brown pencil to draw the bricks on the side of the bridge. Sketch this place with beige. Use the same paints to color the house. The roof is covered in white. Also, a brown pencil will help add touches to the birches.
Draw blue water, lush drifts. They are white with a blue tint. Draw snow-covered fir trees.
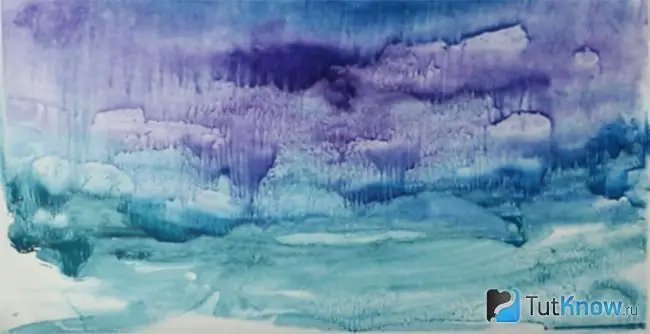
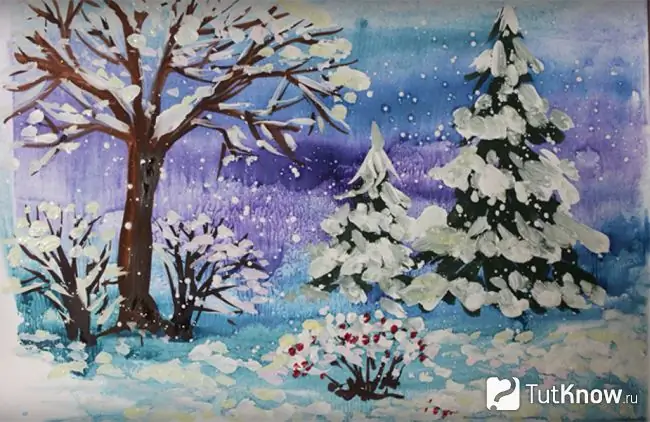
If you like to paint with watercolors, then depict the twilight in the forest in winter with this paint. Then you don't even need a pencil. Take water with a brush, blue paint. Draw horizontal streaks on the bottom of the sheet. Then dip the brush in water and wash off some of these streaks in some places to create lighter clouds. Take the lilac paint and brush from top to bottom to get these darker clouds at the top.
Now dip the brush in brown paint and draw a vertical line. Next, make a few more such lines in parallel to get a thicker trunk. From it, lead straight up and obliquely in different directions the following lines. Then you will have thick branches of the tree. Draw small twigs using thin strokes.
In the same way, you need to draw the bushes growing around this tree.
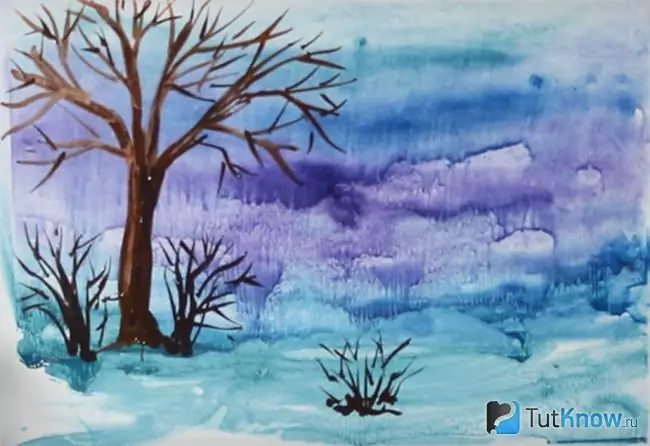
Now take the green paint, add a little black here, stir. With the help of the resulting composition, depict a large and small Christmas tree. It is convenient to draw from above. To do this, first draw the top of a large Christmas tree in the form of a triangle, then drag the brush further down to the right and left. Then draw even more fluffy branches below, draw a small Christmas tree next to it.
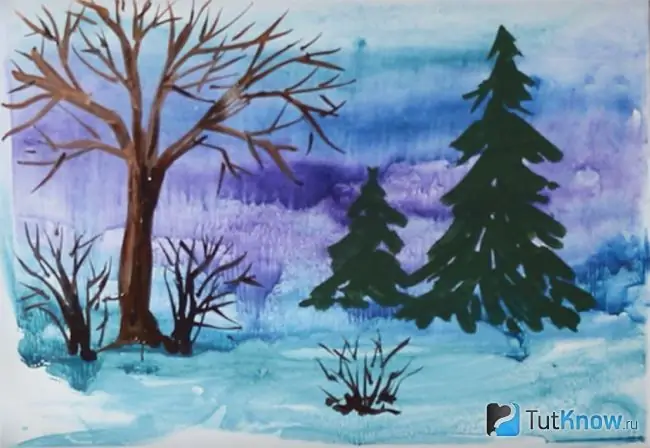
Take white paint, start to depict snow on Christmas trees, on trees, on bushes, snowflakes with it. You can also depict red berries on a small bush. Then the drawing will receive such a bright accent.
If you need to draw a winter landscape for a child, then let him depict such a colorful house, trees and a white hare located near the building.
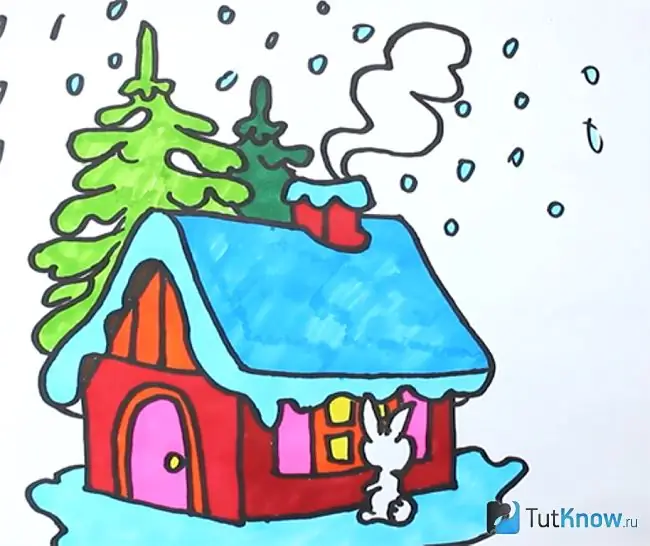
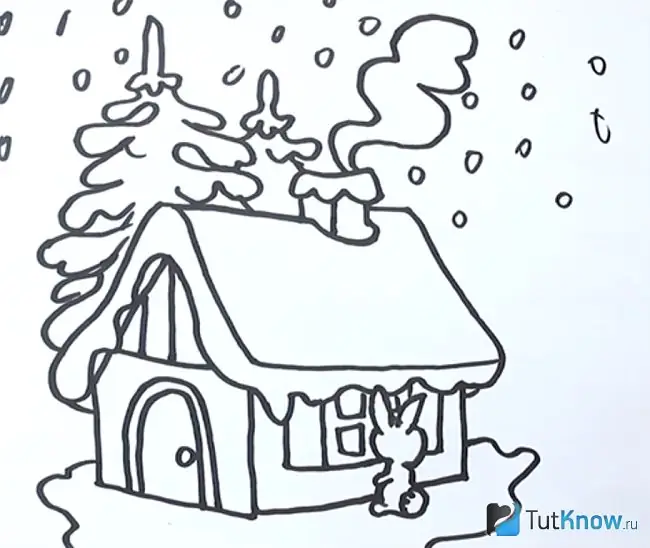
Show your child how to draw a house. To do this, first draw a vertical line that delimits the 2 sidewalls. Draw the small and large sidewalls. Then you need to depict the roof, pipe, door and window. Have your child draw a hare with ears, tail, and paws. With wavy lines, he will depict the location of the snow near the building. At the back of the house, he will draw white snowflakes. There are also fluffy fir trees at a distance from the building. It remains to add color to this drawing.
Read more about painting in traditional and non-traditional ways
DIY winter landscape - paintings from salt
This cooking seasoning makes wonderful landscapes.
Take:
- a sheet of blue cardboard;
- PVA glue;
- brush;
- salt;
- a rag;
- simple pencil.
First, draw a winter landscape on a piece of cardboard. It can be a snow-covered tree, a snowman, snowflakes.
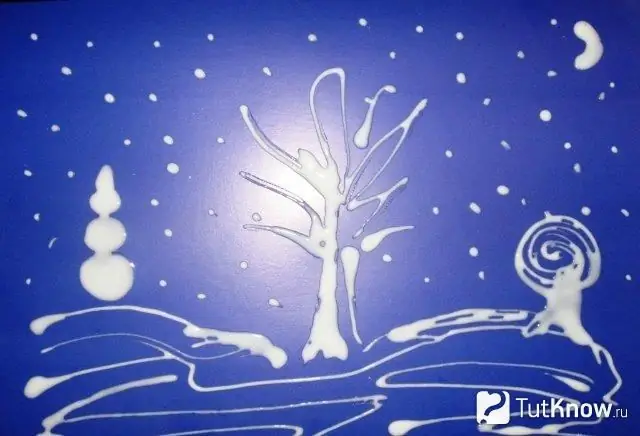
Now take the salt, generously sprinkle it on the picture. Wait a little, then you will need to pour out the rest of the salt. Salt, like snow, will shine in the light, creating an interesting effect.
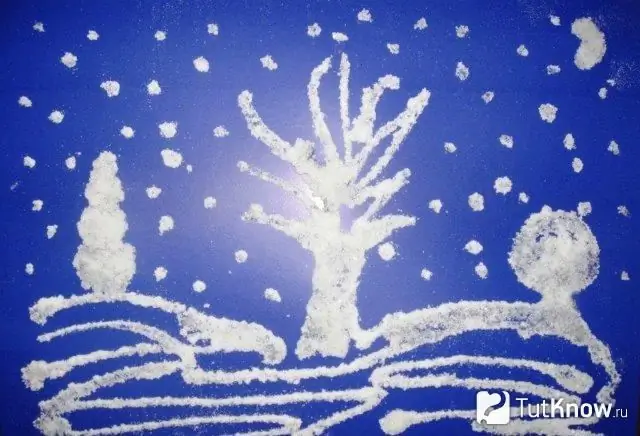
You can paint various winter landscapes with salt. If you wish, then houses, trees, a river, snowflakes will be located here. Since the salt is white, pictures using this kitchen seasoning will turn out to be wintery.
Beautiful winter landscape - ideas using cotton wool
This material is also great for making a winter landscape.
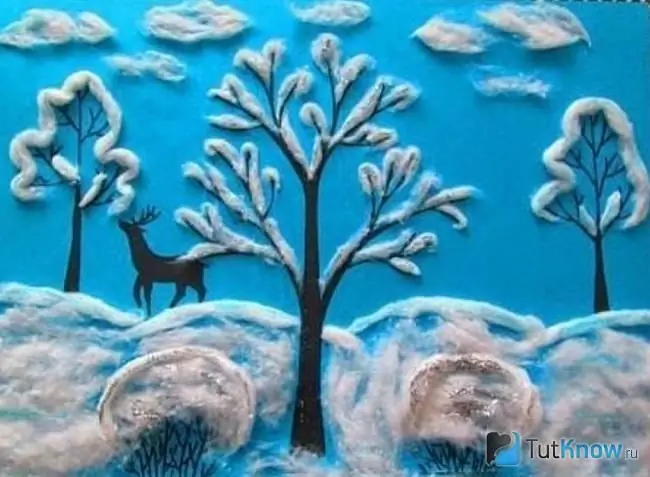
- Take a thick sheet of paper or cardboard, Draw with a simple pencil what will be shown here. If these are trees, then with a dark pencil or brush you need to draw their trunks.
- Then draw the bushes. They are drawn in the same way. If you have some kind of animal here, for example, a deer or an elk, then also depict it dark.
- Mark where the drifts will end and the sky will begin. Do this with cotton wool. Tear off the flagellum from this material. Lubricate the surface where the drifts will be located with glue. Attach the first flagellum here, placing it in a semicircle. Make a few more snowdrifts in the same way.
- Place the pieces of cotton wool inside the drifts, gluing them to make the drifts even fluffier. If there are also bushes in the foreground, first draw their branches, then use a cord of cotton to make a border. After that, attach cotton wool to the center of the bushes, but it should already be more fluffy.
- Take this same material and start glueing small pieces onto the branches to make them appear snowy. And some trees can be decorated differently. Take a rope of cotton wool, make an edging for a tree. Also, from the same material you will get fluffy clouds. Stick them on top of the blue sky.
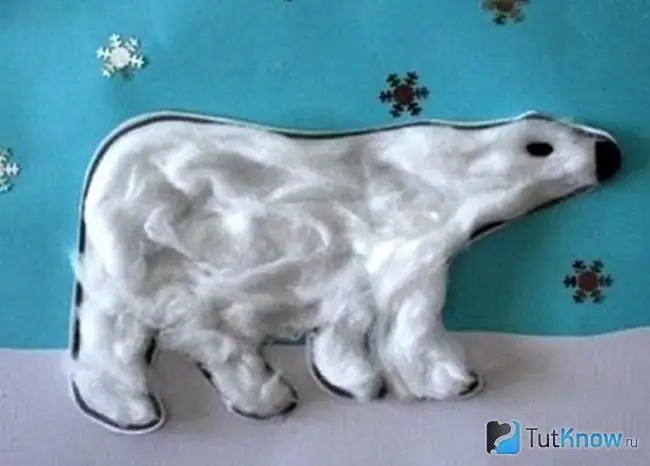
See how beautiful a bear is made of cotton wool. First draw its outline with a pencil on a piece of cardboard. Tear off pieces of cotton wool and start gluing it inside these outlines.
Take black threads, make a nose and an eye out of them. You can also make the outlines of a bear and create snowflakes from this material. These will be on the shady side of the landscape. And you will make other snowflakes from cotton wool.
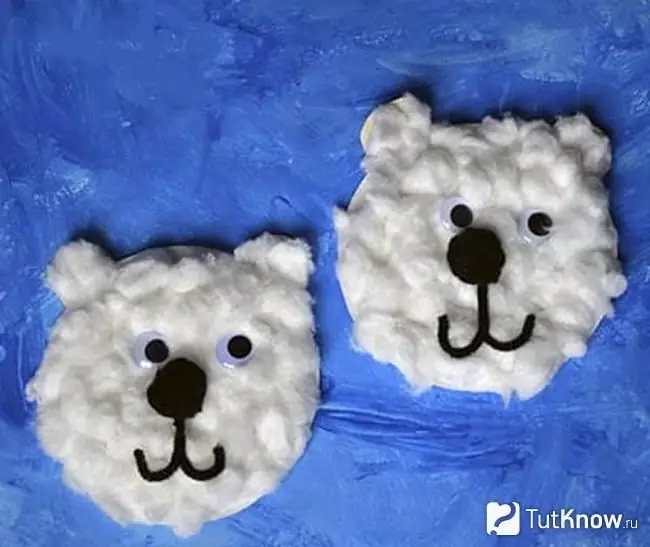
You can only craft the face of a bear, not all of it. Then have the child paint a white sheet of cardboard with blue paints. When they are dry, on this canvas you need to create the outlines of the faces of the bears. Now comes the fun part. Let the baby pinch off the pieces of cotton wool and stick them here. He will make not only muzzles, but also ears. Then he will create a nose from a black pom-pom or make it from threads of that color. From the same material, he will create the lower part of the muzzle. Then you will need to glue the eyes.
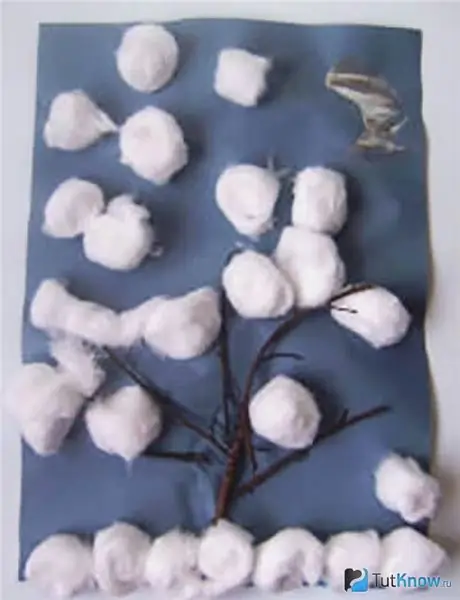
You can take cotton pads, wrinkle them in your hands to make lumps. Now the child will take a sheet of cardboard and draw a base for a tree on it or do it by taking branches of a real tree. Then, with the help of glue, you need to attach the resulting lumps here. They can also be placed at the bottom of the picture, as if they were drifts.
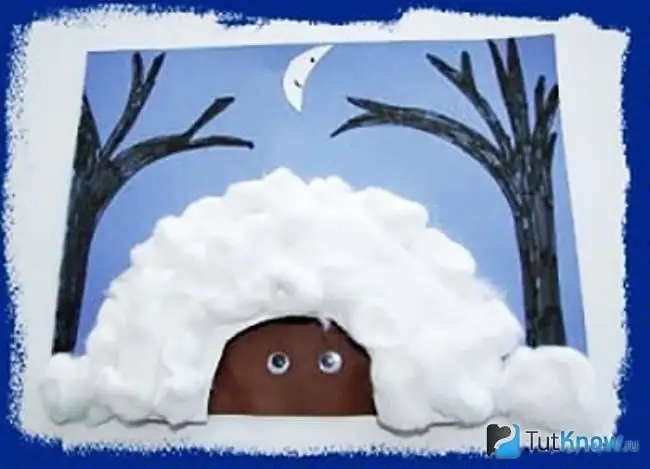
See how wonderful the next winter landscape looks. The photo will show you how to create it. Take:
- a sheet of blue cardboard;
- blue piece of paper;
- cotton pads;
- cotton wool;
- two eyes for toys;
- paper;
- scissors;
- glue;
- black felt-tip pen.
The child will glue a piece of paper onto a blue sheet of cardboard.
If you then want to make the same white frame, then you need to take a piece of cotton wool, dip it in white paint and poke around the surface between the blue and blue sheet.
Draw the outlines of the trees with a marker. Use a pencil to mark a snowdrift. Inside you need to glue a semicircle of brown paper with eyes for toys. This is a bear looking out of its hiding place.
It is under a snowdrift. You will create this snow drift from cotton pads and pieces of cotton wool. Half a cotton pad will become a month.
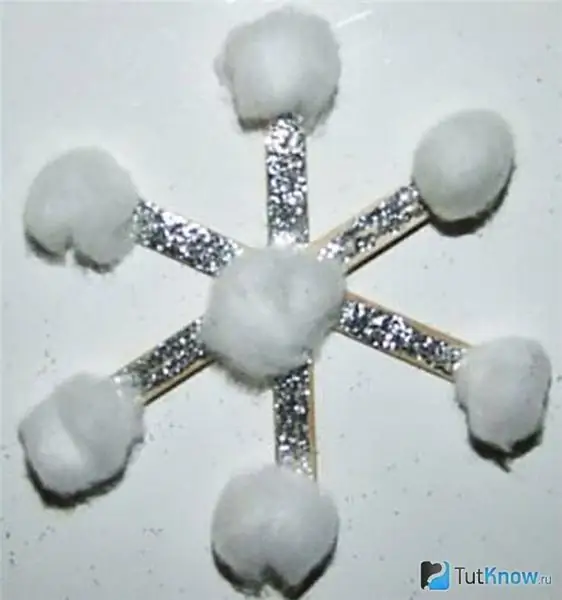
The next winter landscape is such a shiny snowflake. You need to glue 6 strips of paper crosswise on a sheet of cardboard. Apply glue here with a brush and sprinkle with silver tinsel, which must first be cut with scissors. At the ends of this snowflake, attach a piece of cotton wool or fluffed cotton pad, place such material in the center of this figure.
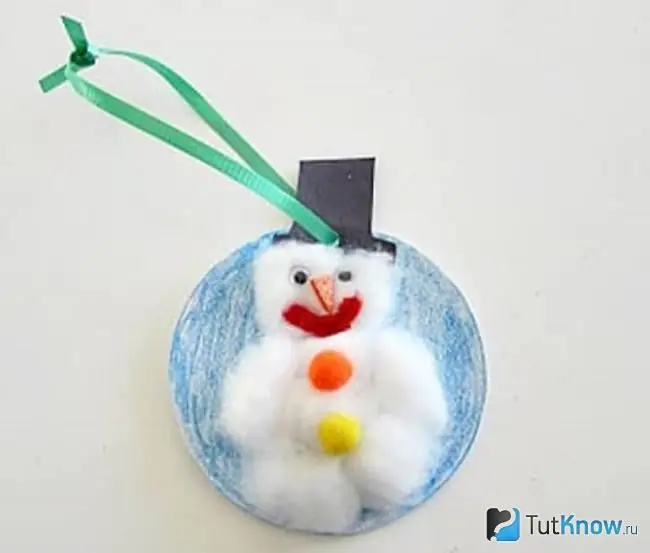
A cotton wool snowman also looks wonderful. You can make it in the form of a medal by gluing it to a circle of cardboard. From above you need to make a hole, thread a ribbon here and tie its ends, then hang this medal around your neck. In this way, you will make souvenirs that you can then reward with, for example, as a result of a winter competition. You can also use this craft as a Christmas tree toy, it will also look great. The child will be proud to create such a winter landscape.
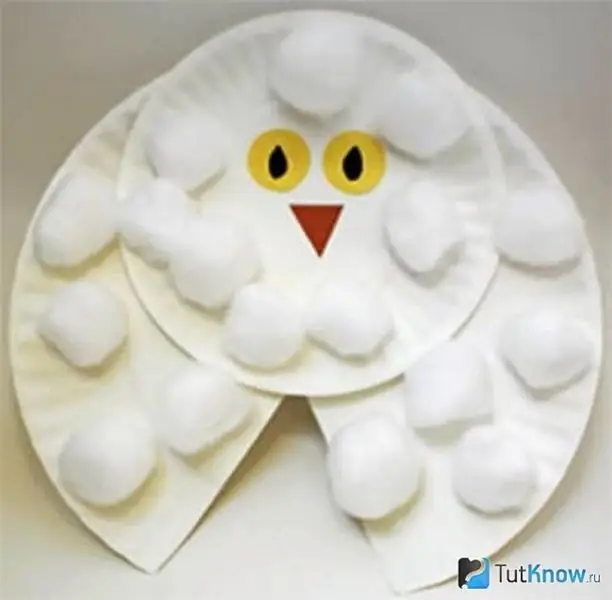
To make an owl from cotton wool, you need to take a large disposable cardboard plate and cut out a triangular sector. On top you will glue a smaller plate, with the eyes and nose outlined.
They can be drawn or cut out of colored paper and glued. Then roll circles out of cotton wool and decorate the owl with them by gluing them here.
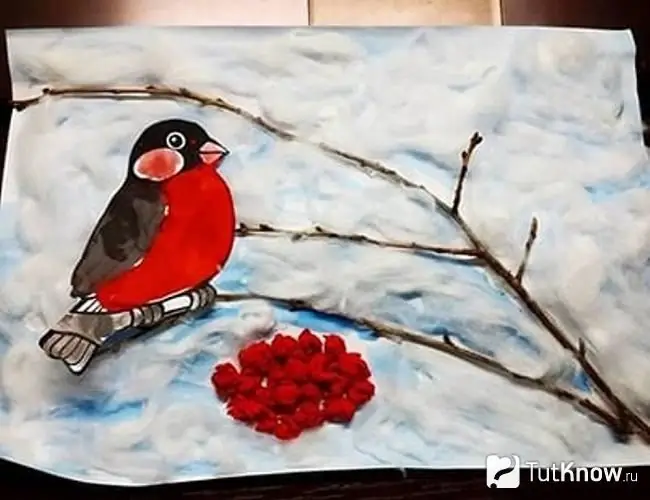
- When making a winter landscape, you can also use cotton wool as a background. Then it will seem that these are snowy expanses. To shade it, it is better to take a blue sheet of paper or pre-paint white in that color. When this is all dry, cover the sheet with glue. Now tear off the pieces of cotton wool and stick them here.
- When the glue dries, take the prepared twigs and glue them here. Now have the child paint some pieces of cotton wool red, then glue them to the bottom of the branch.
- These will be improvised rowan berries. A bullfinch can be created from paper in advance. To do this, cut out its outlines, then paint. You can also take a picture in a magazine, cut it out, and then attach it in place.
The following cotton wool applique can also be made using padding polyester. These materials imitate snow perfectly. And you get this snow-covered window.
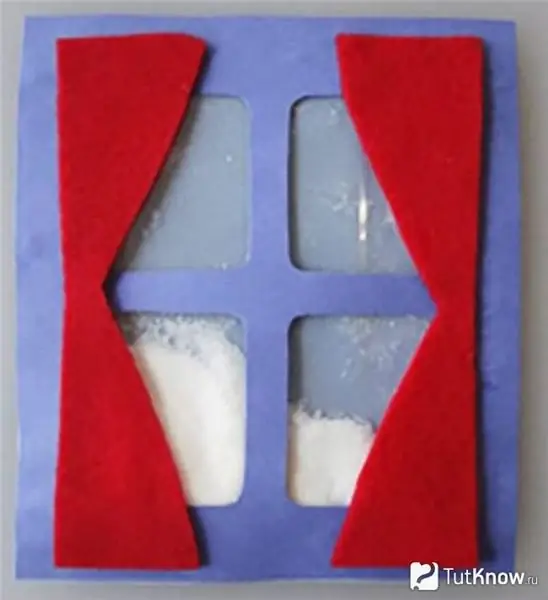
To create such a job, take:
- colored cardboard;
- scissors;
- cellophane;
- dense fabric.
First you need to cut out a window with frames from cardboard of the same color. Now cut the curtains out of thick fabric and glue them here. They must be pulled apart. On the back of the window, you need to glue dense cellophane.
Take another sheet of cardboard, pour a little cotton wool cut with scissors or chopped padding polyester here. Stick it on. Now fix the window with curtains on top and glue this blank.
How to paint a winter landscape with leaves?
You can create an amazing winter landscape with autumn leaves. This natural material is also available, collect it, dry it. Then all winter you can make such amazing pictures.
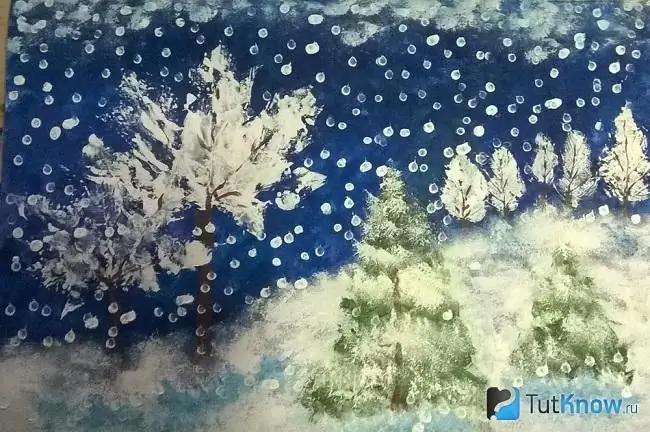
Take:
- a piece of watercolor paper;
- sponge;
- various leaves;
- gouache in several colors;
- brush;
- cotton buds.
Take a piece of watercolor paper and place it in front of you. If you are teaching children to draw, then have them put paper on the work surface and sit down next to them. Now you need to take a sponge. To do this, use a regular household dishwashing detergent. If it is large, then cut it in half or in 4 pieces with scissors.
Now you need to dip the sponge in the blue paint. With this technique, you will arrange the sheet so that it becomes that color.
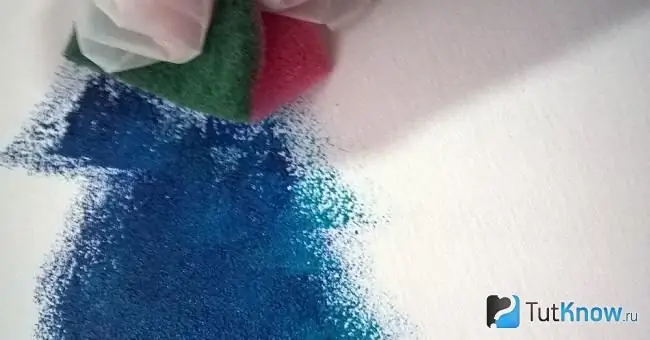
Let the paint dry. Then move on to the next step. To do this, take a dried leaf. See if it resembles a tree outline. If so, start covering it with white gouache.
While it has not dried, turn the sheet over, attach it to the tinted and dried blue surface of the paper sheet and hold for a few seconds. You will have a maple print.
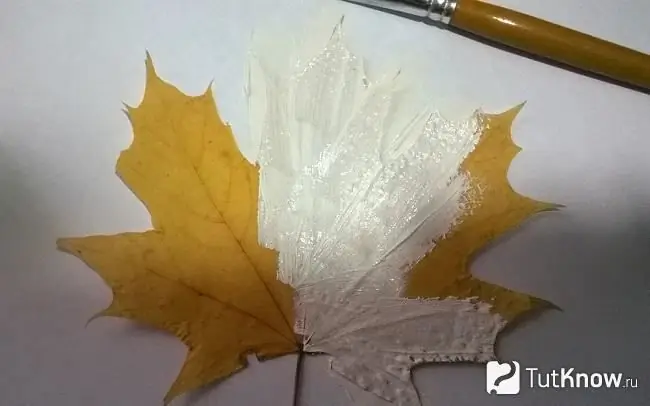
In the same way, you will apply paint to leaves from other trees. You will also attach them for a few seconds to create a winter landscape.
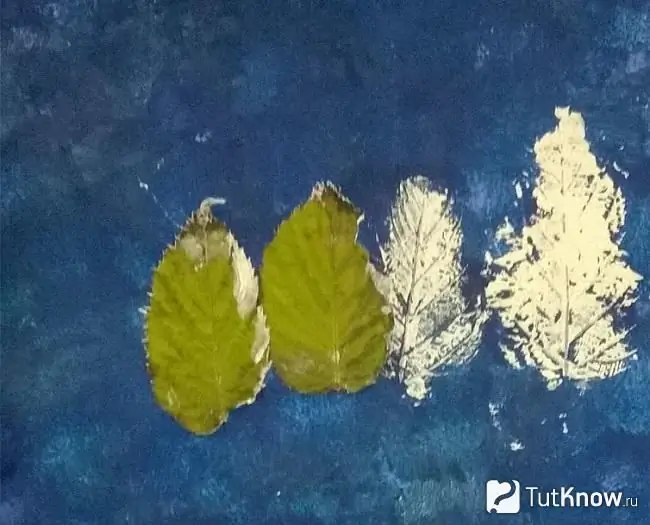
Wait until the white color dries up, then take a brown paint and with a brush begin to draw tree trunks, their branches.
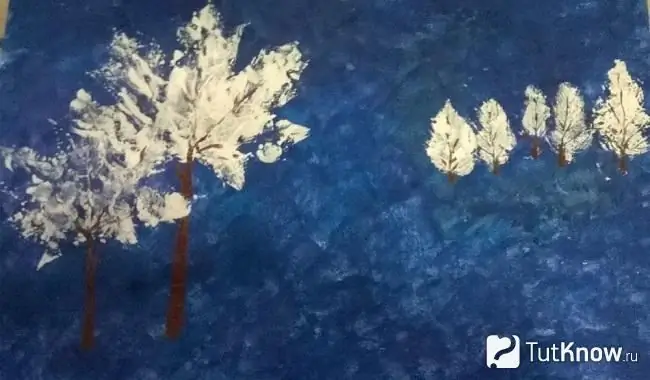
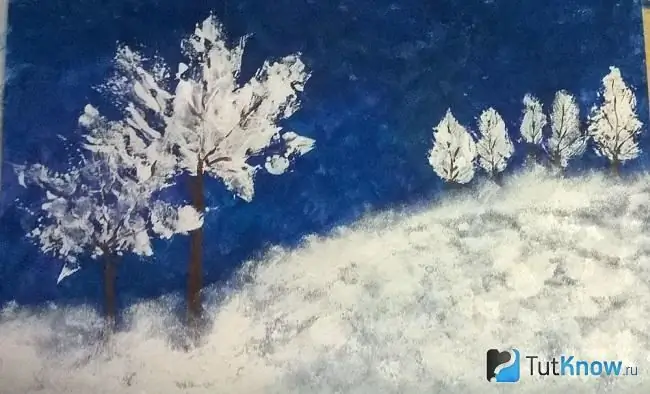
Then take the second half of the sponge, with it you need to make air drifts. To do this, dip this tool in white paint and then cover part of the sheet with it to make such a hillock.
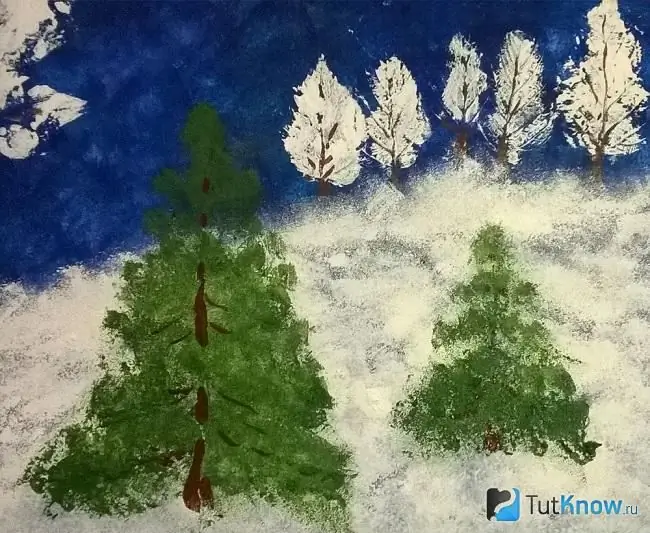
Let this paint dry, then take another piece of clean sponge, dip it in green paint and draw a Christmas tree. Nearby you can draw another smaller one. When the green paint dries up, then take a brown paint and a brush, draw the trunk and the base of the branches.
When this surface is dry, start dipping a piece of sponge in white paint and apply this makeshift snow to the trees. It remains to make snowflakes. To do this, take cotton swabs, dip them in white paint and apply even dots against the sky.
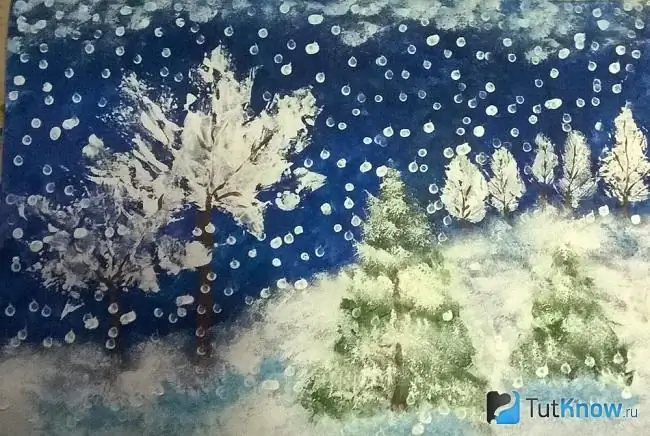
Here is such a wonderful winter landscape then it will turn out.
Winter landscape in plasticinography technique
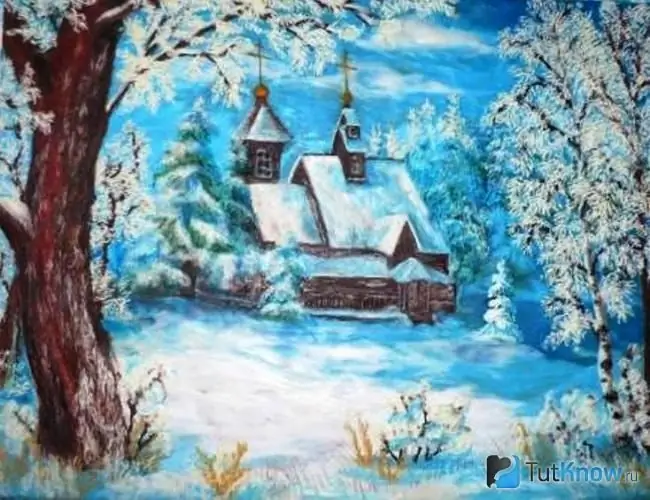
This technique will also help create a winter landscape. If you try, you will get a job like this.
Take:
- thick cardboard or hardboard for the base;
- pencil;
- eraser;
- plasticine of different colors;
- stacks.
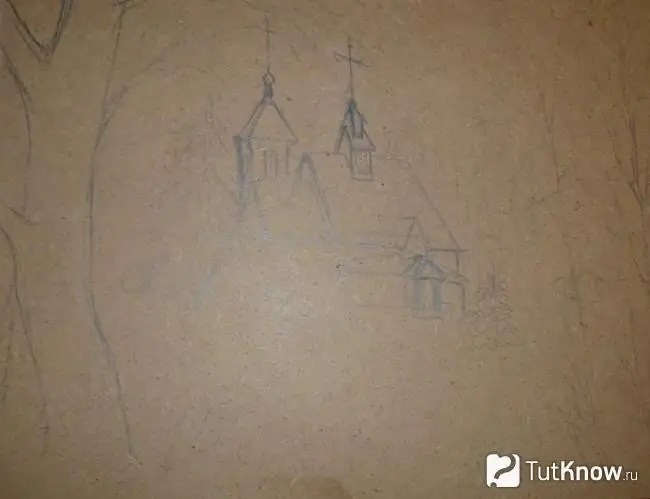
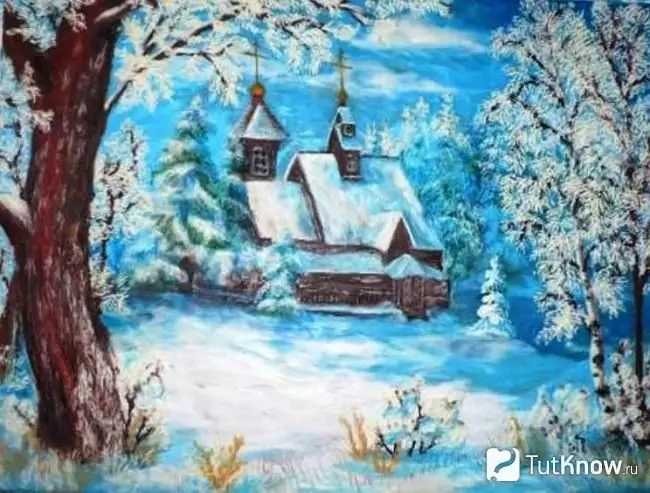
First you need to draw a motive for the future landscape. Here it is a church, trees, sky, snow, bushes. Draw all this with a simple pencil on a sheet of cardboard or hardboard.
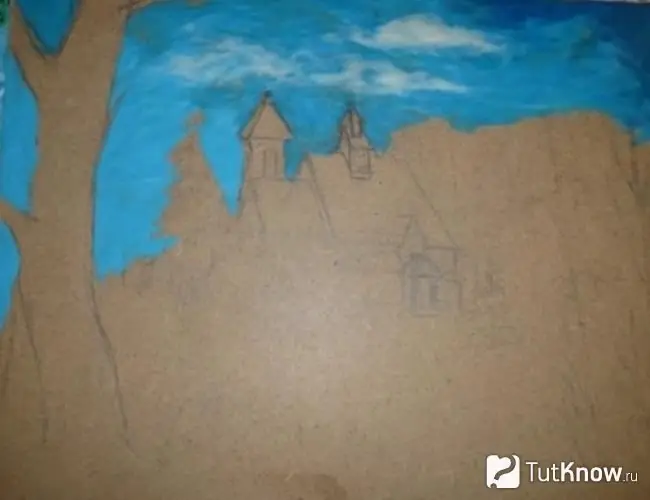
To do this kind of work, start filling the space from the top. To do this, take plasticine in blue, blue and white. Place them just below the surface to be shaped. Now take a stack and use it to cut a small piece of blue plasticine. Add some blue here and start filling the space horizontally. Then take some white plasticine and also continue to paint over the sky with horizontal lines.
The clouds will turn out so light. Especially carefully it is necessary to decorate the sky around the church, trees. But if suddenly you go abroad, then remove the plasticine with a stack.
Now take the green plasticine, start making the spruce in the background with it. The blue will help add shadows, and the white will become the snowy peaks.
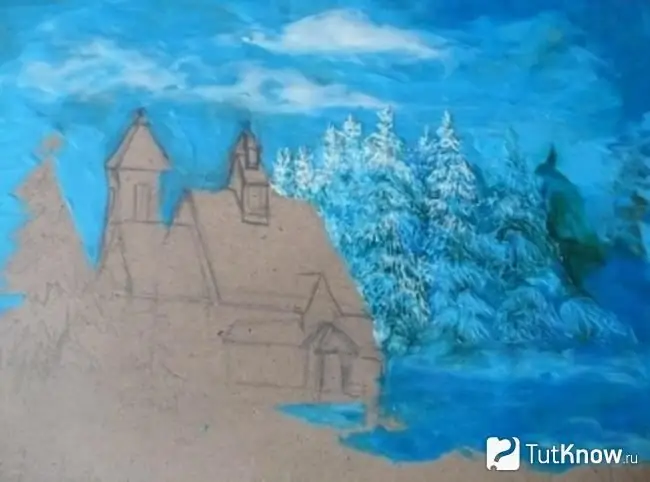
Thus, continue to shape the landscape, fill the clearing of the desired color with plasticine. There will be blue, light blue, white plasticine. Make smooth transitions between these colors. Take brown plasticine and use it to make the walls, the sides of the roofs of the church. You need to make golden crosses from yellow. White plasticine will turn into snow-covered roofs. Use the brown to make the trunks of the foreground trees.
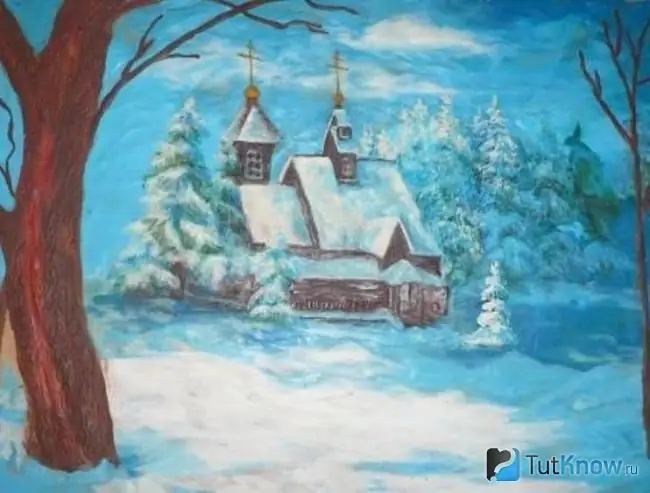
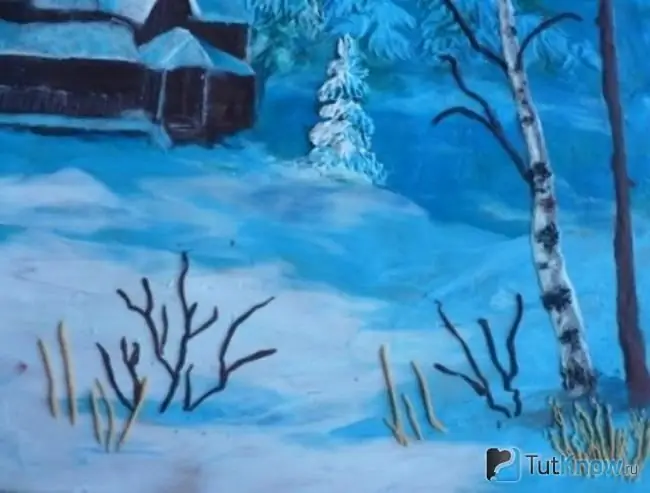
Make a birch here using white and black plasticine. Decorate a few bushes. Some of them can be done, if you take green, orange, brown, mix them, and you will create such shrub branches.
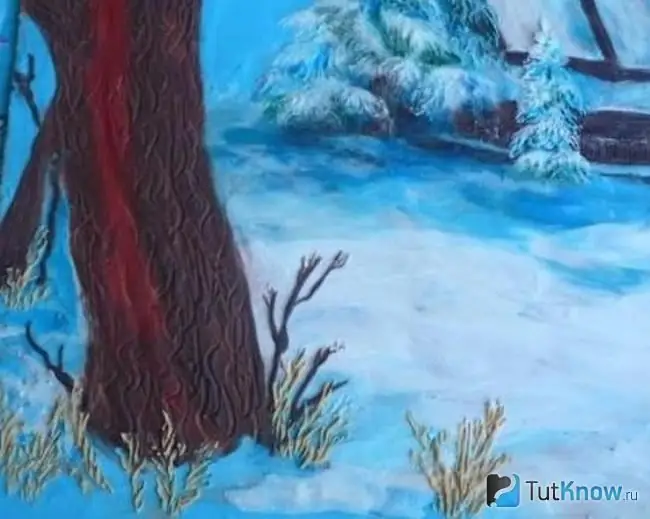
To make a winter landscape from plasticine further, start giving the tree bark texture. With the help of stacks, apply various lines here to get such a reliable picture.
Now in the foreground you need to make snowdrifts. Add snow here. Sculpt sausages of different sizes from white plasticine, then attach them to tree branches so that it seems that they are so snowy.
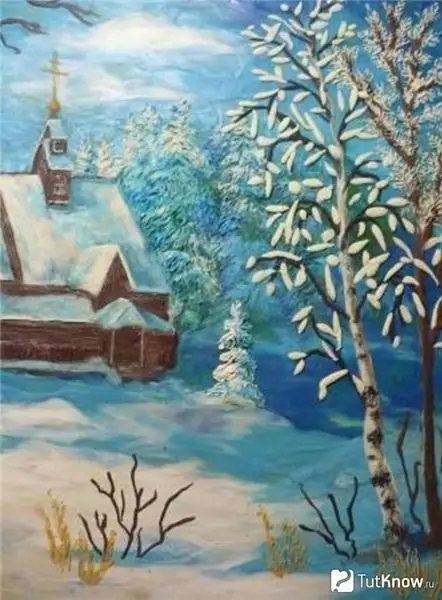
Make some trees next to the church, to the side of it. Follow them also, applying the necessary colors. You will get a wonderful picture using the plasticine technique.
Read more about interesting drawing techniques
Winter landscape - canvas painting
This material will also make a beautiful painting.
To do this, take:
- tissue flaps;
- glue;
- photo frame;
- scissors;
- rectangle of cardboard.
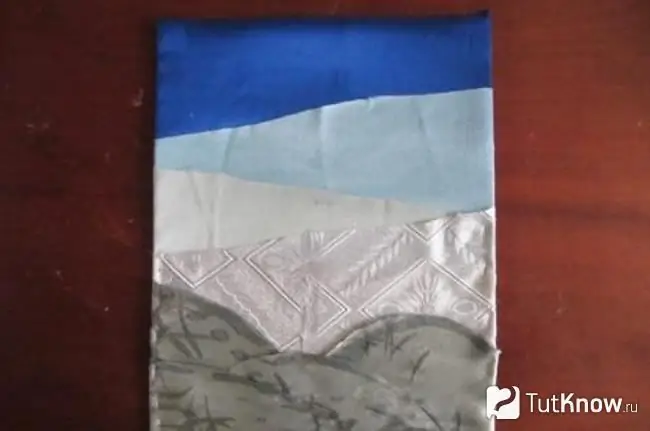
Take the pieces of canvas and lay them on the fabric. Above is a dark blue flap. This will be the sky. Place a blue one below it, then a lighter one, so that it seems that the sky merges with the snow-covered plain.
If you have a beautiful lace braid with wavy edges, then take it and attach it from below. Then you have drifts.
The edges of these fabrics can be folded back and stapled here with a stapler. You can also glue it neatly using invisible glue.
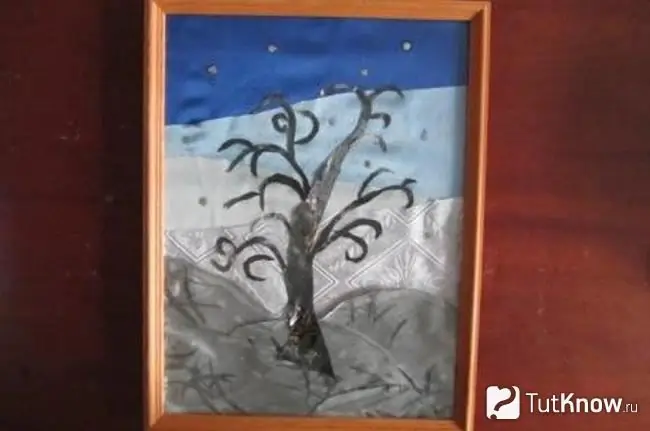
Take a dark fabric and start cutting straight and rounded sections from it. They will soon turn into trees, branches and bushes. Glue them in place to get these items.
To further make a winter landscape out of fabric, you can glue shiny sequins here to make it seem like it is snowing. All that remains is to frame your work and admire the final result.
We also offer a master class on how to draw spring
Winter landscape - volumetric inlay
You can also make a winter landscape, but not on a flat surface, but create it in volume. Imagine, then maybe you will also get an old snow-covered castle or a part of a snow town that will not melt.
Take:
- cardboard egg trays;
- plastic bucket from mayonnaise;
- PVA glue;
- hardboard or tray;
- white acrylic paint;
- a piece of styrofoam;
- sheets of paper;
- gray acrylic paint;
- brush.
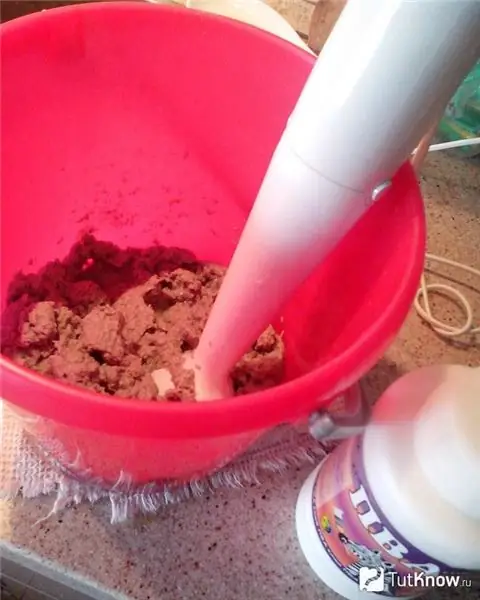
Break the egg cartons into pieces, then cover them with water. Drain off excess liquid, but not all. Add PVA glue here and use a blender to turn this mass into a homogeneous mass.
Now place the upside down plastic jar on a firm surface. If you want to make a tall tower, then place two buckets one on top of the other and place this base on the surface.
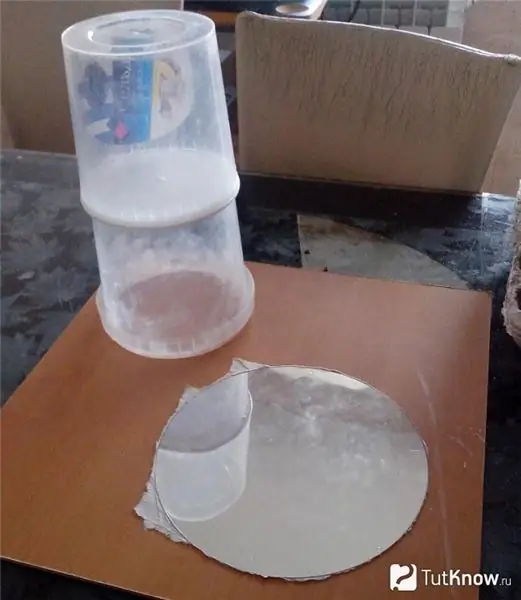
Take a lot of papier-mâché, if there is a lot of liquid on it, squeeze out excess moisture. Now start applying this material to the outside of the plastic jars. Let your work dry, then make a ladder for the tower. It repeats the outline of the main structure. Cut out the bottom of the step.
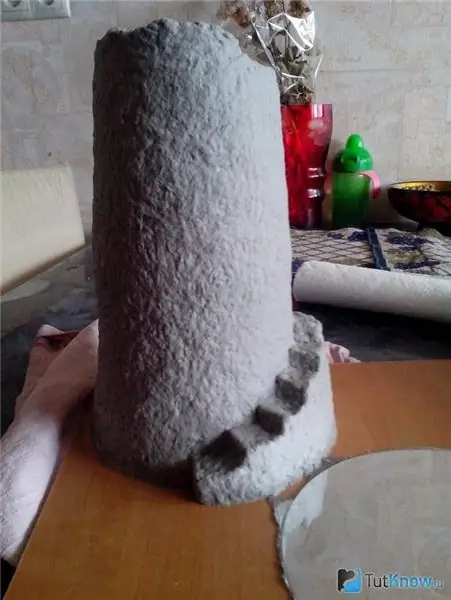
Such a winter landscape dries up for a long time. Therefore, it is better to place it at night near a warm battery.
Now create some makeshift rocks. To do this, you need to take sheets of paper, wrinkle them in your hands to give the shape of circles. You will glue these pebbles with white napkins. Then place the tower blank and these lumps in the oven to dry over low heat.
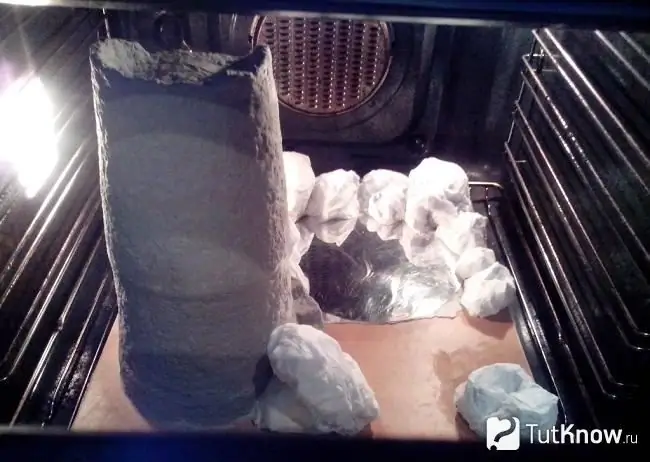
Then paint these lumps with white acrylic paint and place the tray back in the oven. Do this several times to dry the colored stones. If you have a winter landscape, then white acrylic paint is better. But to make these blanks look like stones, first paint them with gray paint, and when it dries, then apply white. As if it were snow.
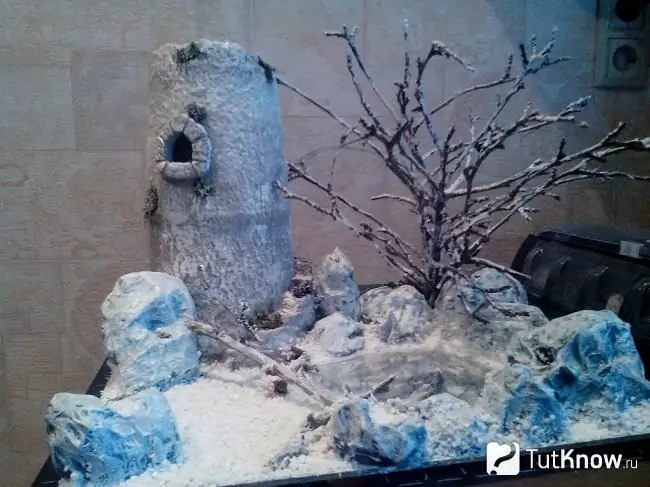
And to make it even bigger, break a piece of Styrofoam so that it crumbles. Now cover the work surface with glue and sprinkle it with foam crumbs. Glue the branches near two large stones to be painted with white acrylic paint. Fix this makeshift tree in this position.
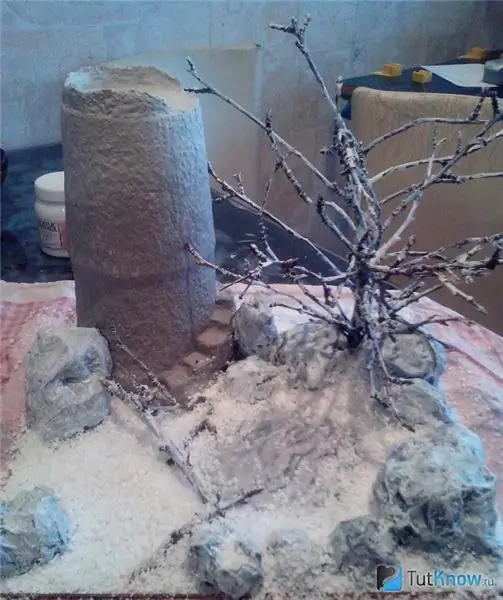
Take a utility knife and cut a hole in the tower for a window. Use stacks or a manicure file to create a semblance of bricks here.
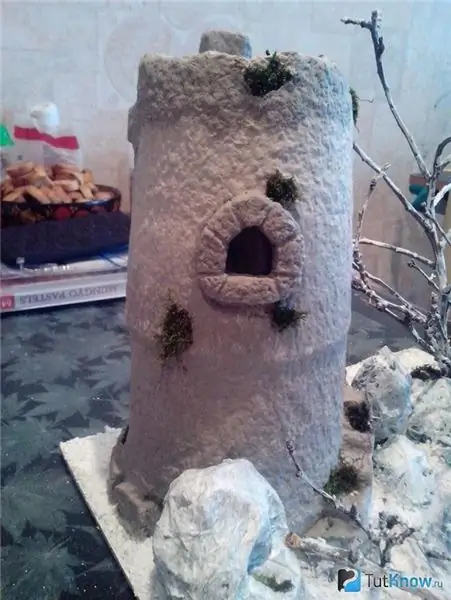
Now you can cover the creation with a small amount of white paint, as if it were frost in such a winter landscape.
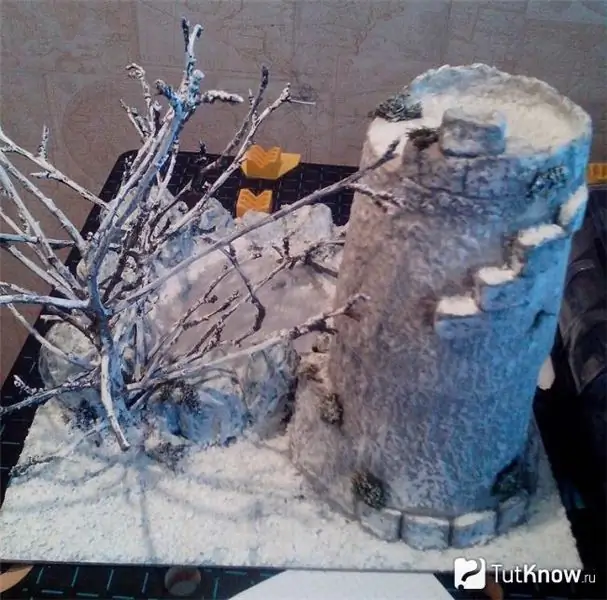
Apply glue on top of the bricks and dust them with foam crumbs. In this way, arrange the top of the tower. It will seem that this snow will cover this place, and the winter landscape you will get the most authentic.
Here's how to make a winter applique for kids.


