- Author Arianna Cook [email protected].
- Public 2023-12-17 14:23.
- Last modified 2025-06-01 07:38.
Since time immemorial, the bath has been helping to cleanse the body and renew the soul. This is a great way of healing, hardening and relaxing the body when exposed to the contrast of temperatures. Content:
- Bath design
- Material selection
-
Construction instruction
- Foundation device
- Walling
- Roof installation
- Finishing work
- Thermal insulation procedure
For a long time, buildings for bathing procedures were made of logs, but nowadays many cannot afford wooden log cabins. Over the years, prices for natural materials have increased significantly. But you can always find a way out of any situation. Inexpensive construction of a foam block bath will be a good alternative to a log structure. Today's material is devoted to this issue.
Designing a bath from foam blocks
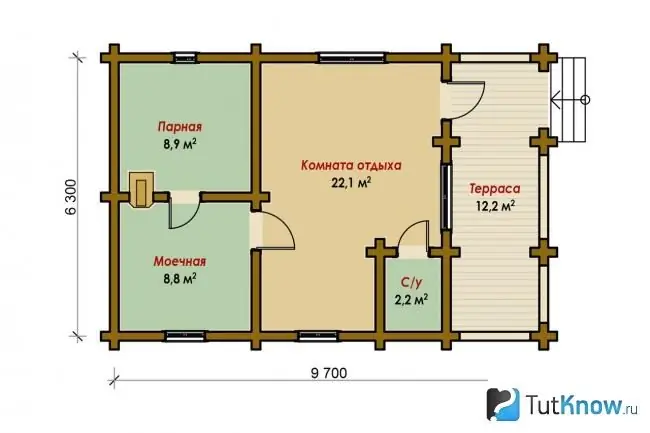
Modern projects of baths from foam blocks usually inspire confidence, since the construction of such structures is not particularly difficult. At the design stage, it is necessary to link the structure to the site, determine the dimensions of the future bath, the location of its doors, windows, internal partitions and equipment.
The main factors for a successful project are the correctly chosen type of foundation, depending on the type of soil and the mass of the structure; correctly calculated geometry and dimensions of the building, multiples of the number of foam blocks of the first row of walls. It is very important to provide for the location of power supply, sewerage, water supply and ventilation systems in the project. The overall result of the data obtained will allow us to calculate the amount of materials required for construction.
The choice of material for the bath
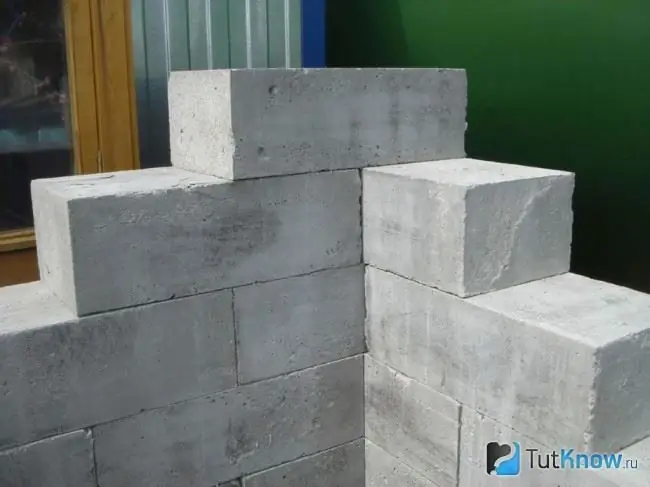
In our case, the wall material is obtained from a cement-sand mortar with the addition of a special foam, which, when the mixture is polymerized, forms air cavities in it. With this technology, the building stone is inexpensive, durable, environmentally friendly, fire-resistant and convenient for installation.
Foam blocks are perfectly cut, sawed and planed using ordinary tools - a hacksaw and an ax. The only drawback of this material is its low moisture resistance due to the porosity of the stone structure. Therefore, when buying, you must choose high-strength products covered with a moisture-resistant primer.
To save money on transportation, foam blocks can be produced independently at the construction site.
Phased construction of a foam block bath
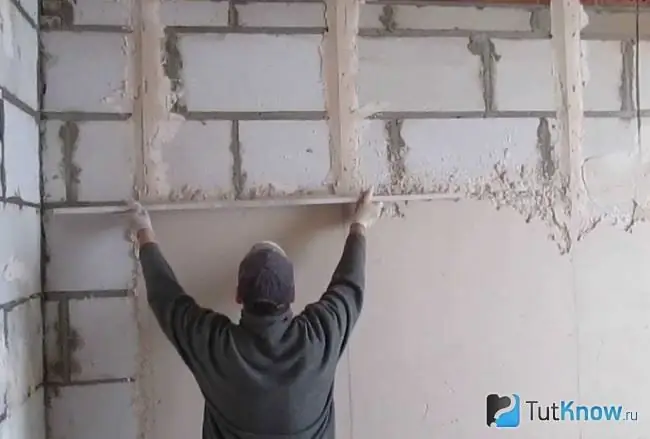
After completing all calculations and purchasing the necessary materials, we build a bath from foam blocks. We will divide our construction into several stages.
The device of the foundation for a bath from foam blocks
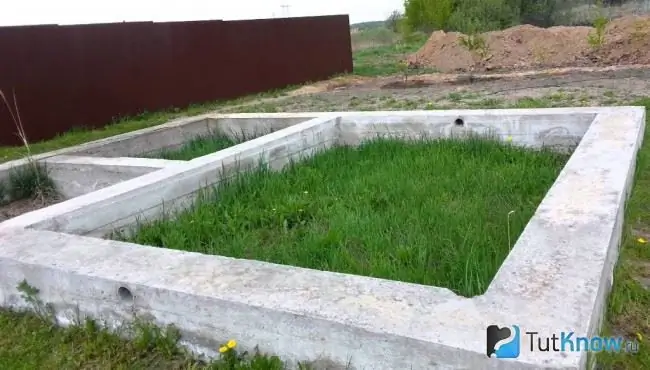
Due to the low weight of the future building, a light strip foundation is suitable for a foam block bath, which significantly reduces the cost of construction.
We carry out work on its device in this way:
- Using a cord and pegs, create a rectangle on the ground. This will be the outer perimeter of our foundation with dimensions appropriate to the project. We check the correctness of its internal angles by measuring the diagonals, which should be the same.
- We dig a trench with a depth of 0.6 m and a width of 0.3 m along the perimeter of the rectangle.
- In the corners and along the perimeter of the trench, we hammer in metal rods with a step of 1900 mm. We check the accuracy of their installation with a stretched cord and a building level.
- We assemble metal frames from reinforcement with a diameter of 12 mm using a welding machine. Their number depends on the size of the foundation.
- We collect the formwork from the boards. It is fastened in the trench with wooden pegs and short bars.
- We lower the reinforcement cages into the formwork and connect them with an overlap of 150-200 mm using a knitting wire.
- For the laying of future communications, we install sleeves in the structure from pieces of plastic pipe with a diameter of 50-110 mm.
- We fill the formwork with M200 concrete, controlling its upper level along the metal rods. For a bath made of lightweight foam blocks, a foundation height of 700-800 mm will be quite enough.
- After the concrete has polymerized, we remove the formwork and cover it with two-layer waterproofing. You can use roofing material.
Erection of walls from foam blocks
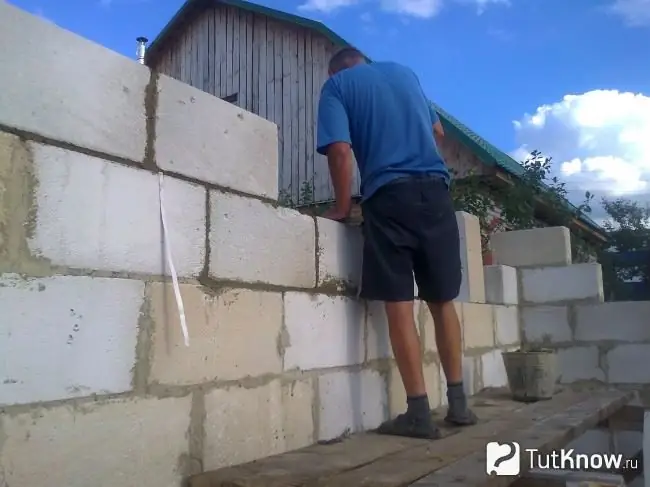
The walls of our bath can be erected on the finished insulated foundation. The material for them will be foam blocks with dimensions of 600x300x100 mm, density - D700, grade M25. These parameters are most optimal for building stone made of aerated concrete.
The order of work is as follows:
- Using the level, we determine its highest angle on the surface of the foundation. From it we begin to lay the stone.
- The first leveling row of foam blocks is laid on a cement-sand mortar along the entire perimeter of the foundation. The position of the stone when laying is "on the edge". We carry out the settlement of blocks on the solution with a rubber mallet. Remember that the quality of the entire masonry depends on the correctly laid first row. All its deviations from the vertical and horizontal are excluded. The quality is constantly checked by the level
- All subsequent rows of foam blocks are laid on special glue. His dry mixes are sold in bags at home improvement stores. Such mixtures are closed with water and mixed with mixers to a uniform state.
- The thickness of the adhesive layer between the blocks should not exceed 5 mm. This minimizes the overall size of the "cold bridges" in the masonry.
- Every three rows of foam blocks, we reinforce the future wall with a metal mesh.
- We leave door and window openings in the enclosing structures according to the project drawings. Do-it-yourself laying of the walls of a foam block bath can be done in 15-20 days.
Installation of the roof of the bath from foam blocks
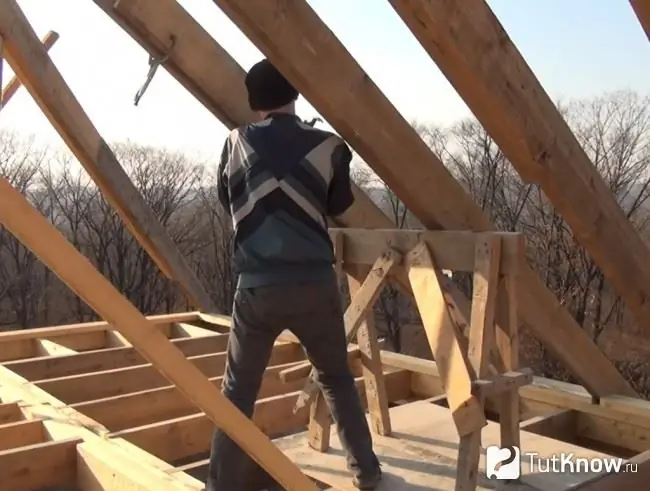
The roof of our bath will be gable on wooden rafter structures. The base of the roof will be a Mauerlat - a rectangular bar 200 mm thick, which we fix on the upper end of the longitudinal walls of the building using anchor bolts.
For the installation of the rest of the wooden structures, we need a rafter template. It can be made from two planks overlapped along one edge with a nail. We install the free edges of our "compass" on the base of the roof. We select the design slope of the roof and fix the angle of the template with the crossbar. We fix it with screws.
We apply the template one by one to the rafter beams and mark with a pencil the correct trimming of the corner. We carry out all the cuts and fasten the rafters with self-tapping screws. We lift the first rafter frame to the edge of the roof base. We mark the places where the rafters meet the Mauerlat with a pencil, make cuts and fix the joints with staples. We install the next frame on the opposite edge of the roof and do the same with it.
We install supports at an angle to the rafter beams and fix the trusses. We connect the extreme wooden structures with a stretched cord. Along it we place and fix the rest of the trusses with a step of 500 mm. For the roofing lathing, we use boards of 100x400 mm, which we attach to the rafters with screws. The step of the lathing is chosen to match the size of the future roof insulation. For fire safety reasons, the rafters should not be located closer than 400 mm to the flue duct of the furnace.
From a board of 25 mm between the rafters we fill a rough ceiling and insulate its top with foam. We lay the final floor of the attic on the foam. You can use 25 mm board or plywood. We fix the roofing material on the crate. Install the ridge roof part. We supply the chimney with a galvanized metal collar. Our roof is ready!
Important: In the construction of the ceiling of the bath, it is necessary to provide two holes for the installation of ventilation.
Finishing a bath from foam blocks
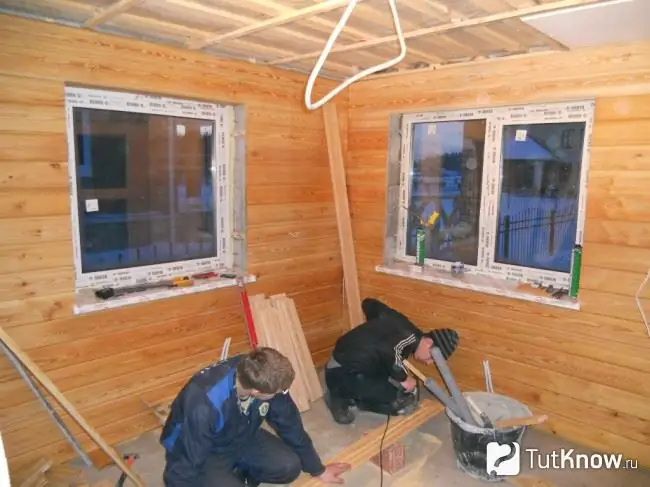
A foam block bath requires mandatory wall decoration. This is due to their hygroscopicity. To protect foam concrete from moisture, we use impregnation of blocks with water-repellent compounds, followed by waterproofing of the walls with a film and vapor-proof membranes. We fix these materials between the wall and the outer cladding.
Internal walls can be sheathed with wood, and for external decoration, a hinged ventilated facade can be used. In some cases, interior decoration may consist of plastering the walls, followed by painting them with polymer enamels. Wall cladding with tiles is also an acceptable option.
The steam room of our bath can be sheathed with aspen or linden. These types of wood have excellent thermal insulation properties. Under the influence of high temperature, such a lining does not heat up much and has a pleasant smell.
Thermal insulation of a bath from foam blocks
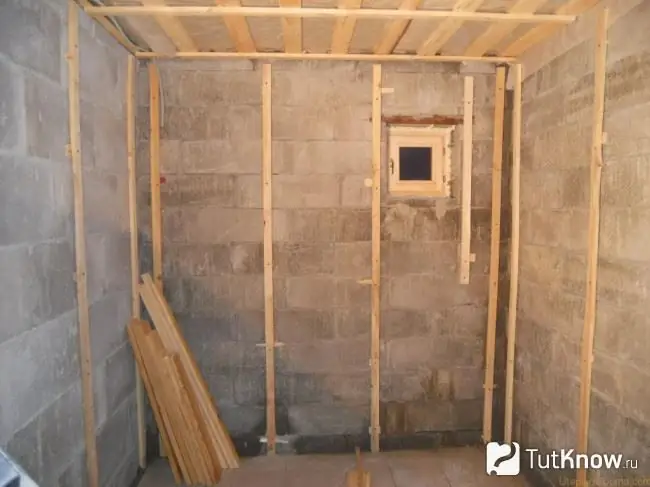
Thermal insulation of our building is also a necessary measure. It is designed to retain heat in rooms and reduce the cost of heating them.
So let's get started:
- The basement of the bath is insulated with mats made of mineral wool.
- We insulate the floor by filling it with slag or expanded clay.
- We insulate the walls with metal foil.
- Caulk the cracks in the openings, seal all the joints.
Important: the doorway in the steam room is not made large for reasons of heat loss. Watch a video about building a foam block bath with your own hands:

That's all science! Now you know how to build a foam block bath. At your leisure, you can think about its equipment, the selection of furniture and bath accessories.


