- Author Arianna Cook cook@women-community.com.
- Public 2023-12-17 14:23.
- Last modified 2025-01-23 09:40.
What is OSB, their advantages and disadvantages, types of oriented strand boards and the rules for their selection, technology for mounting panels on logs and a concrete base, features of decorative finishes. An OSB floor is a surface made of orientated strand board, which is made from several layers of wood shavings (mainly pine). Also, the panels contain resin, synthetic wax. The slabs are three-layer, produced under the influence of pressure and high temperatures.
Pros and cons of OSB flooring panels
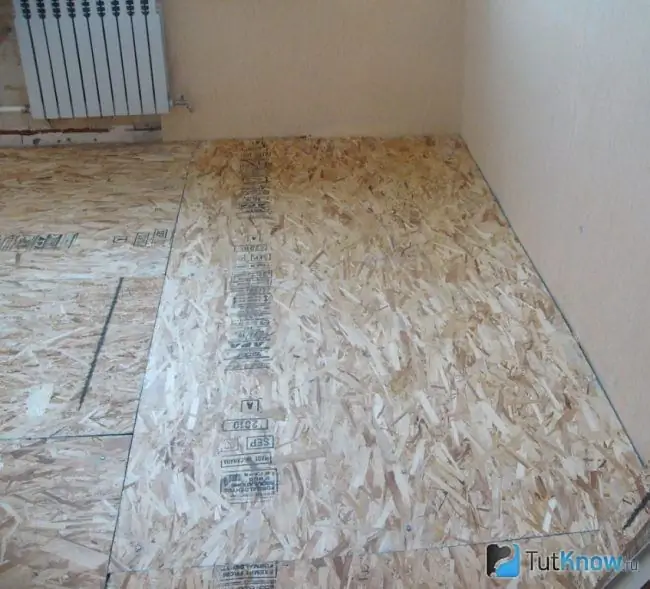
Every year the demand for OSB boards is growing, which is not surprising, because the material has the following advantages:
- High level of panel strength. It is achieved due to the fact that in different layers of the board the chips are perpendicular. With the right choice of tile thickness, the structure will be able to withstand high power loads.
- Light weight of the panels. The standard weight of a whole board is no more than 20 kilograms. Such material can be lifted by yourself, you do not have to hire a special team.
- The structure is resilient and flexible, which allows the boards to bend without fear of breaking. This is very handy if you want to make your OSB flooring with a rounded or other shape, as well as when working with uneven surfaces.
- The panels are characterized by a high degree of moisture resistance. This effect is achieved by treating the boards with resins. Compared to other wood building materials, this board will deform less when it comes into contact with water or moisture.
- It is convenient and easy to work with OSB. The panels can be installed using simple construction tools such as saws, drills and screwdrivers. The cuts are smooth, no additional processing is required for them. Various fasteners are well fixed on OSB - nails and self-tapping screws. Installation of slabs will not take much time.
- The material has high performance in thermal insulation. Since the OSB board contains more than 90% natural wood chips, they perform the function of floor insulation. Therefore, such a floor covering will not allow heat to evaporate quickly and will maintain a stable temperature in the room.
- OSBs provide a good level of sound insulation. The panels are multi-layered, so they are good at absorbing any noise.
- Resistant to chemicals due to resin treatment.
- Chipboards are environmentally friendly. They are impregnated with special solutions that will prevent fungus or mold from forming on the boards.
- OSB panels are budget and affordable.
- OSB flooring perfectly levels the surface. The slabs can be installed on a wooden or concrete floor, thus creating an even surface on which the main finishing material can already be laid on top.
- They have a stylish wood-like color, due to which they do not require additional design processing.
There are not many drawbacks to the material. Of these, the following can be noted: when cutting slabs, it is necessary to work in a mask or respirator, since wood chips and dust are harmful to the respiratory organs. Moreover, some types of low-quality panels, when working with them, can emit dangerous carcinogenic substances. In addition, an OSB subfloor may contain a synthetic substance such as phenol. But in the past few years, manufacturers have been actively solving this problem and switching to the production of formaldehyde-free panels. Such material is considered absolutely safe for human health. You will find the Eco or Green label on its packaging.
The main types of OSB for flooring
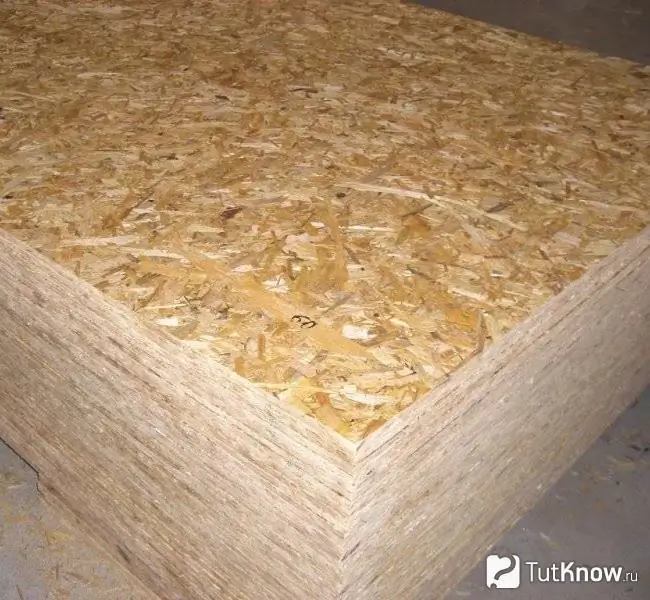
OSB is a panel consisting of three layers of wood chips, which are pressed and glued in production using a waterproof resin. The direction of the chips inside the boards alternate: first along, then perpendicularly. Thanks to this arrangement, the plates are strong and hold the elements of the fastening system well. Several types of OSB are used in construction work:
- OSB-2 … Such slabs have a low level of water resistance, therefore they are used only for interior decoration of dry rooms.
- OSB-3 … These are versatile boards. They tolerate high humidity both indoors and outdoors. The material is very dense, therefore it is used in construction work of any complexity.
- OSB-4 panels … The most durable and moisture resistant type of slabs. They are often used to create structures in rooms with high humidity levels.
Features of the choice of OSB slabs for the floor
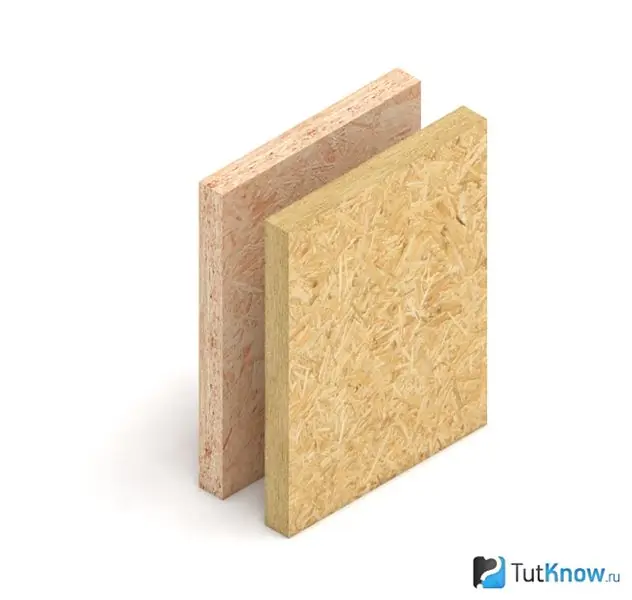
The most versatile material for finishing the floor in a residential area is OSB-3. It is recommended to choose products made by Western European manufacturers. Such panels meet European quality standards and have a high density. The thickness of the OSB slab for the floor can be different, but in order for the panels to retain heat well, perform soundproofing functions, and also level the surface, it is recommended to choose products with a thickness of eight to ten millimeters. When installing boards on logs, the recommended panel thickness is 16-19 mm. OSB-3 slabs withstand various power loads and movement of people well. To smooth out small defects in the flooring well, it is enough to use a material ten millimeters thick. If the floor has strong bumps and cracks, then 15-25 mm slabs will be required. OSB is often used on the floor for linoleum, parquet, tile or laminate. This material serves as a high-quality and durable base for decorative coating.
Technology for mounting OSB boards on logs
The choice of material and floor structure depends on the purpose of the room, its characteristics. As a rule, two main types of OSB slabs are used - on logs and directly on a concrete screed.
Advantages and disadvantages of fixing OSB panels on logs
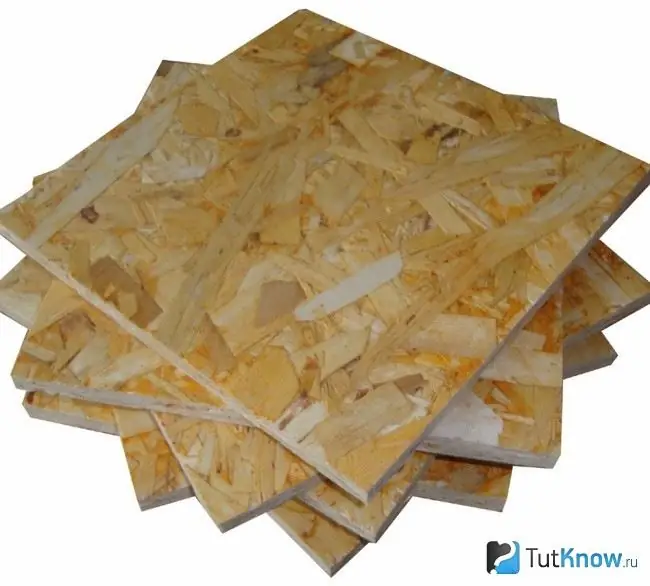
This option for installing a subfloor is quite simple, it can be done in a few days on your own. OSB panels are dense, resistant to crumbling, moisture resistant, are not afraid of contact with biological and chemical substances and, most importantly, they are perfectly attached to the bars. OSB slab floors on logs are an excellent alternative to concrete screed. Such installation saves money on building materials. In addition, the surface can be easily insulated, and the wiring of communications will not cause problems - they just need to be placed in the cracks between the wooden blocks. The advantages of laying OSB on logs can be attributed to the fact that with their help the bases are perfectly aligned, even with the sharpest changes. The result is a smooth surface, and the floor structure is not weighted down. If some panels become unusable, they can be easily replaced. Of the disadvantages of this installation method, it can only be noted that the entire structure turns out to be quite high, about 90-95 mm, and this will make the room lower.
Preparatory work before laying OSB on logs
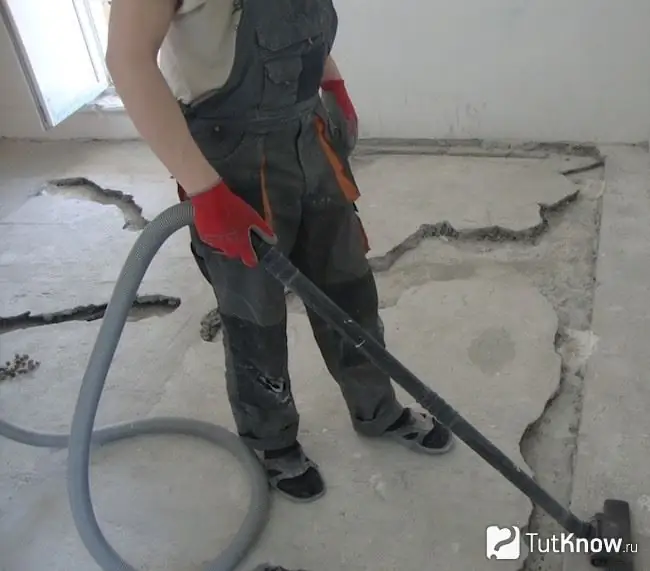
The beginning of the installation work is the preparation of the base. First of all, we inspect the floor for damage, cracks, chips, depressions, mold and mildew. If large defects are found, then they should be removed before laying the logs. Small flaws can be left, since the height of the lags will hide them in any case.
Mold and mildew must be removed without fail. If this is not done, microorganisms will infect lags, and over time, OSB plates. This will lead to premature deterioration of the floor covering. All debris from the floor surface should be removed. Logs can be installed on the floor with a slope, but the maximum slope level should be 0.2%. To determine the angle, you must use a water level or a long building level. If too large slopes are found, then they should be leveled with a self-leveling compound.
The procedure for installing lags on the floor
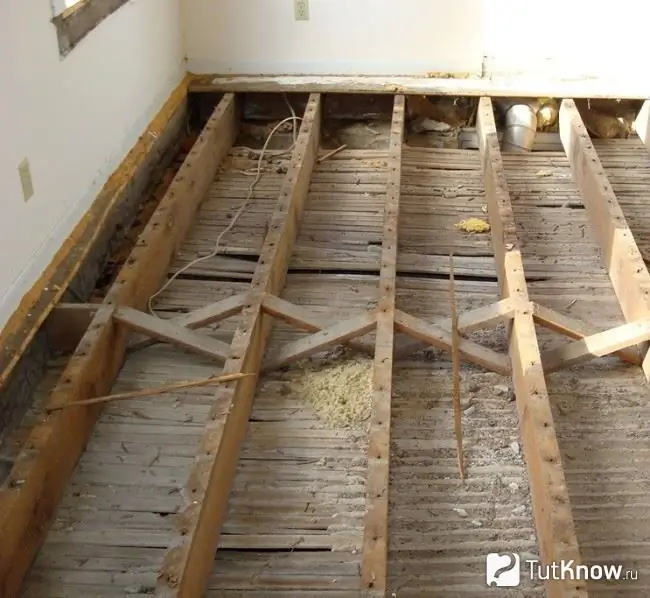
The dimensions of the beams for the lags are always calculated according to individual measurements. In this case, the products must be of the same dimensions.
After they are prepared, we proceed with the installation according to the following scheme:
- We install wooden beams around the entire perimeter of the room, fix them at the same distance from each other - 40 centimeters.
- The distance between the wall and the material should be no more than twenty centimeters.
- We fasten the lags to the base of the floor with bolts or self-tapping screws.
- The upper surfaces of the lags should be in a strictly horizontal plane. Their evenness should be periodically checked with a building level.
- If the room is humid enough, then the beams must be treated with protective agents against mold and mildew.
- If necessary, we put insulation in the gaps.
How to fix OSB to logs
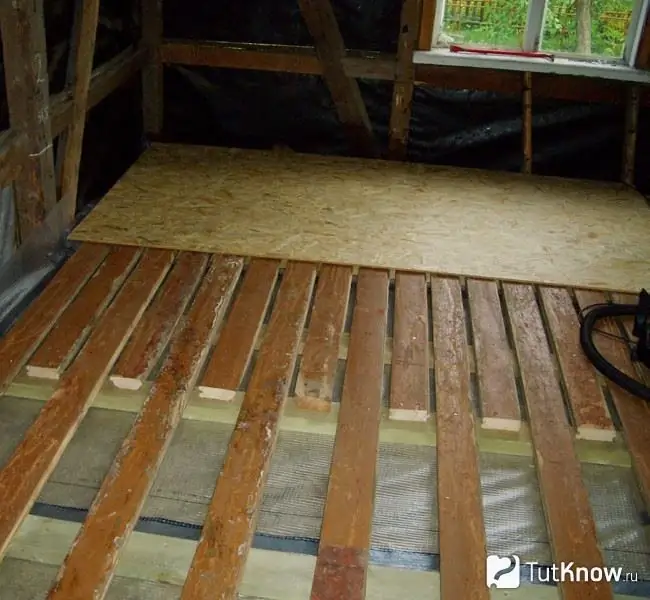
To lay OSB panels on the floor, you will need construction tools such as a tape measure, a hammer, a water level, a jigsaw and a hammer drill. Also for the installation process, prepare special fastening systems for woodwork and a nailer. Oriented strand boards with simple edges should be laid on the floor. It is good if there are grooves on them that will help fasten the panels together. To correctly calculate the required number of sheets, consider the fact that seven percent of the material will be lost during cutting. It is quite easy to install OSB floors with your own hands according to the following instructions:
- We lay the plates across the logs.
- The seams between the panels should be minimal and run clearly in the center of the joist. A distance of about two millimeters should be left between the OSB so that the floor does not deform over time and does not begin to creak.
- We leave a larger gap between the OSB board and the wall - 12 millimeters.
- We fix the panels to the beams by means of self-tapping screws or nails (ring, spiral).
- The step of fastening the slabs to the floor joists is 15-20 cm.
- We place the fasteners that hold the slab around the perimeter at a distance of about 1 centimeter from the edge. This is necessary so that it does not crack.
- The length of the screws or nails should be 2, 5 times the thickness of the plate.
- The gaps between the walls and the subfloor must be filled with construction foam or mineral wool.
Thus, using OSB boards laid on logs, you can prepare a rough base for further laying parquet, tiles or carpet on it.
Laying OSB panels on a concrete screed
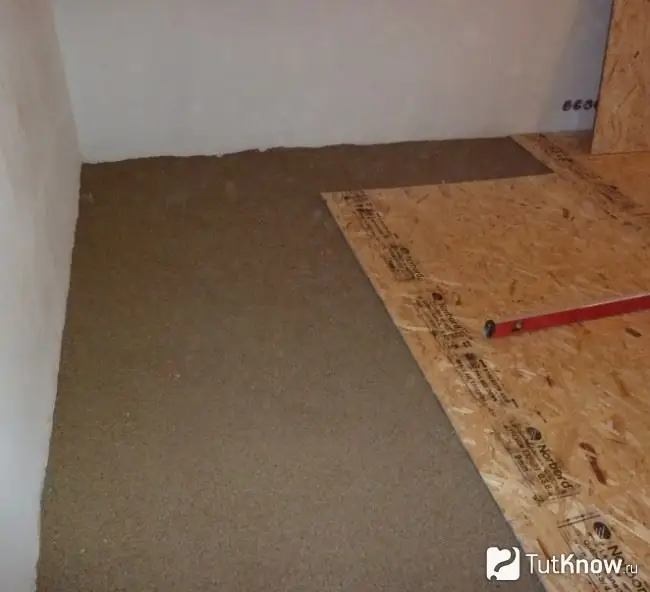
The procedure for installing OSB boards on a concrete floor is preceded by a preparatory stage. Debris and dust must be removed from the base. For the glue to bond well, the surface must be clean. Cover the base with a primer. It will help the glue to better adhere to the panels, and will also prevent the screed from "dusting" during operation.
Next, we carry out the work in this order:
- We lay the panels on the floor surface. If necessary, OSB undercuts with a jigsaw or saw.
- Next, we apply glue to the inner side of the board. To distribute the product evenly over the surface, use a notched trowel.
- We glue the particle boards to the concrete base. Additionally, they can be fixed using hammer-in dowels, which should be placed every half a meter.
- We leave an expansion joint between each slab, two millimeters thick.
- The gap between the walls in the room and the wood planks is no more than 13 mm. These seams are necessary so that during the operation of the coating, swelling does not form due to temperature and humidity changes.
- The last stage of installing OSB boards on the floor is cleaning the panels from debris. We also carry out the sealing of all formed seams using polyurethane foam. It dries for three to four hours. Remove excess foam from the coating with a sharp knife.
Decorative finishing of the floor from OSB boards
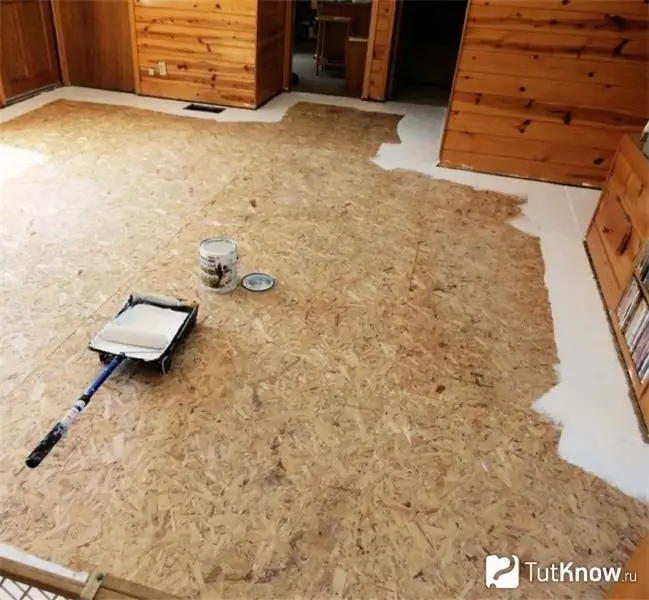
After the installation of OSB boards on the floor is completely completed, you can start finishing the floor covering. If you plan to leave such a floor as the main one, then as an option, the surface can be completely varnished or painted, and skirting boards can be installed around the perimeter.
No additional preparation of OSB for painting is necessary. You just need to clean the floor from dust and cover it with a couple of layers of varnish or paint. This can be done either with a roller or with a spray. Hard-to-reach places should be painted over with a brush. There are panels that are more expensive, but they are already available with a glossy sheen. Finishing such a coating will be very simple: you just need to refine the perimeter of the room with a plinth - and that's it, the floor is ready for use. If you are laying roll materials on top of the slabs, for example, carpet or linoleum, then make sure that all joints between OSB panels are flush with the entire surface and do not protrude anywhere. Any slight irregularities can be removed with sanding paper. The expansion gaps must be filled with an elastic sealant. There is no need to prepare panels for laying on top of OSB laminate. Small irregularities at the joints will be leveled by the underlay. How to lay OSB on the floor - watch the video:
[media = https://www.youtube.com/watch? v = EXbPv8Vfp14] Installation of OSB boards is a way to inexpensively and efficiently level a concrete base. And if necessary, then create the floor from scratch by fixing the panels on the logs. Such a coating does not need expensive finishing or impregnation with moisture-resistant solutions, and you can even lay it yourself.


