- Author Arianna Cook [email protected].
- Public 2023-12-17 14:23.
- Last modified 2025-01-23 09:40.
What is a cement floor screed, its advantages and disadvantages, the rules for choosing a solution for pouring, the technology of execution. Cement screed is a universal base for any floor covering that has a perfectly flat surface. Its main positive features are: a porous structure that guarantees good heat and sound insulation, as well as minimal shrinkage due to a small amount of water.
Pros and cons of cement floor screed
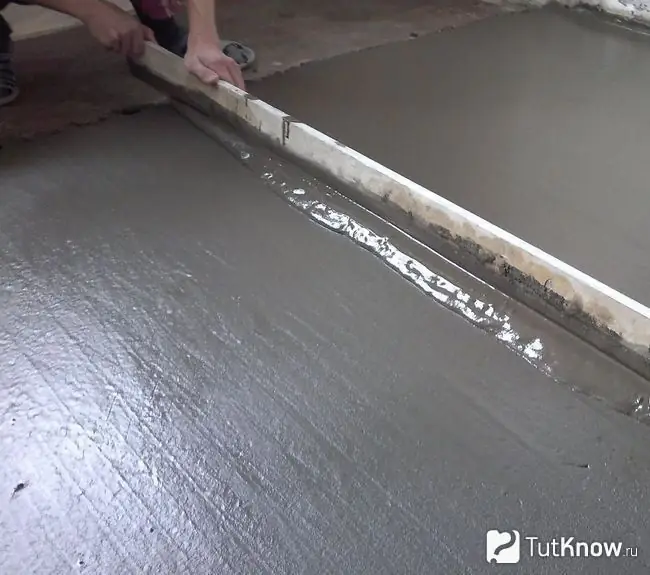
The classic cement screed belongs to the so-called "wet" method of leveling floors. To make it, you need to dilute the dry mixture with water or prepare a special solution of cement and sand. A cement screed has a number of such advantages:
- Strength … This is one of the most durable subfloors available. The minimum thickness is 30 millimeters. The maximum is limited by the bearing strength of the floor. As a rule, it is recommended to make a screed up to 80 millimeters thick.
- Hiding communications … The screed allows you to hide electrical wiring in pipes, corrugation.
- Provides the opportunity to create a "warm floor" … Cement has a high thermal conductivity. In addition, the heating elements are easily hidden under the screed.
- Good sound insulation … Extraneous sounds from the lower floor will not bother you if you have made a cement floor screed.
- Minimal shrinkage … This floor will practically not shrink. Therefore, there is no need to be afraid of deformation of the floor covering.
It is worth noting a number of disadvantages that are inherent in such a coating:
- Heavy weight … The base will noticeably press on the floors. The weight of one meter of the screed (10 millimeters thick) is up to 20 kilograms. Not every supporting structure will be able to withstand such a load.
- Long-term drying … From pouring to full commissioning of the cement screed, as a rule, it takes about 21-28 days. In addition, during this period, it requires additional care.
- It is difficult to create a perfectly flat surface … It is not easy to manually remove a flat screed, so if you did not succeed in doing this, you will have to fill in the finishing self-leveling floor (about 2-5 millimeters thick). If you are planning to install ceramic tiles, you can skip this step.
- Labor intensity of work … It is quite difficult to fill the cement screed on your own; additional workers will most likely be needed. In addition, the process of laying such a floor is dirty and creates a lot of humidity in the room.
Choosing a mixture for a cement screed floor
The creation of such a foundation is economical. You can buy materials for it in almost any hardware store. Before making a cement floor screed, decide which mixture you will use - production or prepared with your own hands.
Ready dry mixes

Separately, cement and sand are rarely bought today. More often, ready-made dry mixes are purchased for repair work. The manufacturer has already done some of your work by mixing sand and cement in the right proportions.
Additionally, plasticizers are introduced into their composition. This component reduces the amount of water required for the solution and improves the performance of the mixture.
The most popular mixture is M400. All you have to do is follow the instructions on the bag exactly. There is no need to increase the amount of water or, conversely, add less.
To mix the mixtures, you need a construction mixer or a drill attachment. For large areas, it is better to purchase a small concrete mixer. The preliminary preparation of the surface and the pouring of dry leveling mixtures is carried out in the same way as for the independently prepared cement mortar.
Cement mortar
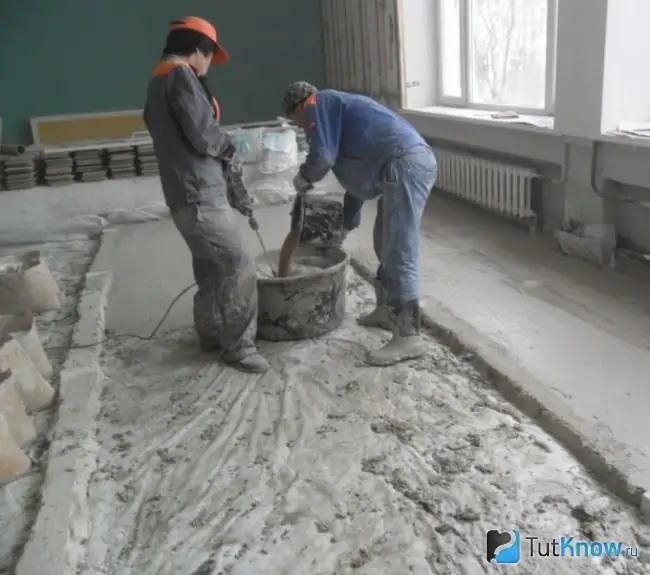
To prepare a solution at home, you will need: cement (the M400 brand is best suited), water and sand, which must be taken cleaned and additionally sieved before adding to the solution. It is unacceptable to use sand mixed with clay.
These ingredients are mixed together in the ratio of 1 part of cement to 3 parts of sand and half a liter of water. First, dry components are connected. After that, they must be poured into water, stirring thoroughly. Doing it the other way around is not recommended due to the high probability of the formation of lumps and impurities.
To make the cement mortar for the floor screed as homogeneous as possible, it is best to use a mixer or a special nozzle. There is no need to purchase them, because you can just rent them. Using a mixer, you will improve the quality of the prepared mixture and speed up the process of filling floors with cement screed.
After kneading, the ready-made solution must be left for 5 minutes and thoroughly mixed again. By its consistency, it should be similar to thick sour cream and not contain lumps. The color of the finished solution will help determine if you have prepared it correctly. It should be uniformly gray. If you have predominantly red shades, then there is clay in the sand. If the mixture has a brown tint, then the proportion of sand is exceeded, and the screed will turn out to be of poor quality.
It is not necessary to change the reduced proportion of the cement floor screed and increase the parts of one or another component. The quality of the finished solution will not improve from this.
Cement screed technology
In order for the flooring to serve you for many years without repair, it is important to take a responsible approach to all stages of creating a cement screed. Be careful and follow the instructions. Otherwise, it will crack and dust over time.
Preparatory work before pouring the floor
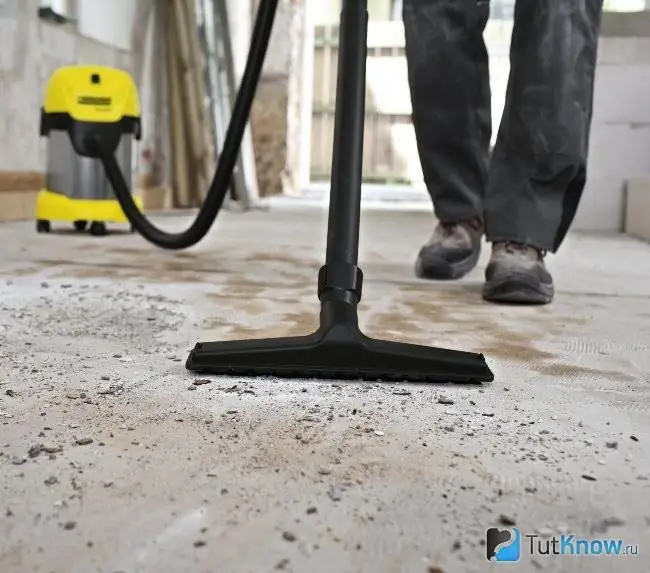
In order for the cement screed to lay on the floor well and hold for a long time, it is recommended to thoroughly prepare the surface for pouring. First you need to remove all the old skirting boards. If you have linoleum or carpet, they must be carefully rolled up and removed. Ceramic or plastic tiles are removed and discarded.
Be sure to use a construction vacuum cleaner to remove all debris and dust. We treat the cleaned surface with special penetrating mixtures. This is necessary to obtain a rough surface that will provide the desired adhesion between the mortar and the slab on the floor. Once the primer is dry, a layer of waterproofing can be applied. What you will use for these purposes is up to you. It can be a layer of roofing material, polyethylene, polyurethane, foam. The waterproofing is located in such a way as to protrude 20 cm and cover the lower part of the wall. You can also coat the floor with a layer of waterproofing mastic so that water from the solution does not leak to the lower floor. It is not recommended to make capital waterproofing. This is due to a decrease in the required adhesion. As a result, the poured screed will quickly crack and crumble.
Determination of floor level

To correctly set the landmarks, you need to determine the evenness of the existing concrete base. A laser or building level will help with this. A point is projected on the wall and marked with a pencil. In the same way, you need to do around the entire perimeter of the room. The resulting points should be connected with a straight line. You will get a level with respect to the horizon, not taking into account the unevenness of your floor.
Now you need a regular school ruler. You need to measure the height from the floor to the obtained level. Remember to write down your measurements.
To make the future floor as even and smooth as possible, it is recommended to make as many measurements as possible, and not be limited to a couple on each side.
Where you get a small number, the floor level is high. A large difference indicates a low level. The difference between your measurements and the marked level is called the height difference. It is necessary to determine the exact consumption of the cement floor screed. If the difference is small, then it is better to give preference to a mixture with self-leveling properties. If the resulting figure is 7 or higher, then a thick layer of screed must be laid. In this case, dry mixes are not suitable. They will quickly crack and become unusable.
Setting up beacons for pouring cement screed
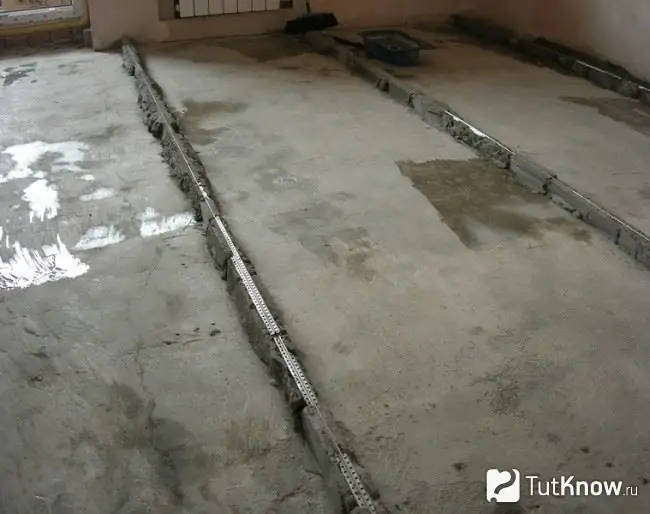
Beacons are an important and necessary thing in the construction of a cement floor screed. Their purpose is to obtain a flat surface and control the pouring process.
They are different: special plastic cross-shaped, T-shaped aluminum profile, high formwork for multi-level floors. Conventional fittings can be used. But it is not recommended to use a tree for the device of beacons. The wood is exposed to moisture, which can lead to distortions.
Beacons must be installed parallel to each other and perpendicular to the wall. Regardless of which type you choose for yourself, it must be fixed to the floor. For this, you can use building glue, ready-made mortar, gypsum, etc.
When installing beacons, it is recommended to use the hydro level and constantly check the marks on the wall. If the profile is below the mark made, a substrate should be placed under it. These can be pieces of broken brick, mortar, plastic parts. Cardboard and paper cannot be used for these purposes. Otherwise, after drying, a crack will form in this place.
By default, the width between the beacons is equal to the length of the rule. It is to them that you will equal the laid solution. For quick and easy installation of beacons, you can pull a colored thread between the walls. Aligning with it, they carry out the installation of landmarks.
Features of pouring a cement screed
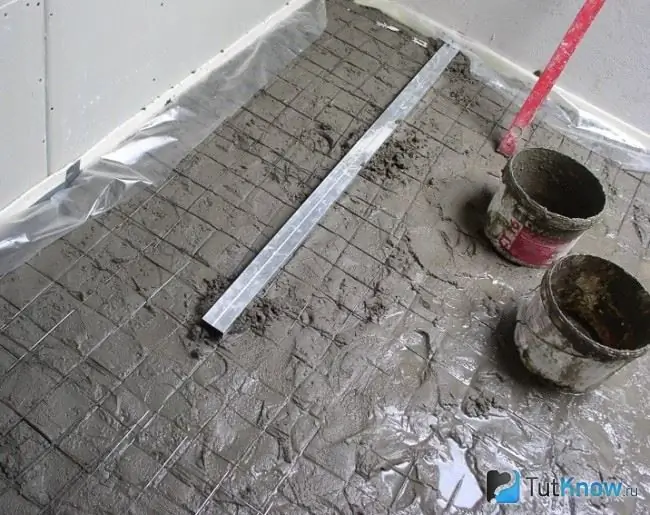
In order for the resulting floor to be durable and of high quality, it is recommended to pour the cement mortar in one day. Therefore, at this stage, you need an assistant. One person will pour the solution, and the second will prepare it at this time.
We carry out the work in the following order:
- We start laying from the far corner of the room and finish at the door.
- When the first portion of the solution is poured, it is necessary to carefully level it along the laid beacons using the rule. You should not shift the landmarks.
- Carefully remove the excess mixture into the container used for kneading.
- For an even and fast distribution of the cement slurry, it is recommended to drive the rule from side to side at a slight angle.
After laying and leveling the cement floor screed, it must be left for 2-3 days in order for it to dry.
How to properly dry a cement floor screed
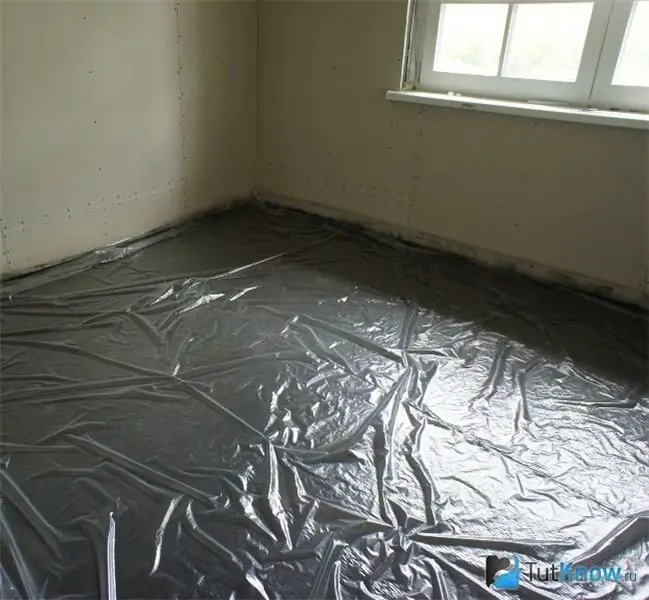
Most lay people ignore this step or do it wrong. However, screed drying does not allow negligence. If the technology is violated at this stage, then the laid cement floor will quickly fail and will require replacement.
Drying sequence of the laid screed:
- For the first 2-3 days, the poured solution should not be disturbed.
- On the fourth day, beacons should be removed and the resulting holes should be repaired. If you have used cruciform landmarks, you do not need to remove them from the mixture.
- After that, the laid screed is poured abundantly with water several times a day. Additionally, a plastic film is laid on top. You can sprinkle wet sand or sawdust on top of it. This will provide the necessary moisture for the cement slurry.
- After two weeks, the film is removed. During this period, the mixture hardened by 90%. However, the floor is not yet ready for use.
- Must be kept for at least 28 days. If you put a load on the laid floor earlier, the screed can crack, peel off, deteriorate, and then you have to start all over again.
How to make a cement floor screed - watch the video:

A properly laid cement screed will serve you for many years. It will provide the necessary level of hydro and thermal insulation, significantly reduce noise in your apartment, and also allow you to evenly distribute the load from the furniture. All this you will receive, subject to the technology of pouring a cement screed floor with your own hands.


